When your service goes down, your users have two options: check your status page for updates or flood your support inbox with tickets. One of those is better for everyone.
A public status page is a simple webpage that shows the real-time operational status of your services. Companies that use status pages report a 67% increase in user trust, and the reason is straightforward: transparency during incidents shows your users you take reliability seriously.
This guide covers what a status page is, why your service needs one, what to include, and how to set one up in under five minutes using Notifier.so.
What Is an Uptime Status Page?
A status page is a dedicated webpage that displays the current operational state of your services. It acts as a single source of truth for your users, your team, and anyone else who needs to know whether your systems are running normally.
A typical status page shows:
- Service status indicators: Green (operational), yellow (degraded), red (outage) for each component
- Uptime history: A visual timeline showing recent uptime and downtime
- Incident updates: Real-time notes about ongoing issues, including what's happening and when it's expected to be resolved
- Scheduled maintenance: Advance notice of planned downtime windows
Here's what a real status page looks like on Notifier.so:
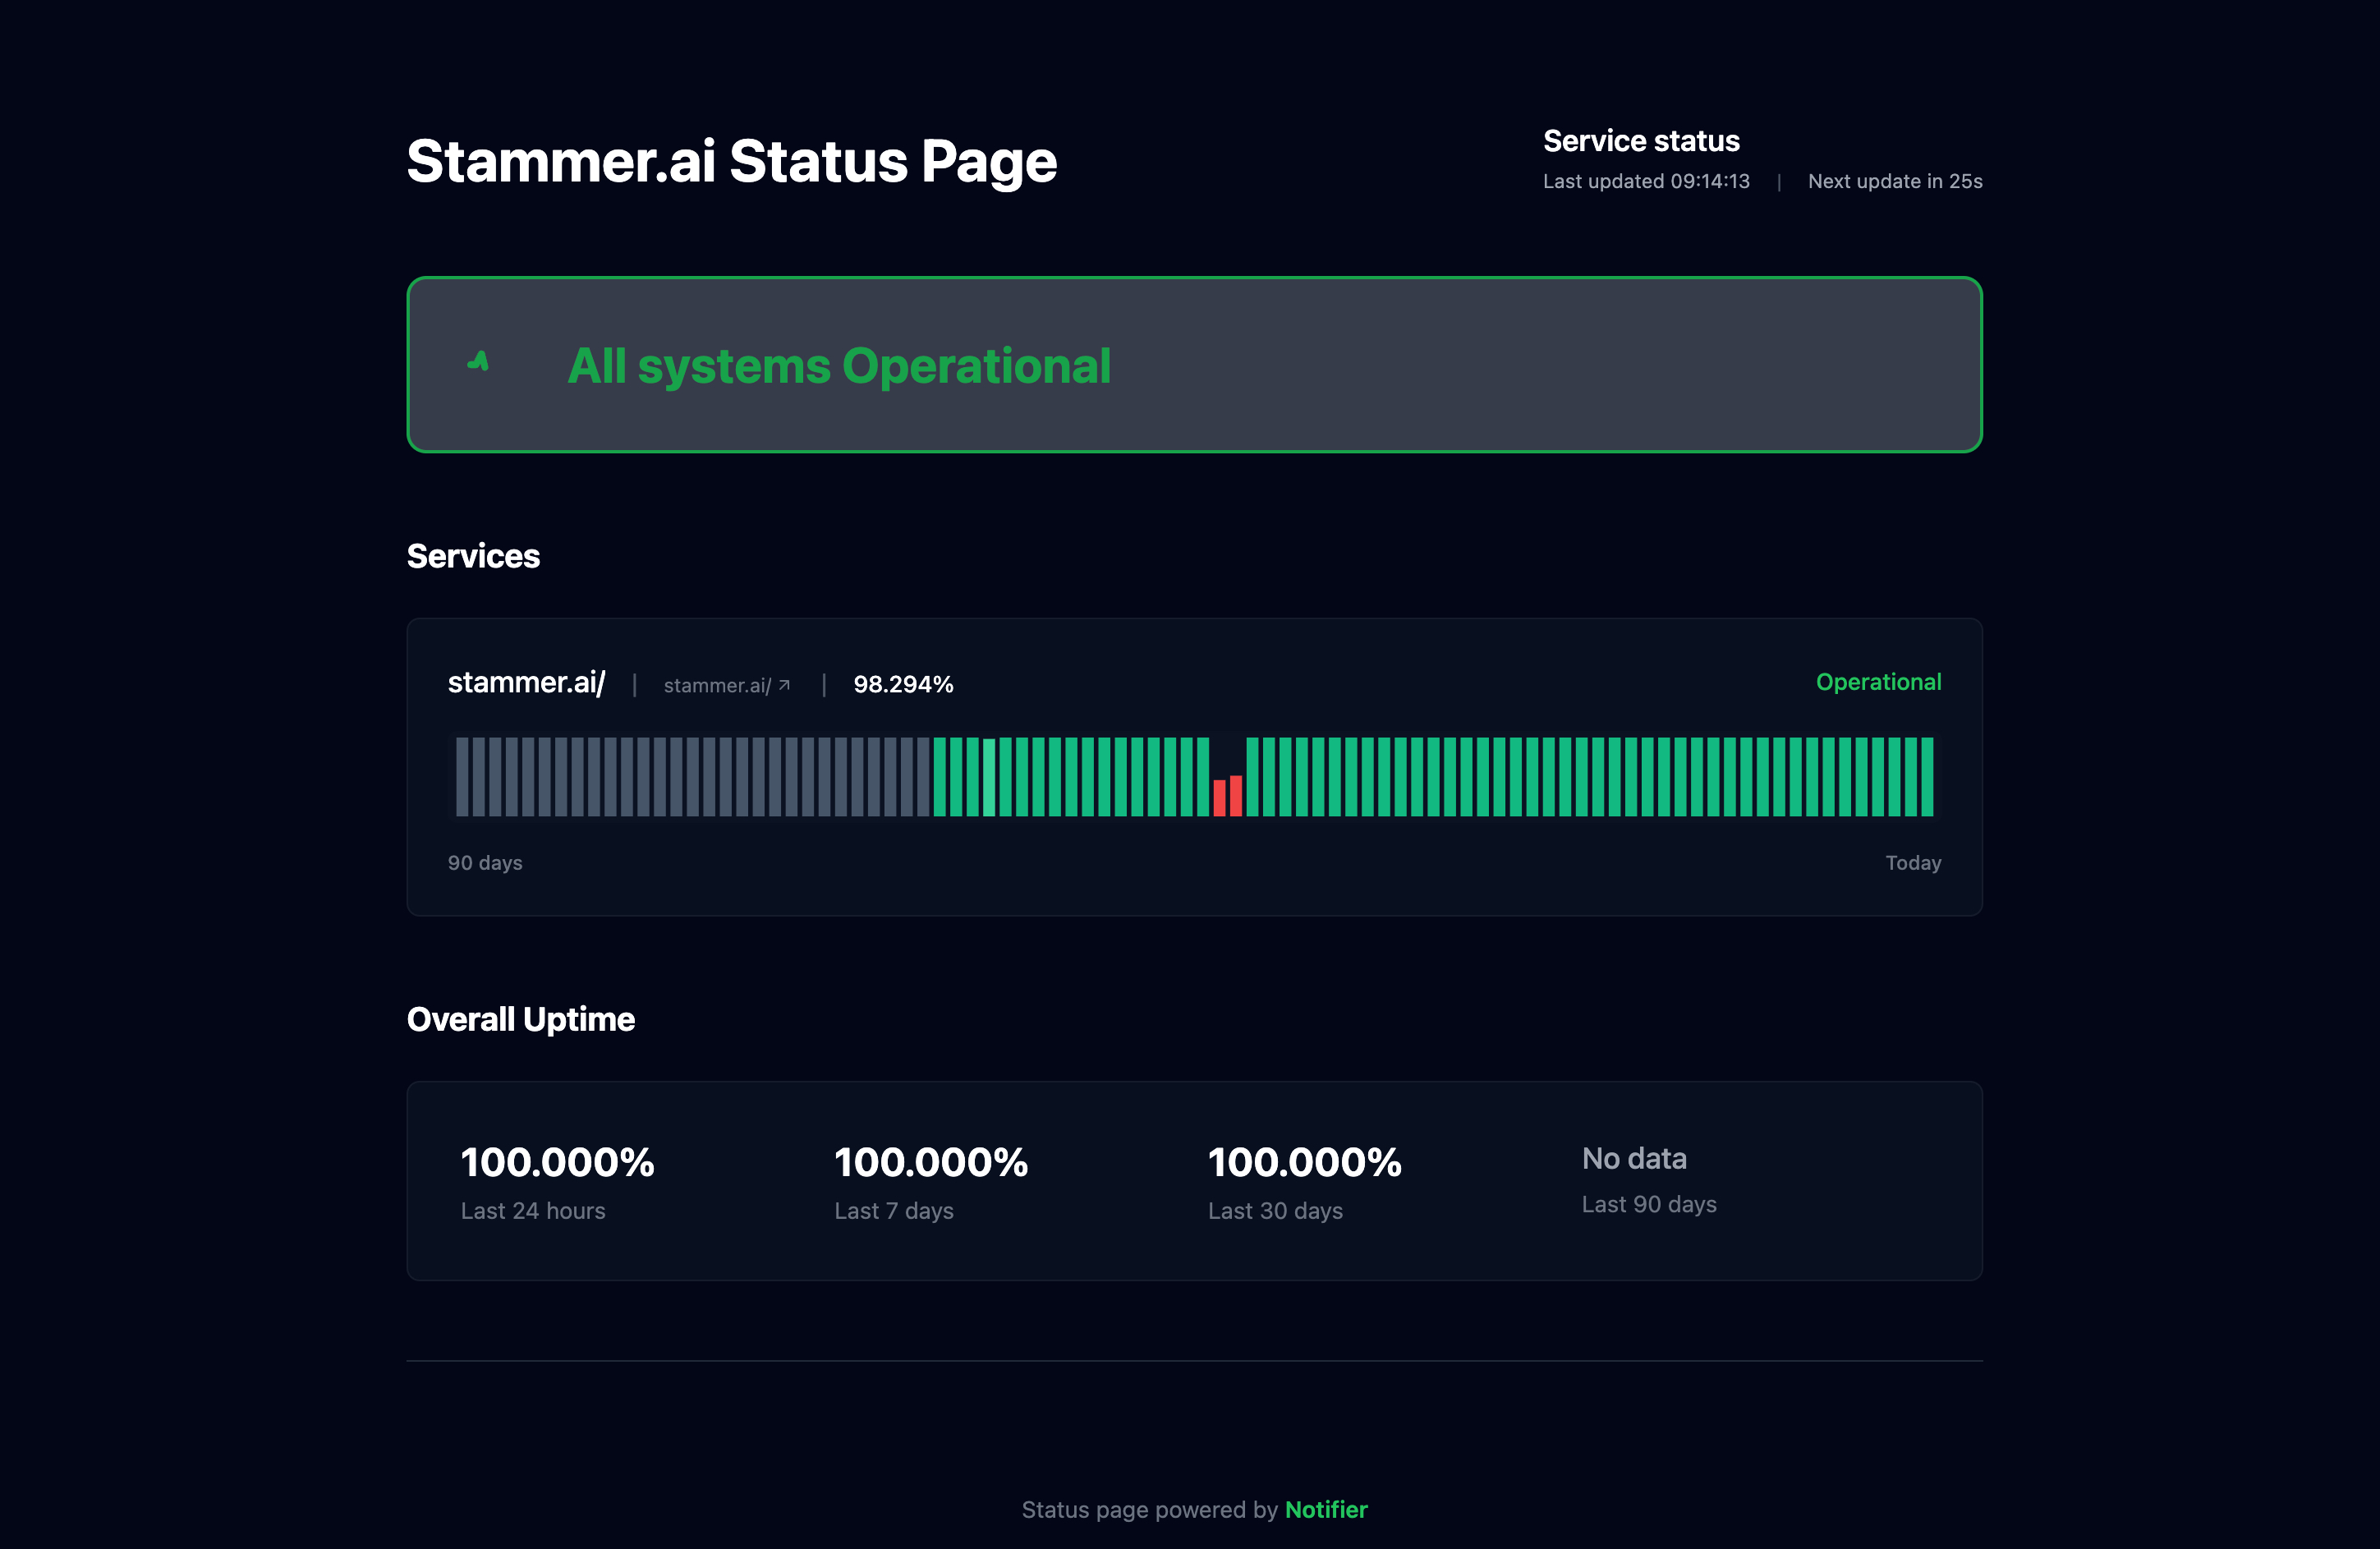
A public status page built with Notifier.so, showing real-time service status.
Status pages can be public (visible to anyone) or private (restricted to your team or authenticated users). Most companies use public status pages to communicate with their customers.
Why Your Service Needs a Status Page
If you run any online service, a status page isn't optional. Here's why:
Build Trust Through Transparency
Every service has downtime. The difference between companies that keep customers and those that lose them is how they communicate about it. A status page shows your users that you're monitoring your systems proactively and that you'll be honest when things go wrong.
Hiding outages doesn't work. Users notice when your service is down, and silence makes them assume the worst. A status page turns a negative experience (downtime) into a demonstration of professionalism.
Reduce Support Tickets
During an outage, support teams get flooded with the same question: "Is your service down?" A status page gives users a self-service way to answer that question. Instead of submitting a ticket and waiting for a reply, they can check the status page and see exactly what's happening.
This frees your support team to focus on actually fixing the problem instead of answering repetitive inquiries.
Meet Enterprise Requirements
If you sell to enterprise customers or have SLAs (Service Level Agreements), a status page is often expected or required. Enterprise buyers evaluate vendors partly on their operational transparency. A well-maintained status page signals that you take reliability seriously.
Improve Internal Communication
Status pages aren't just for customers. Your own team benefits too. When an incident occurs, everyone from engineering to sales can check the status page instead of asking "what's going on?" in Slack. It creates a single source of truth for the entire organization.
What to Include on Your Status Page
A good status page is simple, clear, and honest. Here's what to include:
Service Components
Break your service into logical components that your users understand. For example:
- Website/App: Your main user-facing application
- API: Your REST or GraphQL API endpoints
- Dashboard: Admin or analytics interfaces
- Email/Notifications: Outbound messaging systems
- Payments: Billing and subscription processing
Don't over-segment. Your users don't need to see every microservice. Group things into categories that make sense to them.
Status Indicators
Keep status categories simple. Most tools use three or four levels:
- Operational: Everything is working normally
- Degraded Performance: The service is working but slower than usual
- Partial Outage: Some functionality is unavailable
- Major Outage: The service is completely down
Uptime History
Show recent uptime as a visual bar chart or timeline (typically 30 to 90 days). This gives users a quick sense of your reliability track record. Green bars for good days, red marks for incidents.
Incident Timeline
When something goes wrong, post updates with timestamps:
14:32 UTC — Investigating increased error rates on the API
14:45 UTC — Identified the root cause. A database connection pool is exhausted. Working on a fix.
15:02 UTC — Fix deployed. Monitoring for recovery.
15:15 UTC — All services restored to normal operation.
Scheduled Maintenance
Give users advance notice when you plan to take systems offline for upgrades, migrations, or other maintenance. Include the expected start time, duration, and which services will be affected.
Hosted vs. Self-Hosted Status Pages
You have two main options for running a status page: use a hosted service or self-host one yourself.
Hosted Status Pages
A hosted status page is run by a third-party service. You sign up, configure your components, and they handle the infrastructure. This is the right choice for most teams.
Advantages:
- Set up in minutes, not days
- No server management or maintenance
- Independent infrastructure (stays up even when your service is down)
- Built-in subscriber notifications
- Custom domain support on most plans
The most important advantage: a hosted status page runs on separate infrastructure from your service. If your servers go down, your status page stays online. This is critical because the whole point of a status page is to communicate during outages.
Self-Hosted Status Pages
Self-hosted options like Cachet, Upptime, or Gatus run on your own infrastructure. You control everything, but you're responsible for keeping the status page running.
Advantages:
- Full control and customization
- No recurring subscription costs
- Data stays on your servers
Disadvantages:
- You need to host it on separate infrastructure from your main service (otherwise it goes down with you)
- Setup and maintenance takes engineering time
- You're responsible for security updates and uptime of the status page itself
Key consideration: If your status page runs on the same infrastructure as your service, it will go down at the same time as your service. That defeats the purpose. If you self-host, make sure the status page is on completely separate infrastructure.
How to Set Up a Status Page with Notifier
Notifier.so includes status pages on all plans, including the free tier. Here's how to set one up:
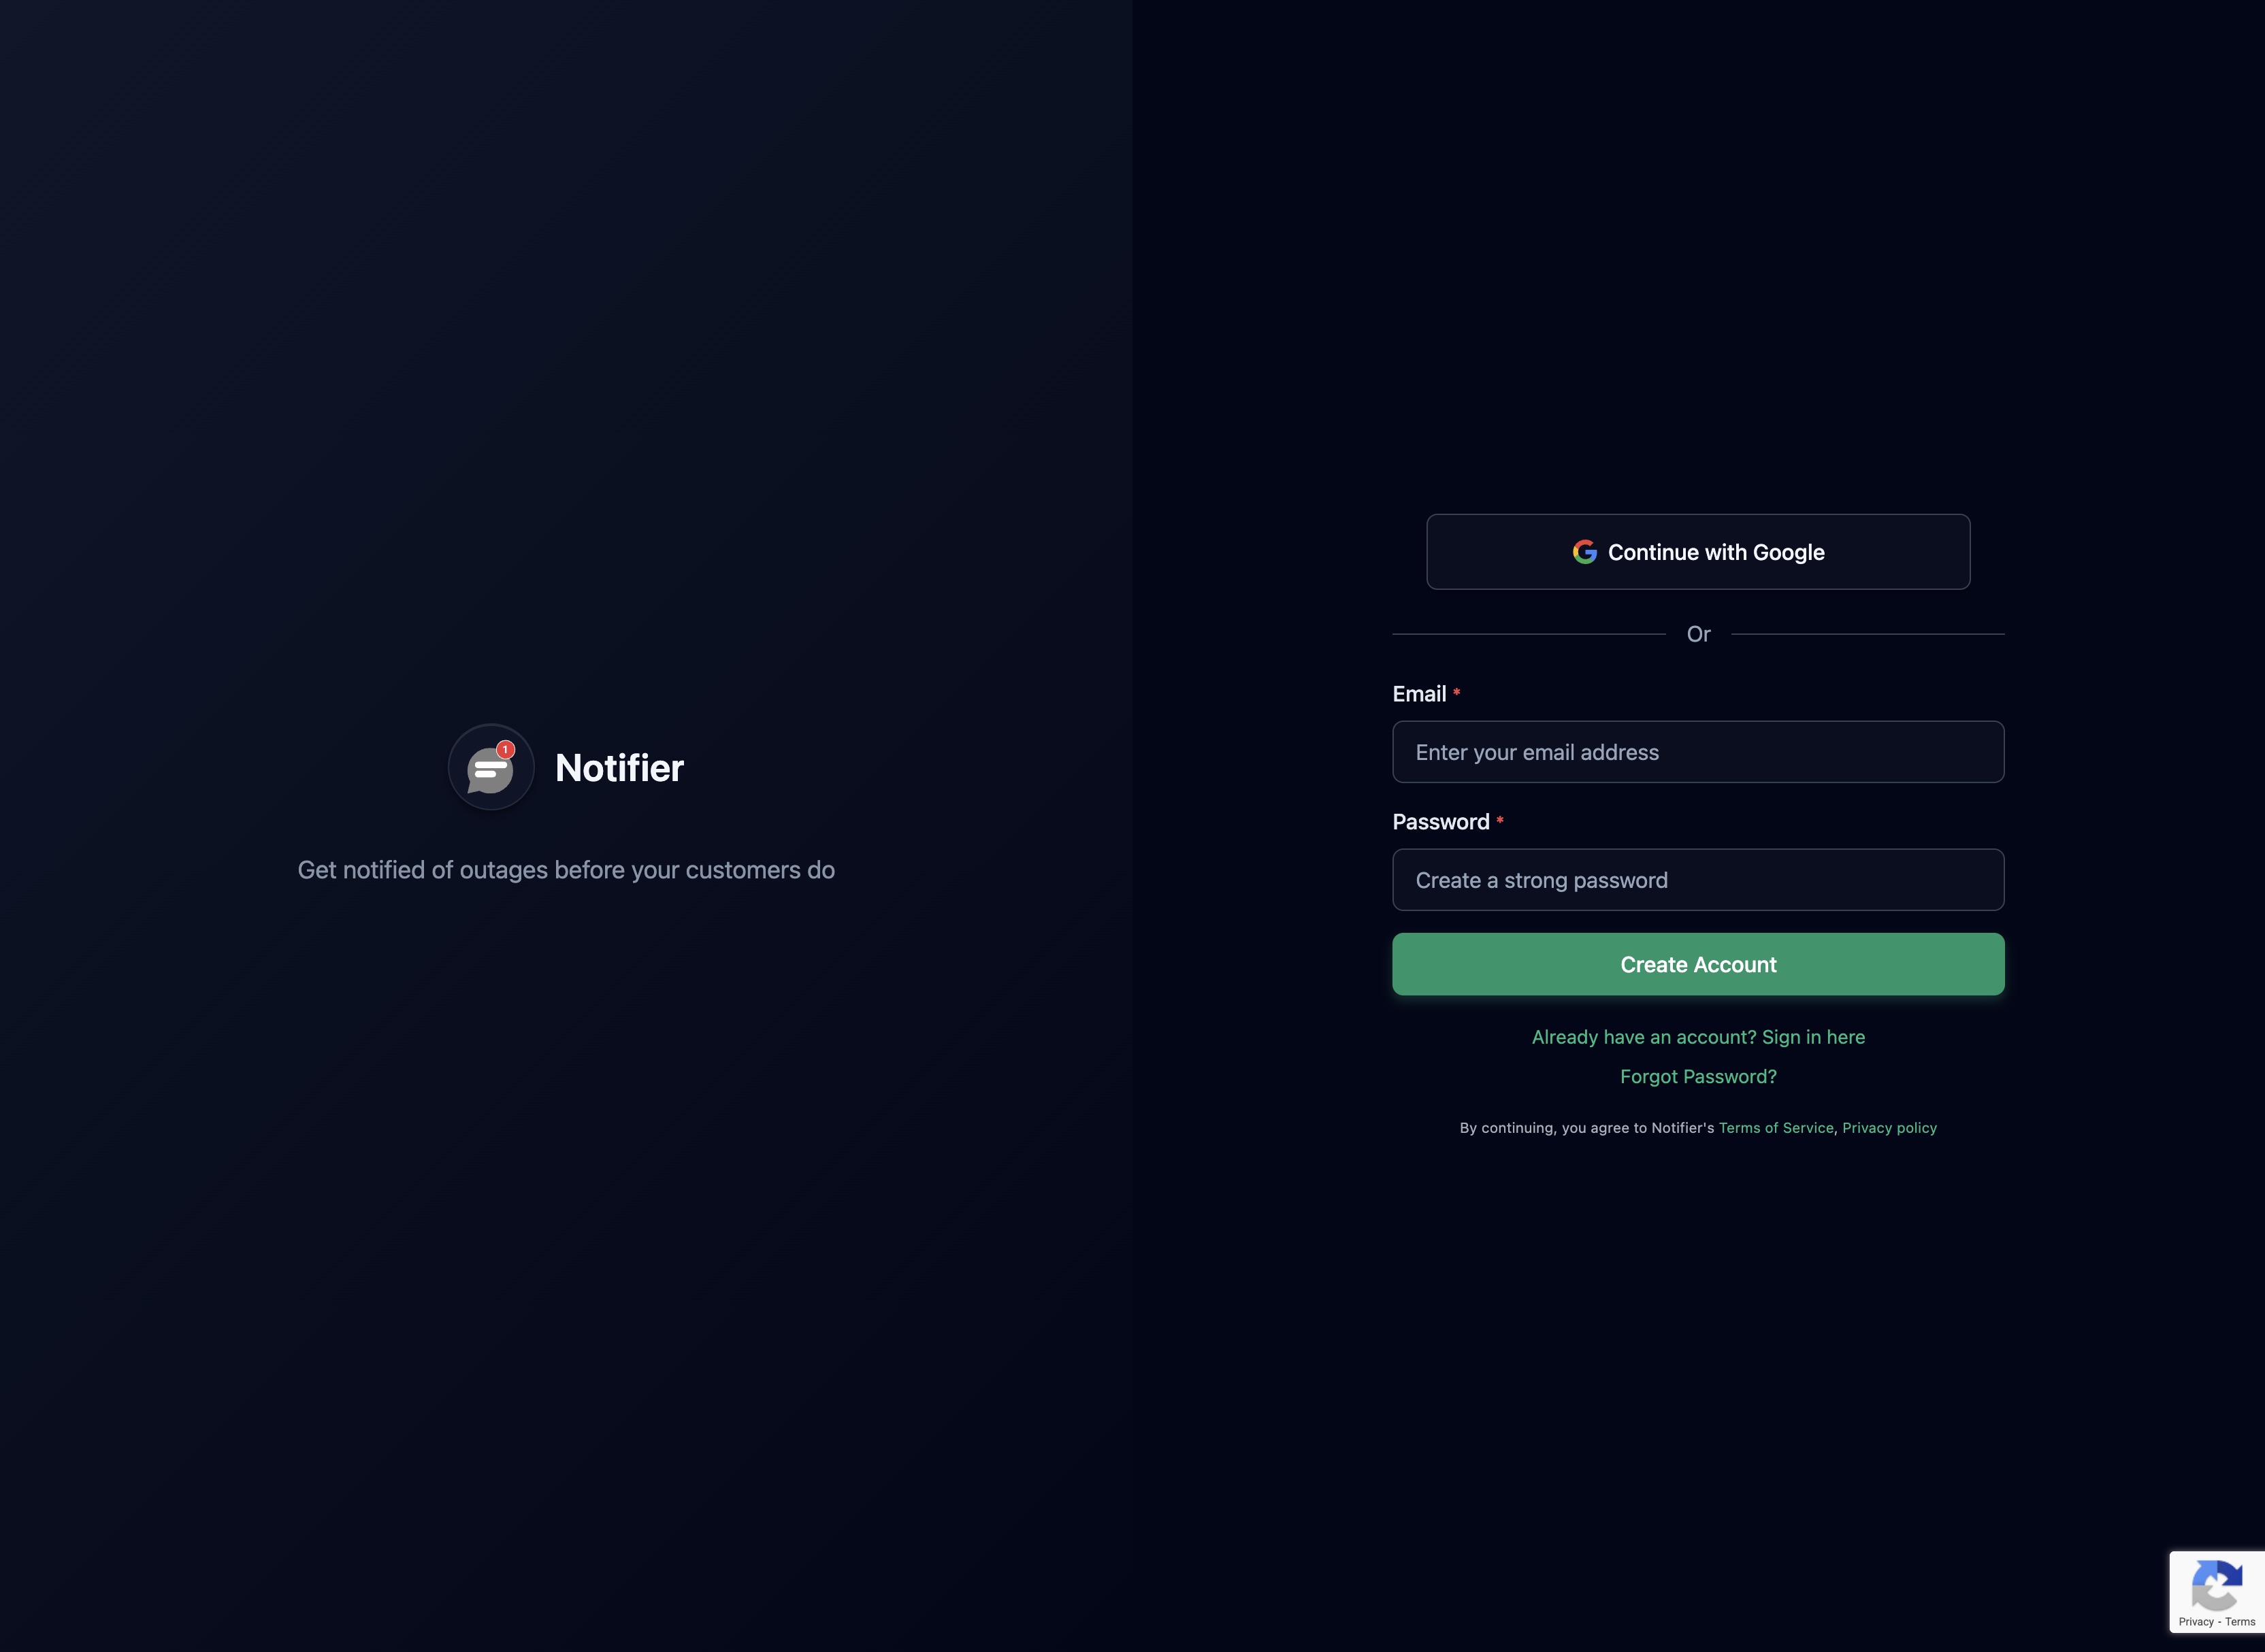
Step 1: Create Your Account
Sign up at notifier.so/register. The free plan includes 10 uptime monitors and 5 status pages.
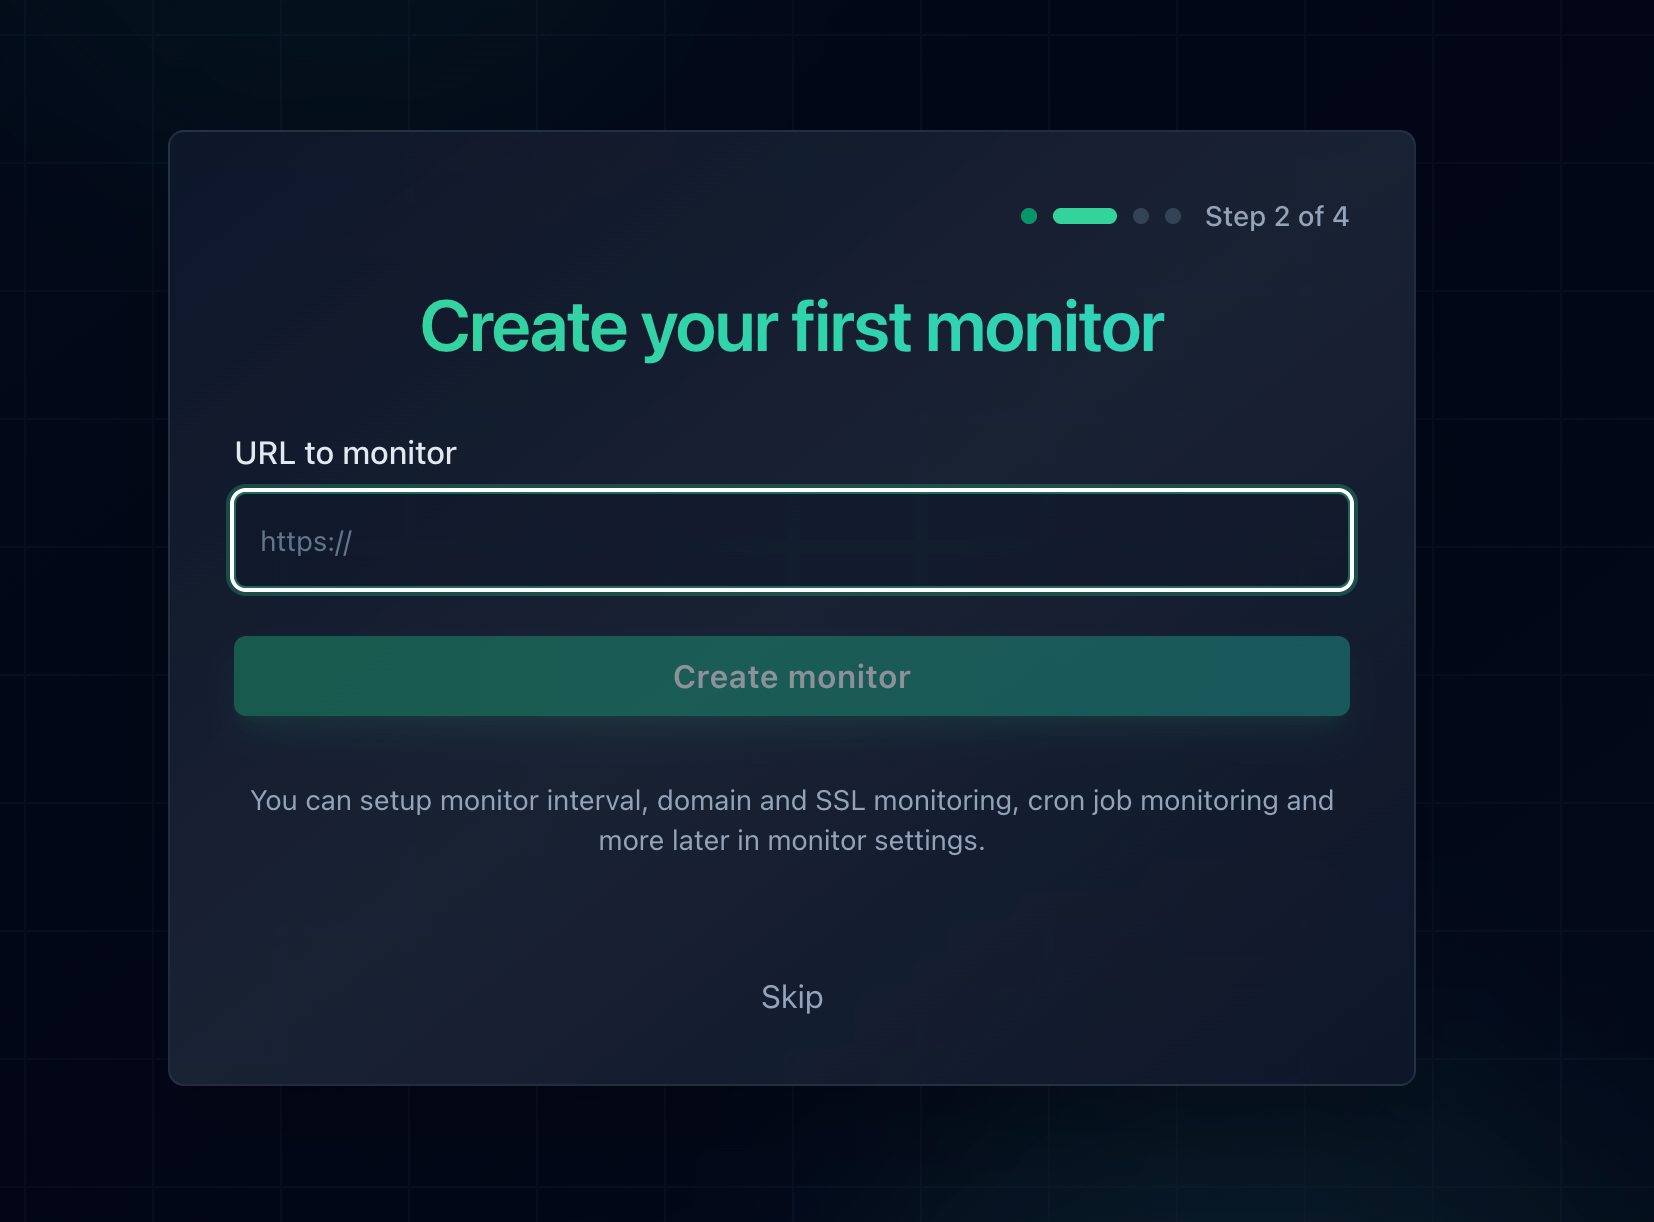
Step 2: Add Your Monitors
Before creating a status page, you'll need at least one monitor. Add monitors for each service you want to display on your status page.
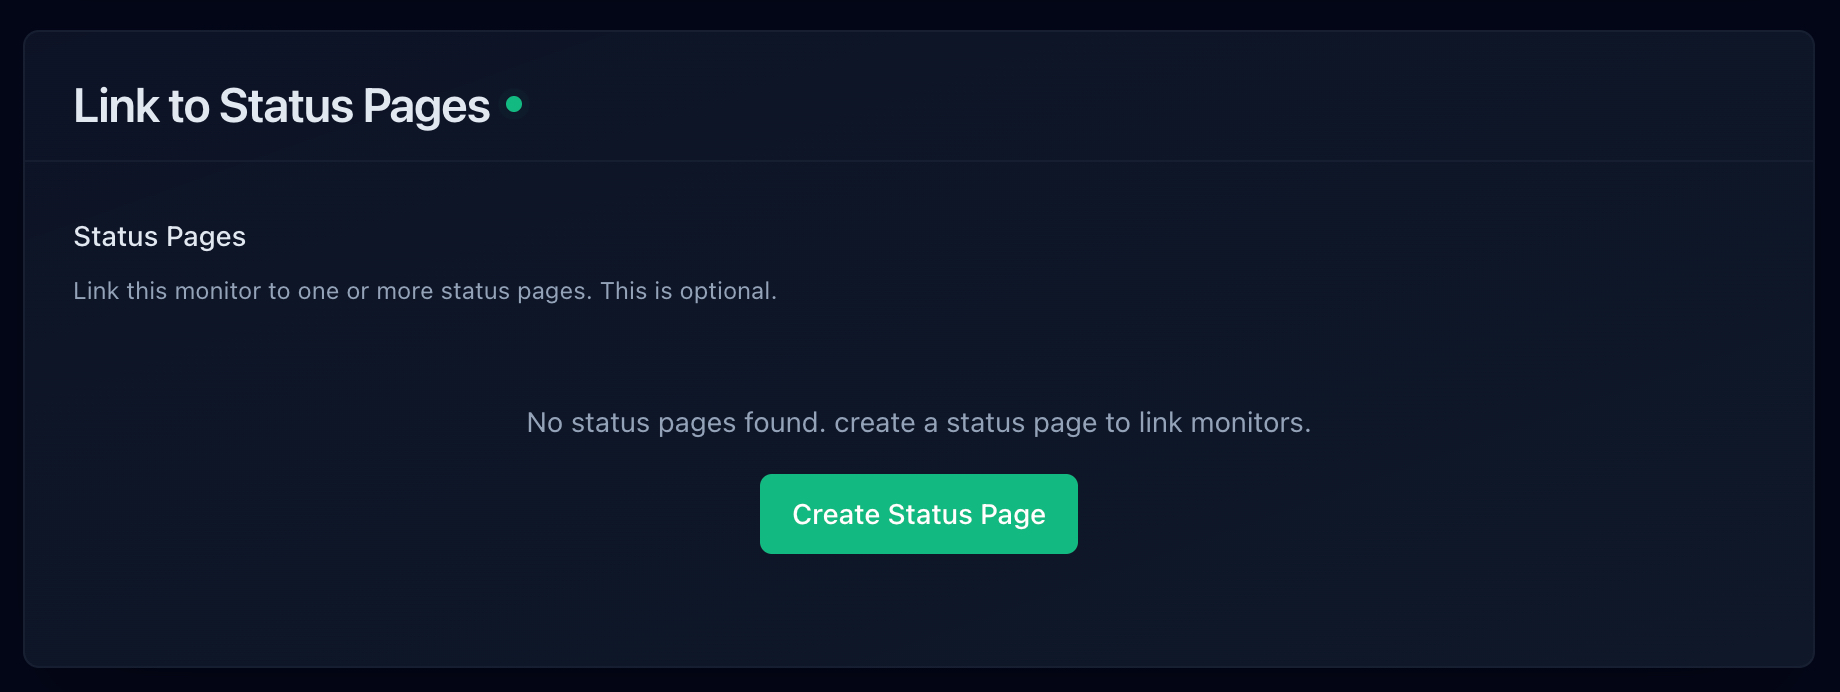
Step 3: Create Your Status Page
Navigate to the Status Pages section and create a new page. Select which monitors to display on it.
Step 4: Share It
Your status page is live immediately with a Notifier-hosted URL. On paid plans, you can connect a custom domain (like status.yourcompany.com) for a professional branded experience.
Link to your status page from your website footer, help docs, and support emails so users know where to check during incidents.
Status Page Tools Compared
Here's how the most popular status page tools compare:
1. Notifier.so
Notifier combines uptime monitoring and status pages in a single, simple tool. You don't need to manage two separate services. Your monitors feed directly into your status page automatically.
- Free tier: 10 monitors, 5 status pages
- Paid from: $4/month (20 monitors, 10 status pages)
- Custom domains: Available on all paid plans
- Best for: Teams that want uptime monitoring and status pages in one tool
2. Atlassian Statuspage
Statuspage.io is the most established player in the space, widely used by large SaaS companies. It integrates well with the Atlassian ecosystem (Jira, Opsgenie), but the pricing reflects its enterprise positioning.
- Free tier: 1 page, 100 subscribers, limited features
- Paid from: $29/month (Hobby), $99/month (Startup)
- Custom domains: Available on paid plans
- Best for: Enterprise teams already using Atlassian tools
The main drawback is pricing. The $29/month Hobby plan lacks important features, and most teams end up on the $99/month Startup plan. That's $1,188 per year just for a status page.
3. Instatus
Instatus is a modern, well-designed Statuspage alternative with more affordable pricing. The free tier includes unlimited subscribers and team members.
- Free tier: 1 page, unlimited subscribers (Instatus subdomain only)
- Paid from: $20/month (custom domain)
- Best for: Teams that want a standalone status page with clean design
4. Better Stack
Better Stack (formerly Better Uptime) offers status pages bundled with their monitoring and incident management platform. The free tier includes 1 status page with 10 monitors.
- Free tier: 1 status page, 10 monitors
- Paid from: $24/month
- Best for: Teams that want monitoring, logging, and status pages in one platform
5. Cachet (Self-Hosted, Free)
Cachet is the most popular open-source status page. It's been around since 2015 and offers a stable, feature-rich platform. Free to use, but requires your own server.
- Cost: Free (self-hosted)
- Stack: PHP/Laravel
- Best for: Technical teams comfortable managing their own infrastructure
6. Freshstatus (Free)
Freshstatus by Freshworks offers free hosted status pages with custom branding. It's a good option if you're already in the Freshworks ecosystem.
- Cost: Free
- Custom domains: Supported
- Best for: Teams already using Freshworks products
Quick Comparison
| Tool | Free Pages | Paid From | Monitoring Included |
|---|---|---|---|
| Notifier.so | 5 pages | $4/month | Yes (10 free) |
| Statuspage | 1 page* | $29/month | No |
| Instatus | 1 page | $20/month | No |
| Better Stack | 1 page | $24/month | Yes (10 free) |
| Cachet | Unlimited | Free (self-hosted) | Basic |
| Freshstatus | Unlimited | Free | No |
* Statuspage free tier is limited to 100 subscribers and 2 team members
Status Page Best Practices
Having a status page is the first step. Using it well is what actually builds trust.
1. Update During Incidents, Not After
The worst thing you can do is update your status page only after an incident is resolved. Users should see updates while the issue is active. Even a simple "We're aware of the issue and investigating" is better than silence. Post updates every 15 to 30 minutes during active incidents.
2. Use Clear, Honest Language
Don't use vague language like "We're experiencing intermittent issues." Be specific:
Bad: "We are currently experiencing issues with our platform."
Good: "Our API is returning 500 errors for approximately 30% of requests. The issue is caused by a database connection problem. Our team is working on a fix and we expect resolution within 30 minutes."
3. Set Up Before You Need It
Don't wait for your first major outage to create a status page. Set it up now while everything is running smoothly. When an incident hits, you'll have a communication channel ready to go instead of scrambling to set one up while also fighting the fire.
4. Link to It From Everywhere
Your status page only helps if people can find it. Add links from:
- Your website footer
- Your help center or documentation
- Your support team's auto-response emails
- Your app's error pages (if the main app is down, redirect to the status page)
5. Use a Custom Domain
A custom domain like status.yourcompany.com looks professional and is easy for users to remember. Most hosted status page tools support custom domains on their paid plans.
6. Don't Lie About Uptime
It's tempting to manually mark your status page as "operational" even during minor issues. Don't. Users who experience problems while your status page shows "all green" will lose trust in the entire page. It's better to acknowledge small issues than to pretend they don't exist.
7. Post Incident Postmortems
After a significant incident, publish a postmortem on your status page. Explain what happened, why it happened, and what you're doing to prevent it in the future. This level of transparency turns a bad experience into a trust-building moment.
Get Started with Your Status Page
If you don't have a status page yet, the best time to create one is now. Here's the simplest path:
- 1. Sign up for Notifier.so (free, takes 30 seconds)
- 2. Add monitors for your key services
- 3. Create a status page and select which monitors to display
- 4. Add a link to the status page in your website footer
The free plan includes 5 status pages and 10 monitors, which is enough for most small to mid-sized services. If you need more monitors, custom domains, or faster check intervals, paid plans start at just $4/month.
If you run into any issues, Notifier's support team typically responds within minutes via chat or email at support@notifier.so.
Bottom line:
A status page is one of the cheapest and most effective ways to build trust with your users. It takes five minutes to set up, costs nothing to start, and pays for itself the first time you avoid a flood of "is your service down?" support tickets.