Status Pages
Keep your users informed about uptime and incidents with a public status page.
Overview
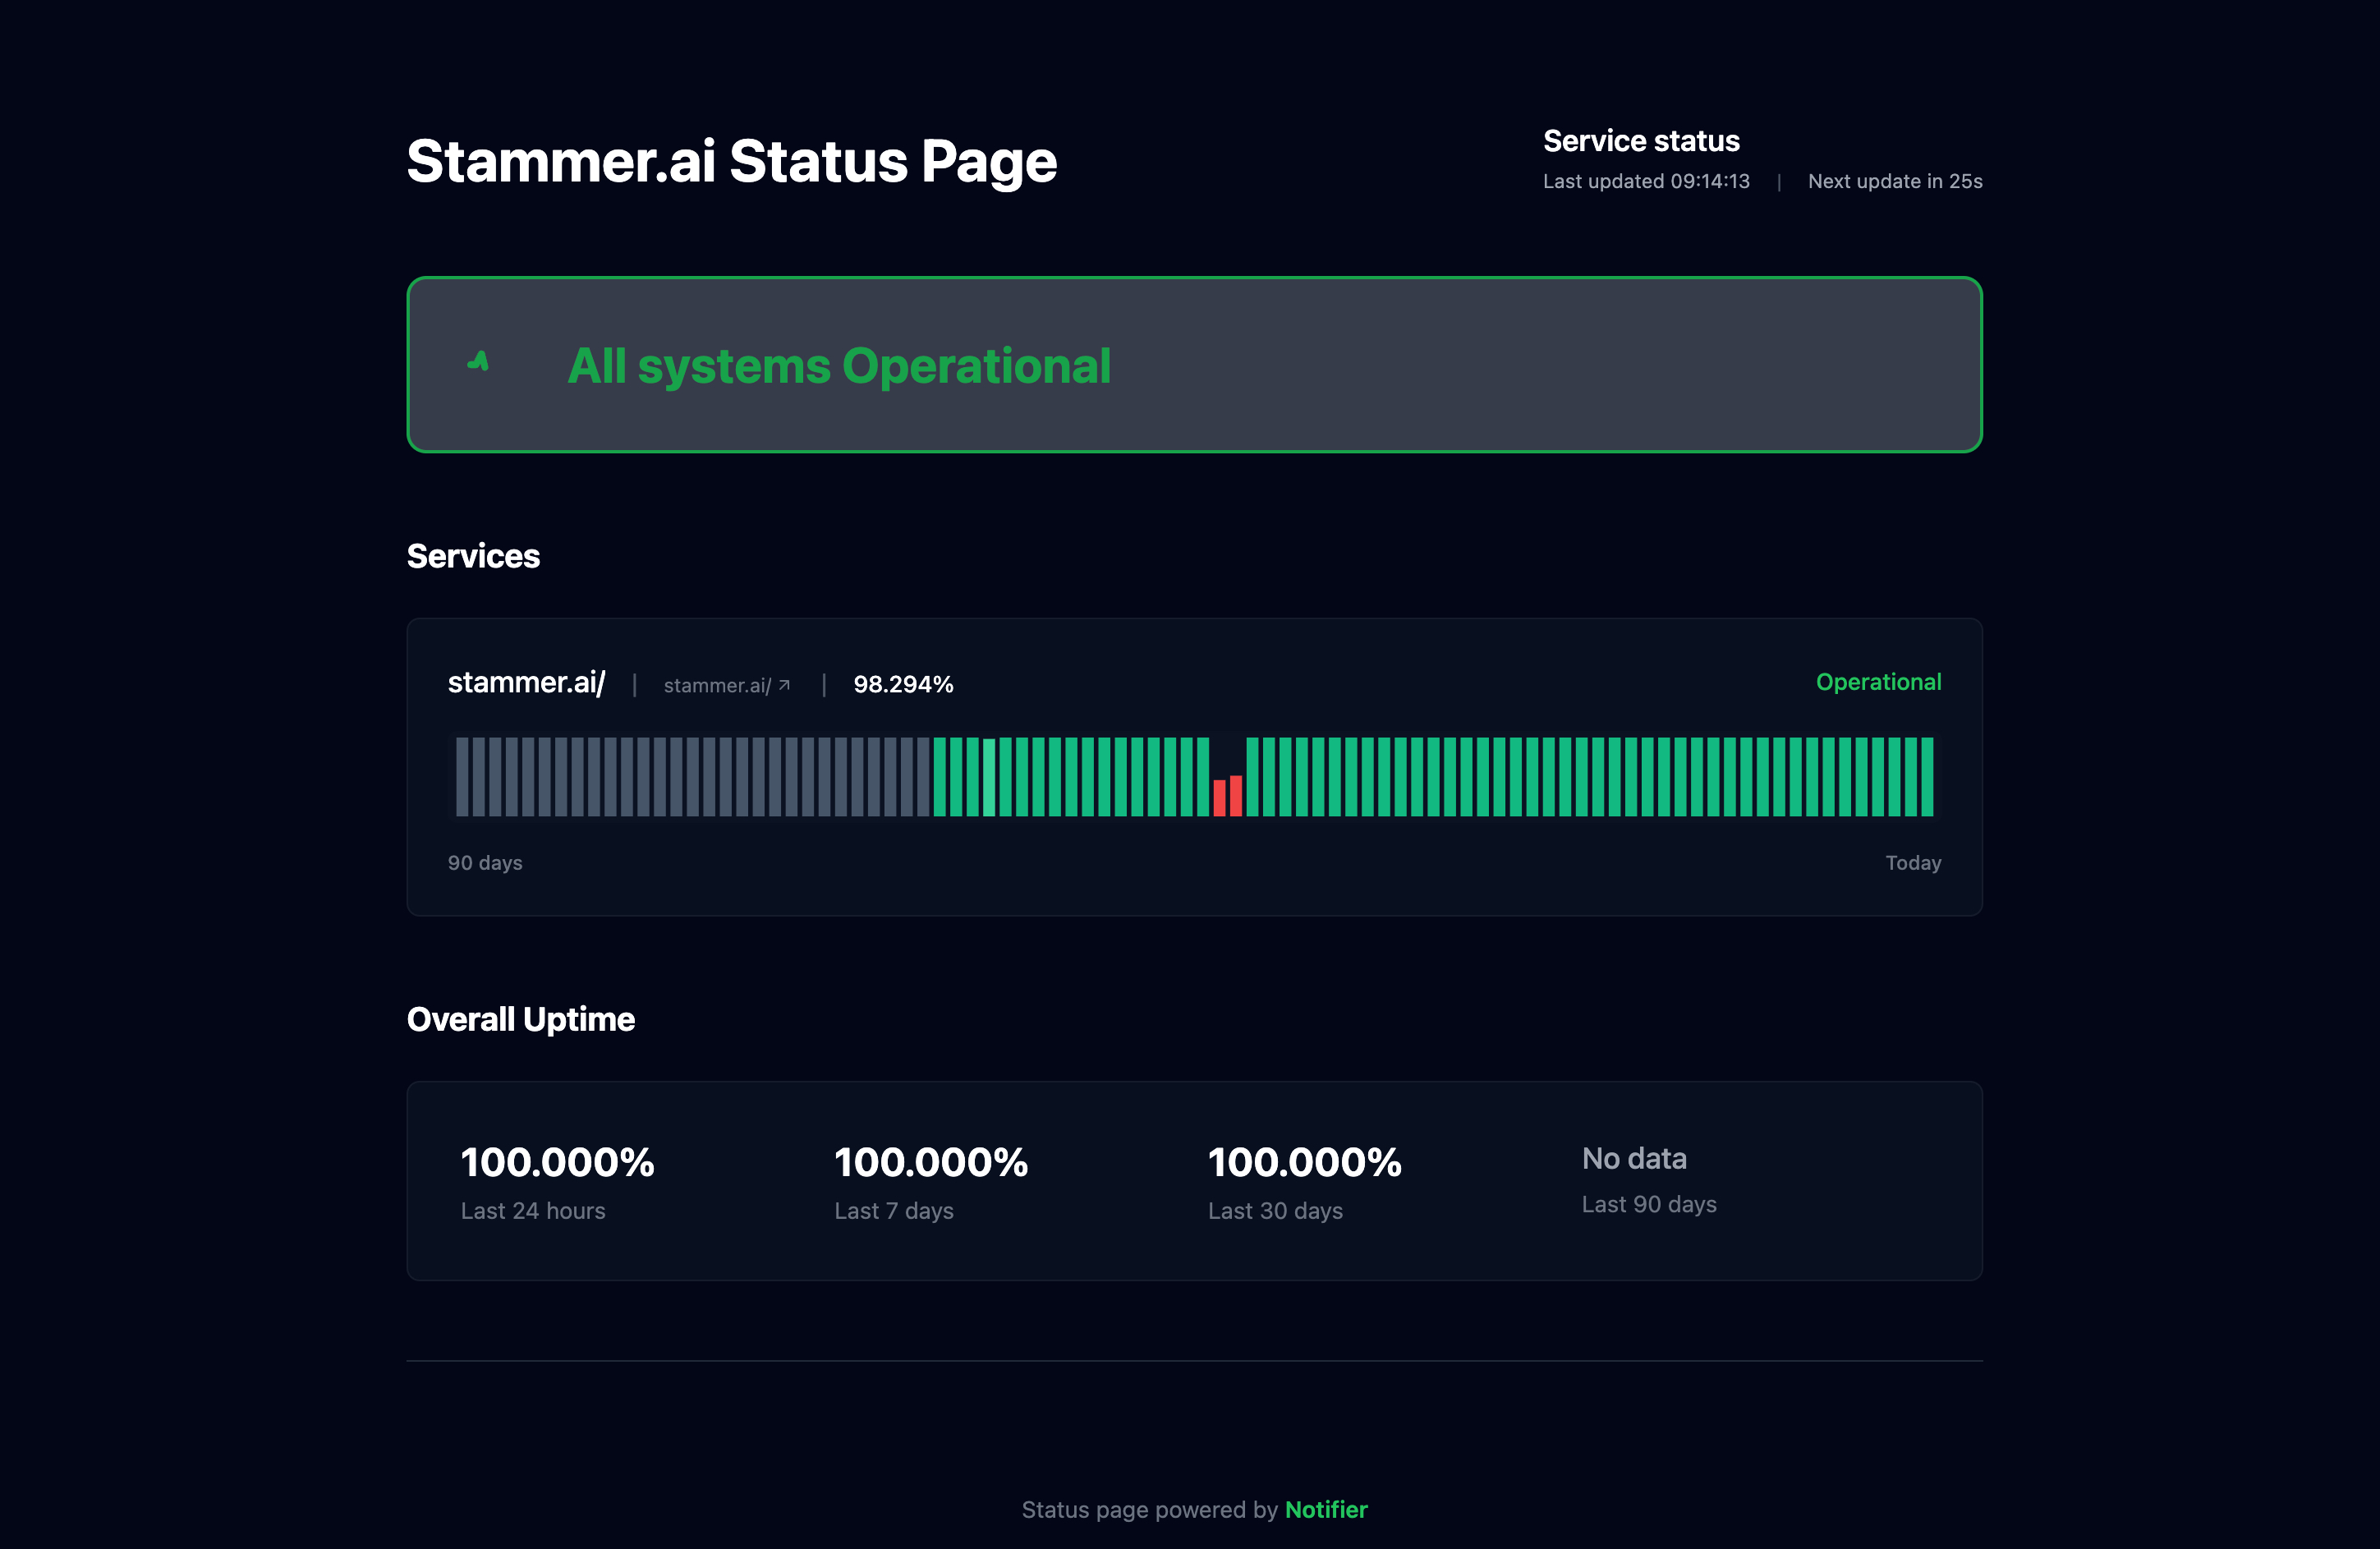
Public status pages let your users check the real time status of your services. Each page shows uptime percentages for the monitors you choose, current up or down status, and a history of past incidents. Status pages are accessible via a unique URL, or you can point your own custom domain to one.
Creating a Status Page
To create a status page:
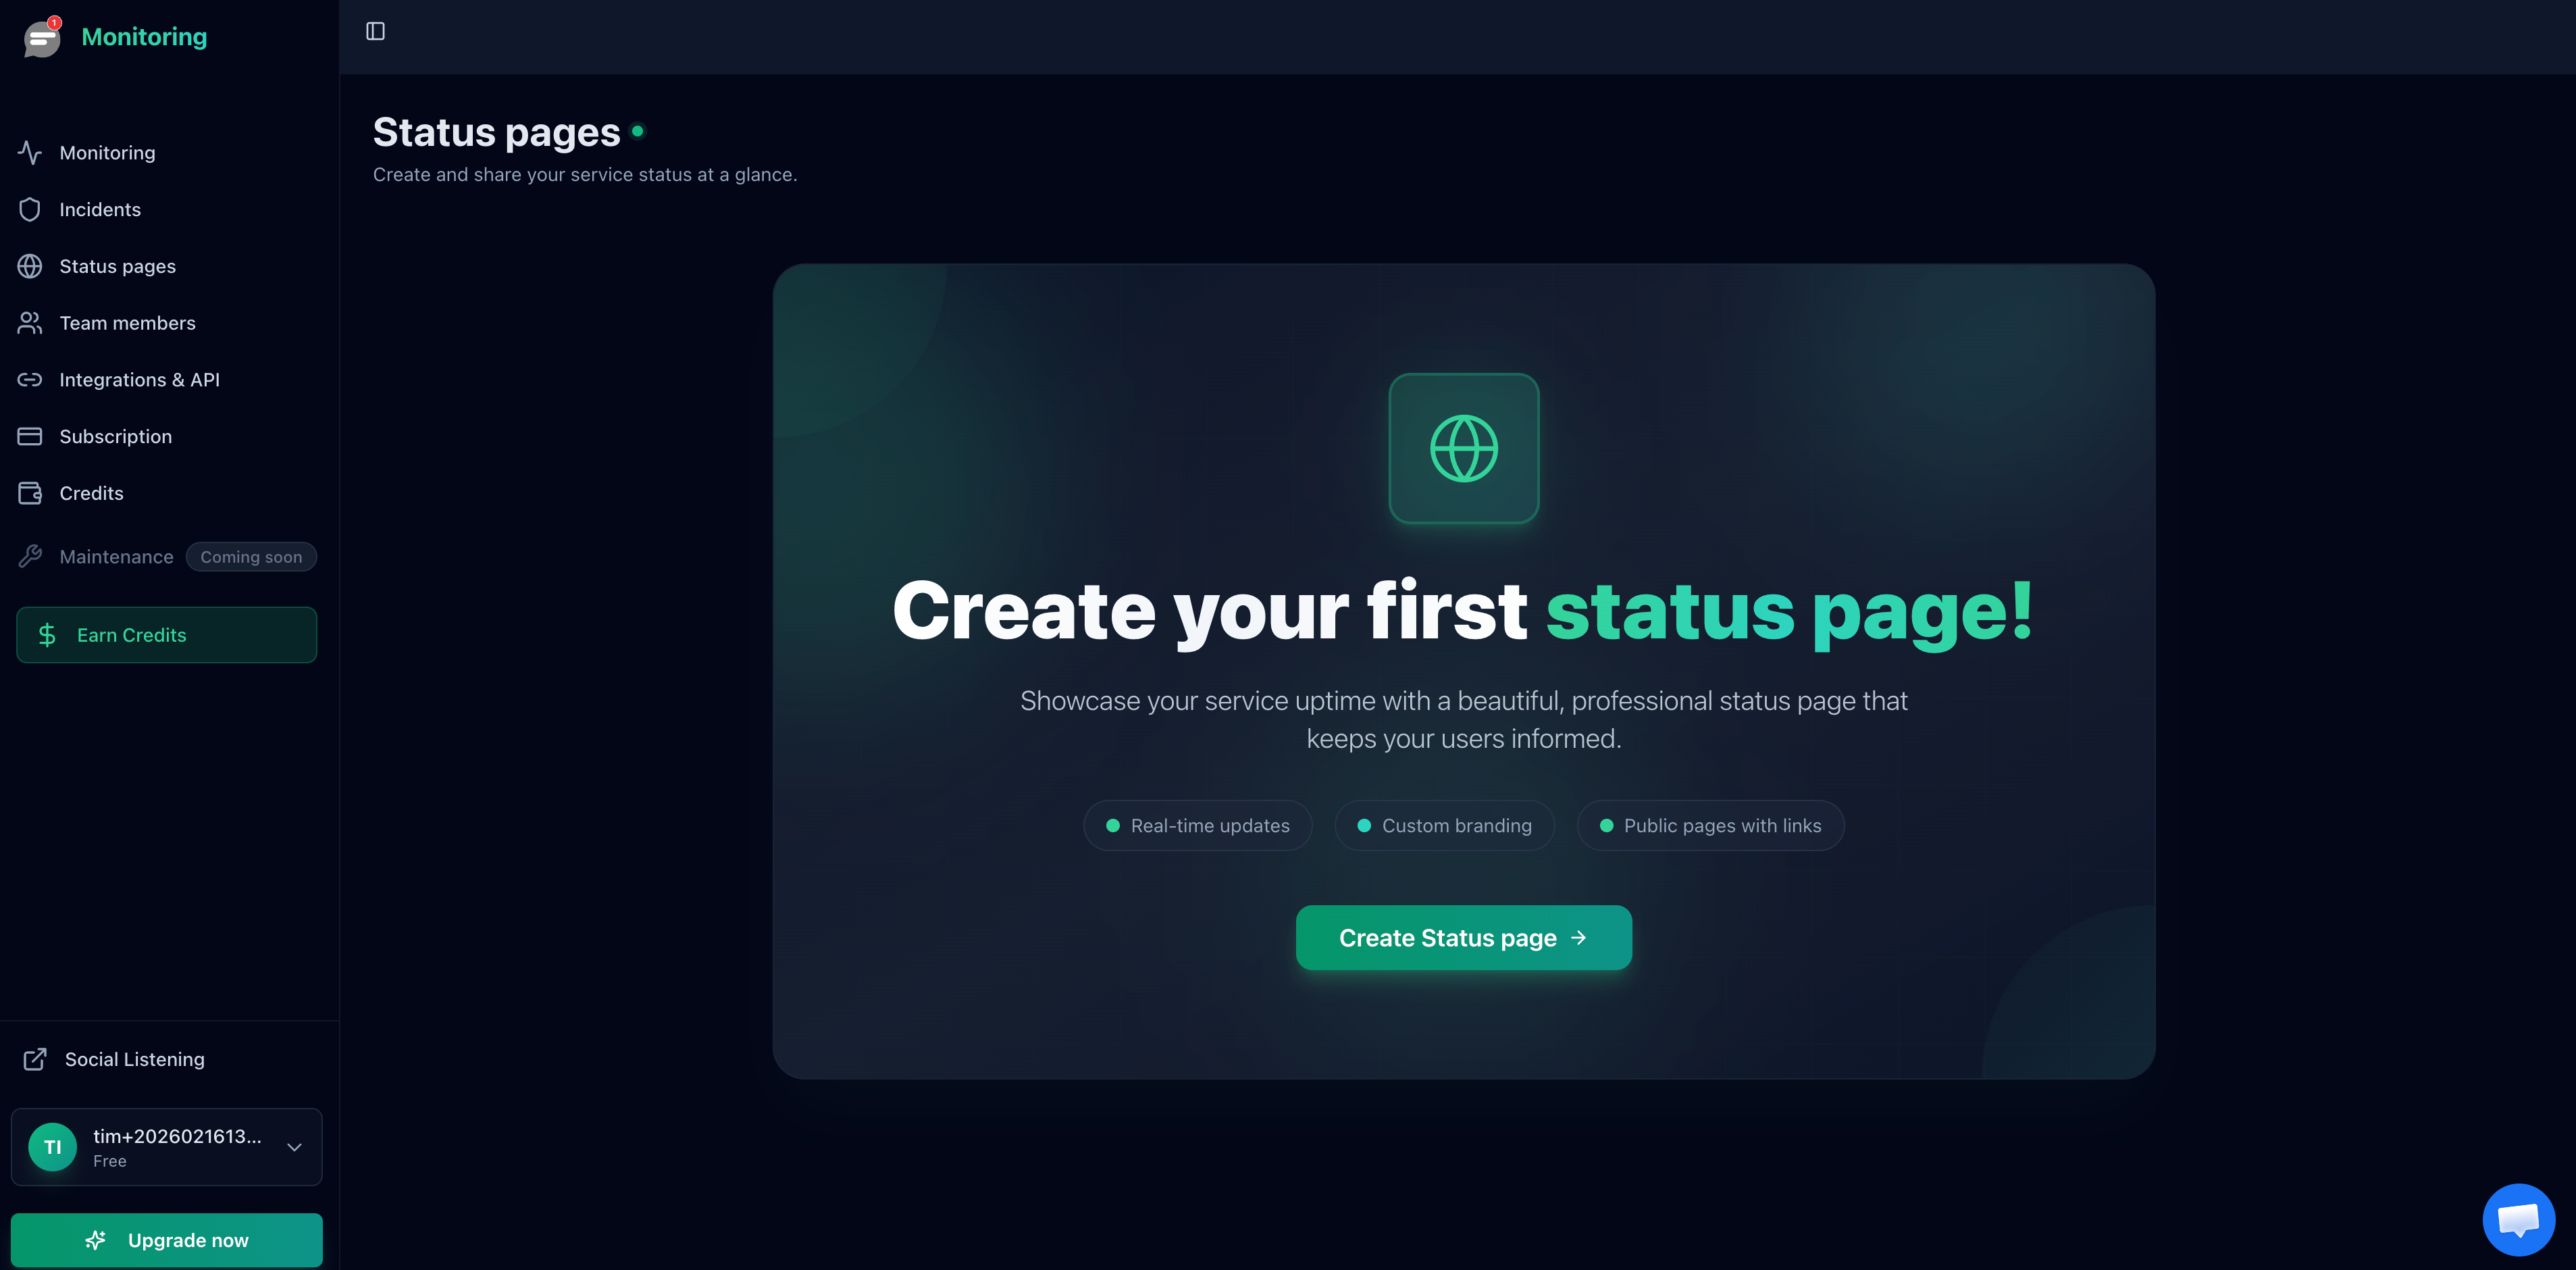
- Click Status Pages in the sidebar.
- Click Create Status Page.
- Enter a name for the page (this appears as the page title for visitors).
- Select which monitors to display.
- Toggle public visibility on or off.
Adding Monitors to a Status Page
When creating or editing a status page, select the monitors you want to display. Each monitor on the page shows:
- Current status (Up or Down)
- Uptime percentage over the last 30 days
- A visual timeline of recent uptime and incidents
You can add or remove monitors at any time by editing the status page. Changes take effect immediately.
Public Access
Every status page gets a unique URL with a 10 character code, for example: status.notifier.so/abc1234xyz. Share this URL with your customers, embed it in your website footer, or link to it from your help center.
Custom Domains
You can serve your status page on your own domain, such as status.yoursite.com. To set this up:
- Open your status page settings and enter your custom domain.
- Add a CNAME record in your DNS provider pointing your subdomain to the value shown in the settings panel.
- Save and wait for DNS propagation and SSL provisioning.
Notifier manages SSL certificates automatically via Cloudflare. The custom domain goes through several states during setup:
- Pending DNS: Waiting for your CNAME record to propagate.
- Pending SSL: DNS verified, SSL certificate is being issued.
- Active: Everything is working. Your status page is live on your custom domain.
- Failed: Something went wrong. Check your DNS records and try again, or contact support.
Email Subscriptions
When enabled, visitors to your status page see a Subscribe to Updates button. After entering their email and confirming via a verification link, they receive automatic notifications whenever an incident is detected or resolved.
To enable subscriptions:
- Edit your status page.
- Toggle Allow subscriptions on.
- Save the page.
Subscribers can filter their notifications to specific monitors on the page, so they only receive alerts for the services they care about.
Password Protection
You can optionally set a password on your status page to restrict access. When enabled, visitors must enter the password before they can view the page. This is useful for internal status pages shared only with your team or specific clients.
Incident History
Toggle Show incidents in your status page settings to display a timeline of past incidents. Each entry shows when the incident started, when it was resolved, and the total duration. This gives your users transparency into recent downtime events.
Dark and Light Mode
Status pages use dark mode by default. You can switch to light mode using the toggle in the status page settings. The mode applies to all visitors viewing that page.
Plan Limits
| Plan | Status Pages | Custom Domains | Subscriptions |
|---|---|---|---|
| Free | 5 | No | No |
| Solo | 10 | Yes | No |
| Team | 50 | Yes | Yes |
| Enterprise | Unlimited | Yes | Yes |