Email is the most universal alert channel for website monitoring. Everyone has an inbox. Every monitoring tool supports email. And unlike Slack or SMS, email creates a searchable record you can reference weeks later when your boss asks "when did that outage happen?"
But email alerts only work if they actually reach you, arrive quickly enough to matter, and contain the right information. This guide covers how to set up website monitoring email notifications correctly, keep them out of spam, and know when email alone is not enough.
Why Email Is Still the Default Alert Channel
With Slack, SMS, phone calls, and push notifications all available, you might wonder why email is still the starting point for monitoring alerts. There are a few practical reasons.
Universal Access
Every team member has an email address. Not everyone is in Slack. Not everyone wants to give out their phone number for SMS alerts. Email works across every organization without any additional setup or third party integrations.
Built In Audit Trail
Email creates a permanent, searchable record of every alert. When you need to look back at incidents from three months ago for a post mortem or SLA report, those emails are sitting in your inbox. Slack messages get lost in noise. SMS messages get deleted. Emails get archived and stay findable.
No Extra Cost
Every monitoring service includes email alerts on their free plans. SMS alerts and phone call alerts are typically paid features. Email is the one channel you always get for free, which makes it the baseline for any monitoring setup.
When Email Falls Short
The downside is obvious: nobody watches their inbox 24/7. If your production site goes down at 2 AM, an email notification is not going to wake you up. That is why email works best as part of a layered alert strategy, which we will cover later in this guide.
How to Set Up Email Alerts with Notifier
Setting up email notifications with Notifier takes about two minutes. Here is how to do it.
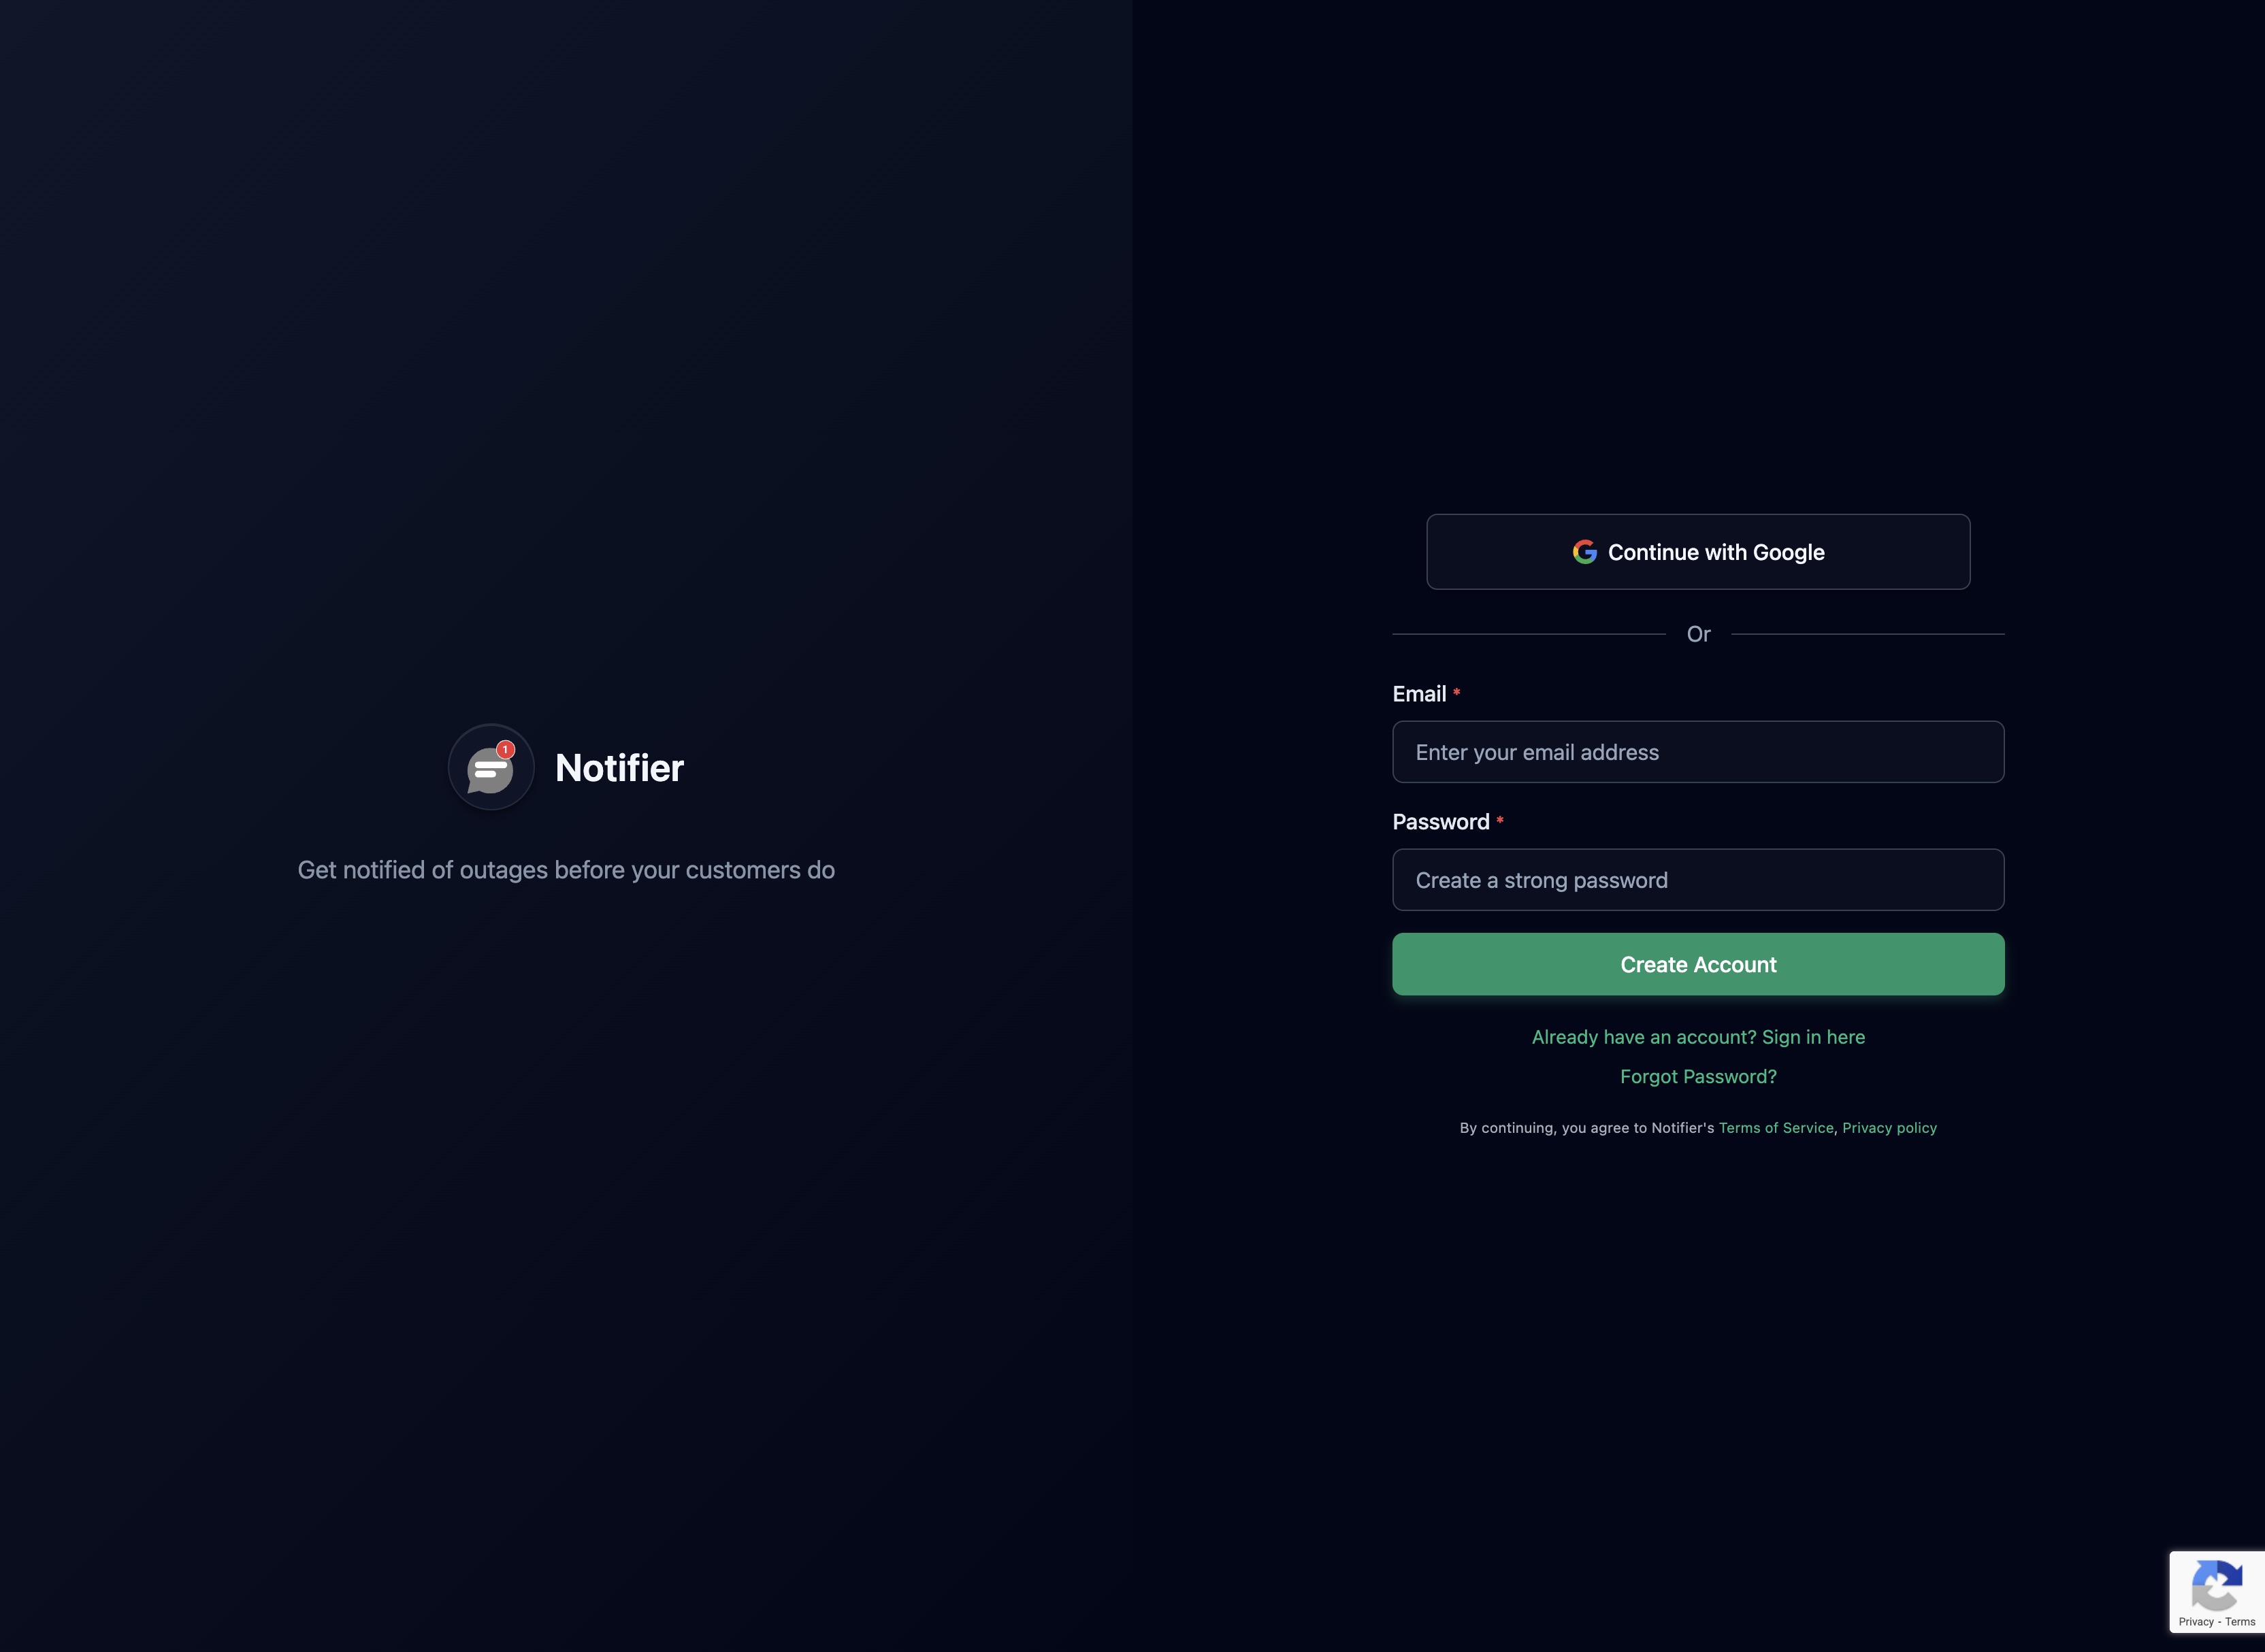
Step 1: Create an Account
Go to notifier.so/register and create a free account. The free plan includes 10 monitors with email alerts, so you do not need to enter a credit card.
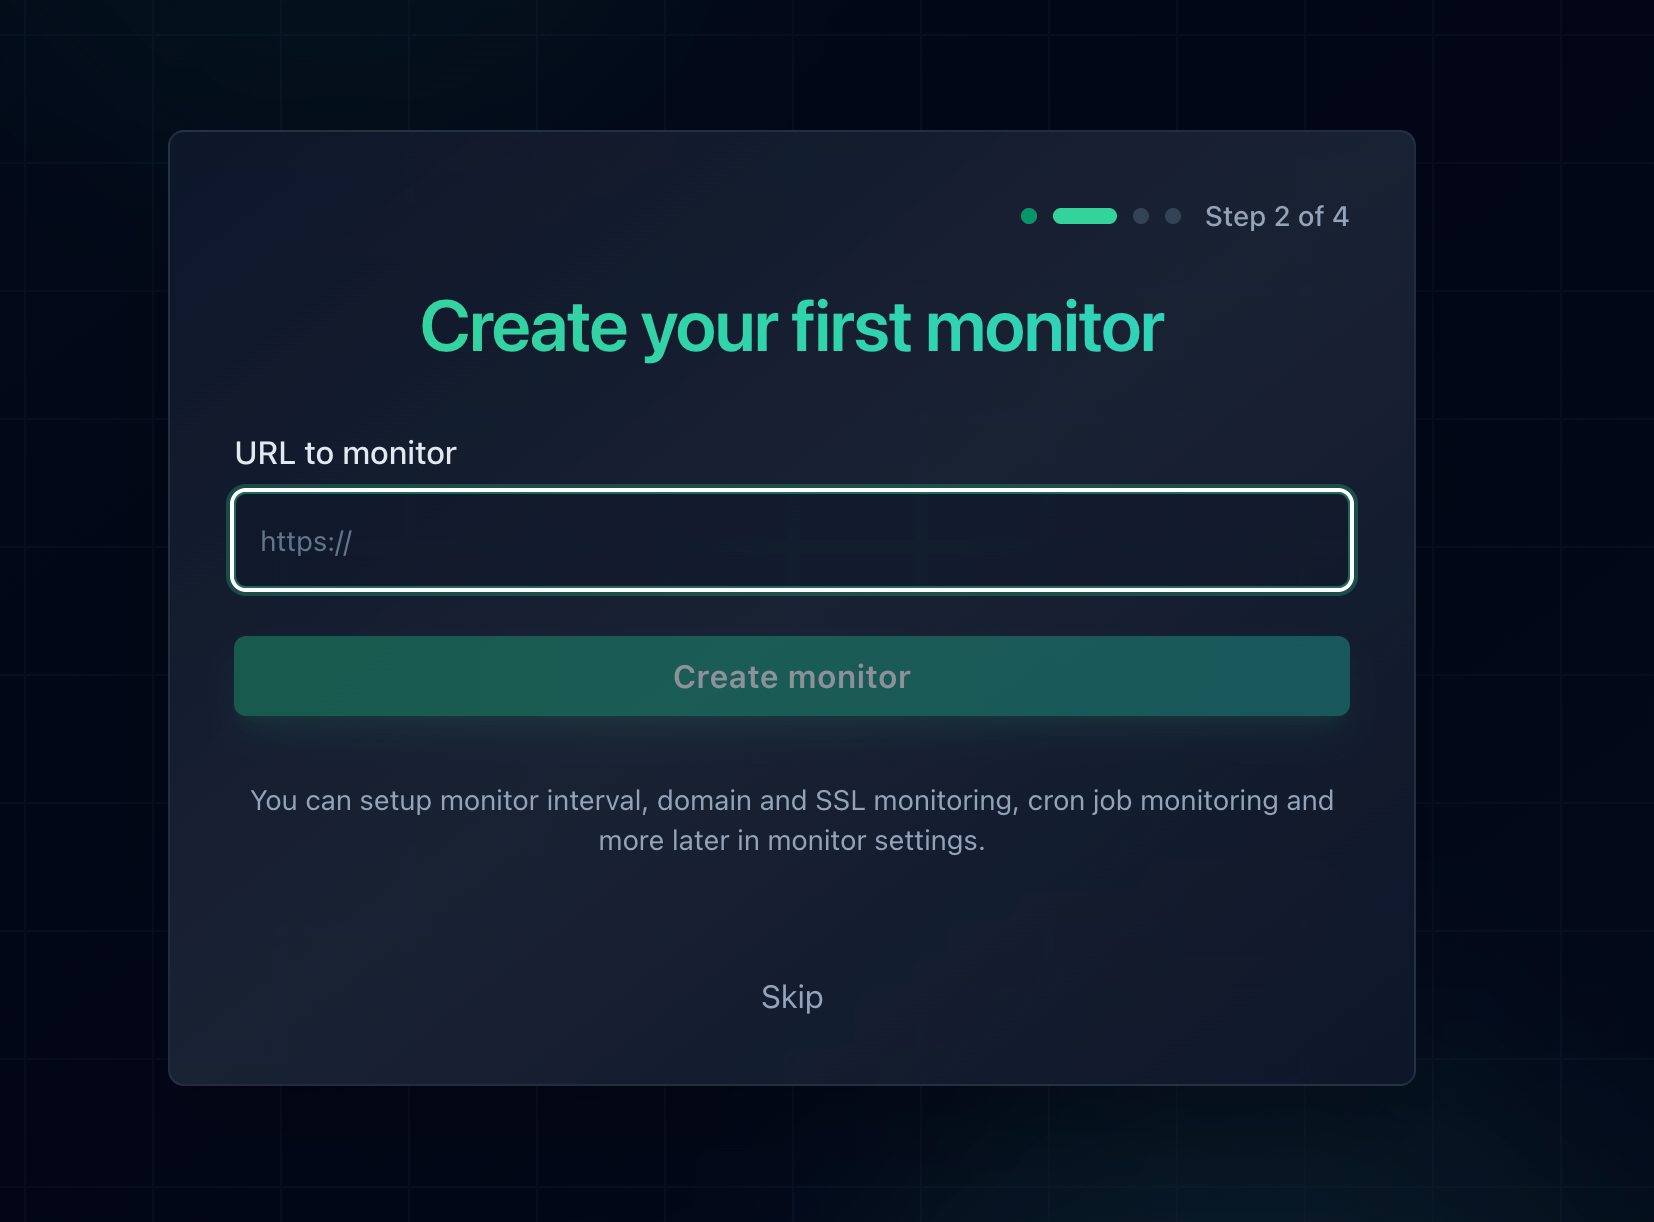
Step 2: Add a Monitor
Click Add Monitor and enter your website URL. Notifier will start checking your site at the interval you choose. On the free plan, checks run every 5 minutes. On Solo ($4/month), checks run every minute. On Team ($19/month), checks run every 30 seconds.
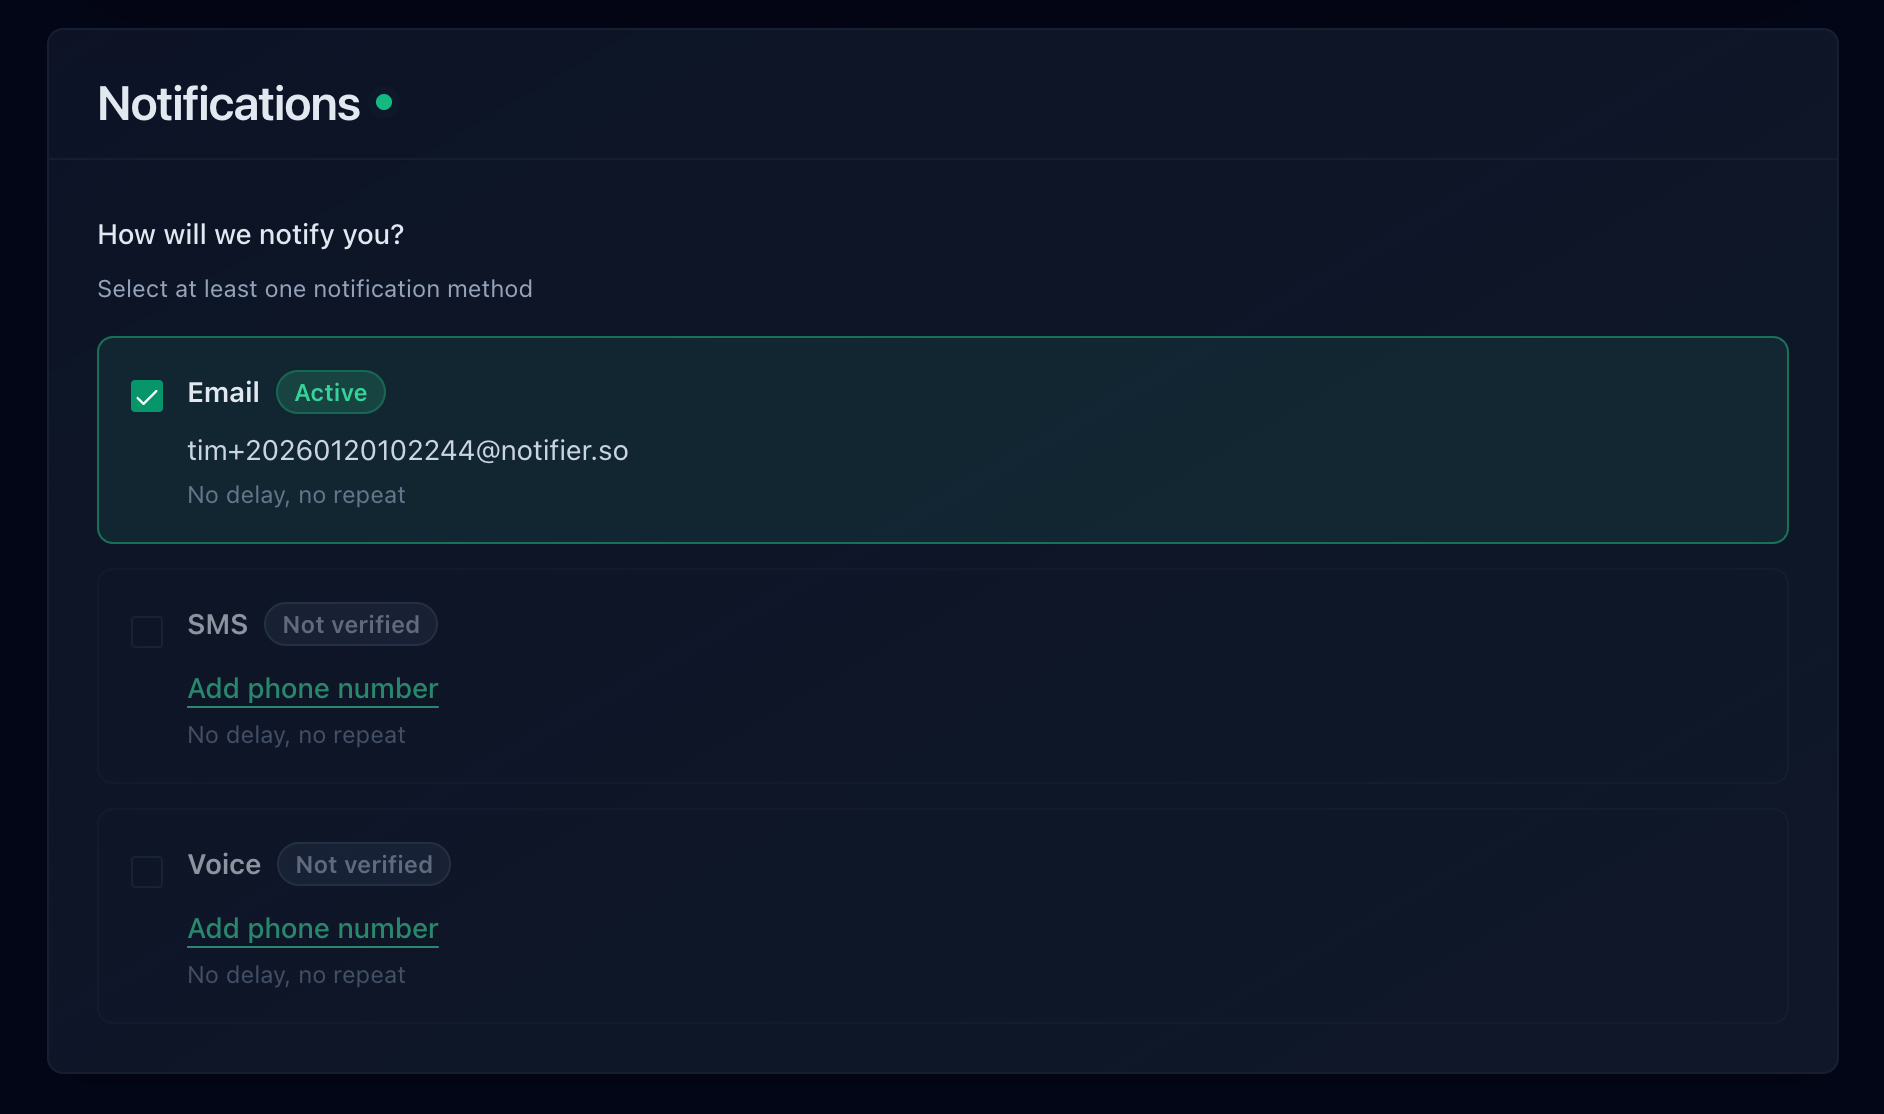
Step 3: Confirm Email Notifications
Email notifications are enabled by default for every new monitor. In the notification settings, you will see email is already checked. You can also enable SMS, phone calls, and Slack from the same screen.
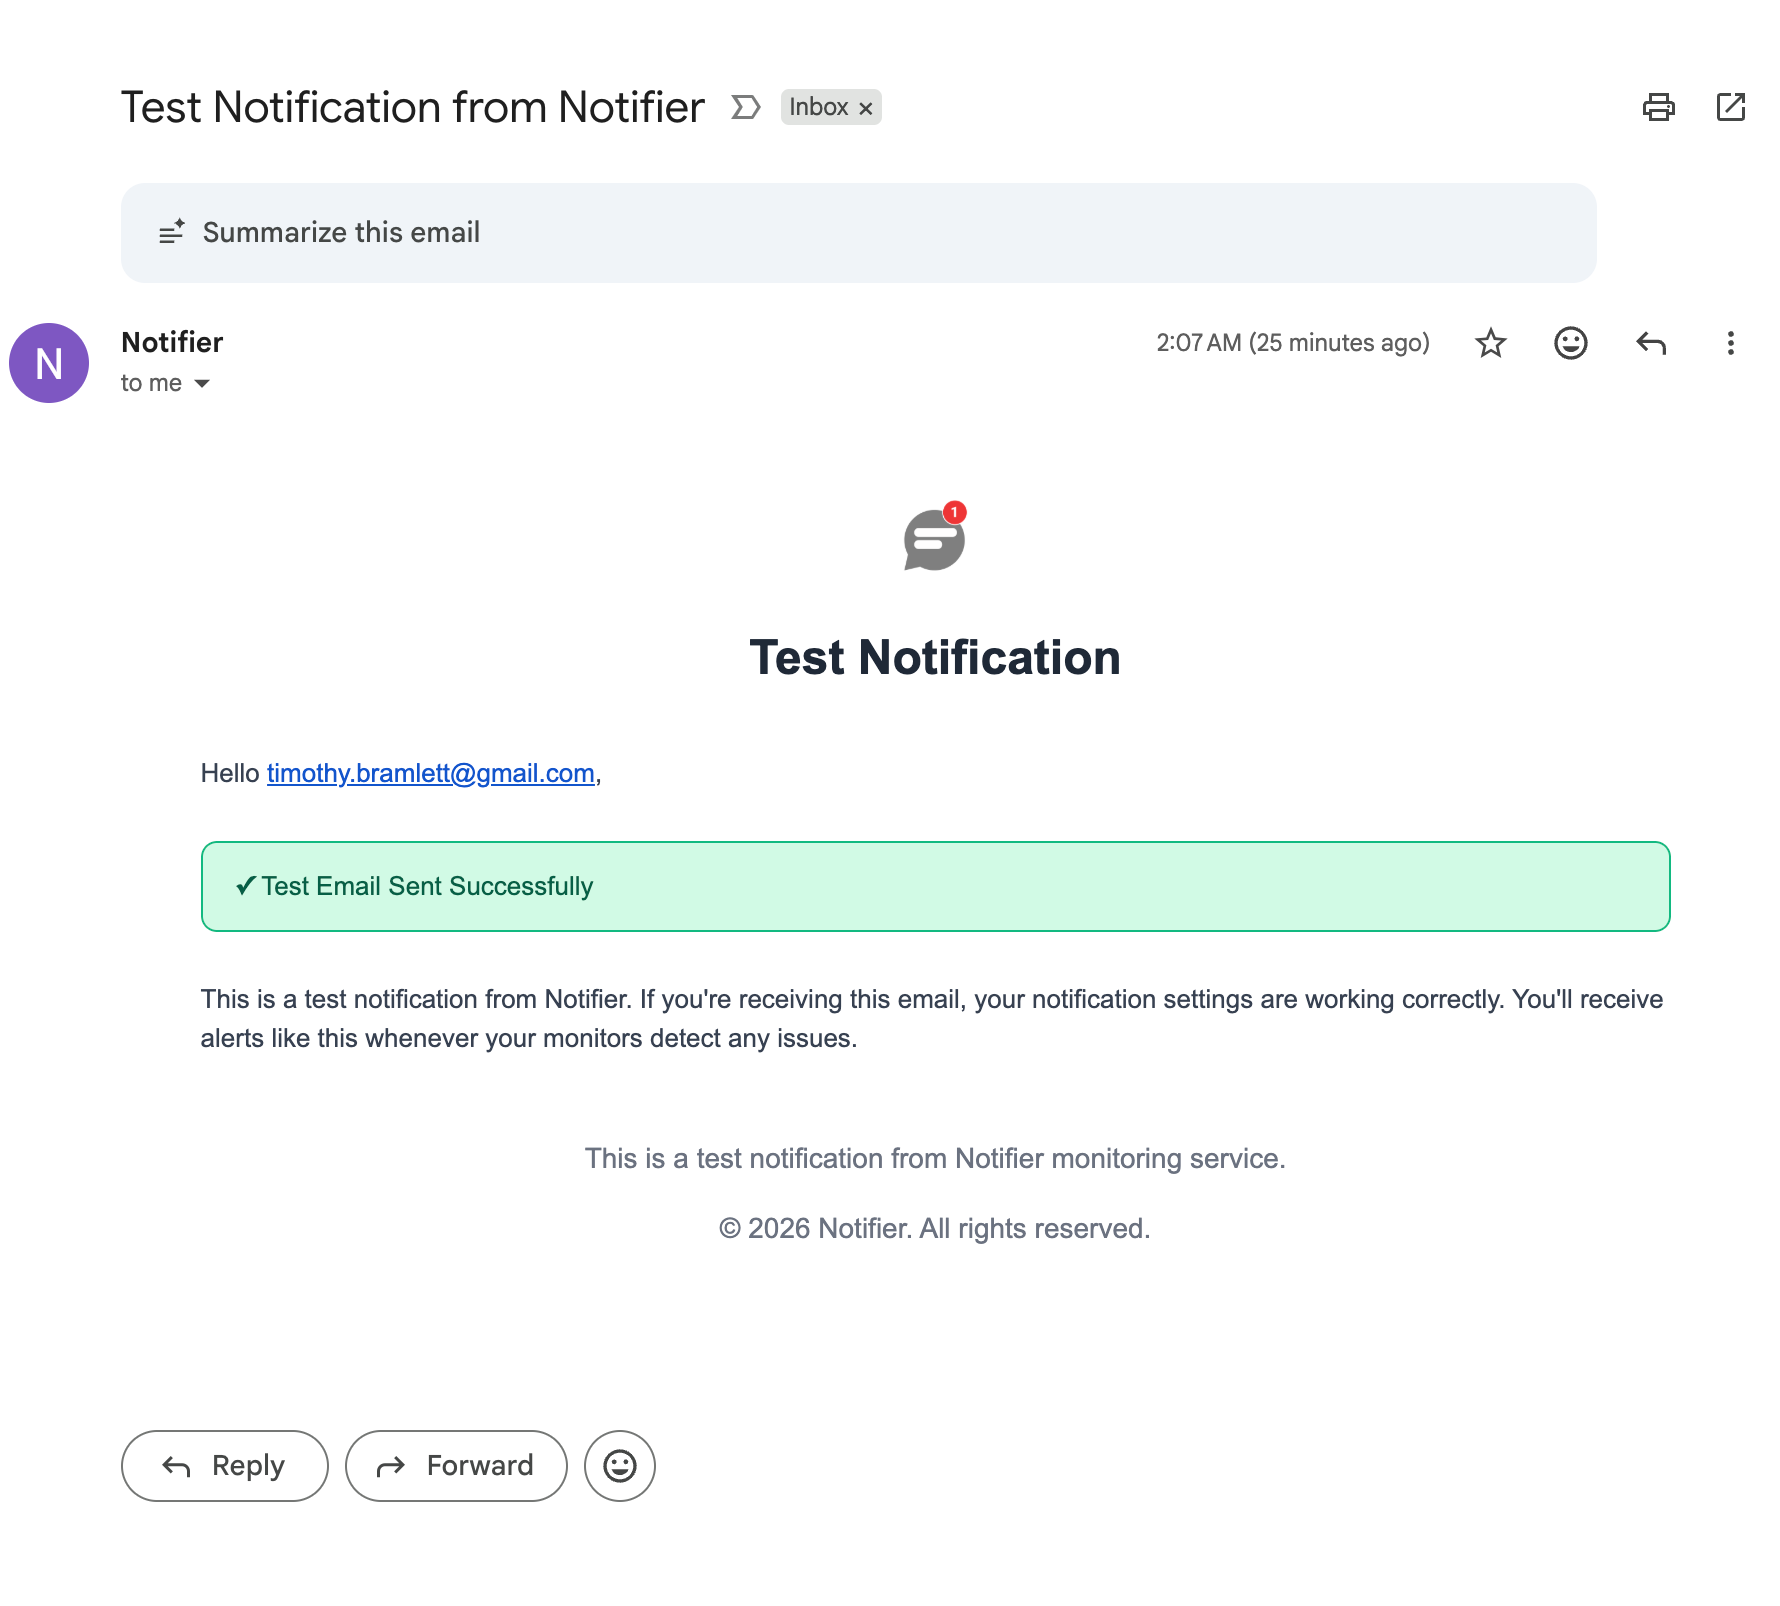
Step 4: Test It
After saving your monitor, use the Test Notification button on the monitor detail page. You will receive a test email within seconds confirming your email alerts are working.
That is all there is to it. When your site goes down, you will receive an email alert. When it comes back up, you will receive a recovery email. Both happen automatically.
What a Good Monitoring Email Looks Like
Not all monitoring emails are created equal. A useful alert email should tell you what happened, when it happened, and give you enough context to act immediately. Here is what Notifier sends when your site goes down.
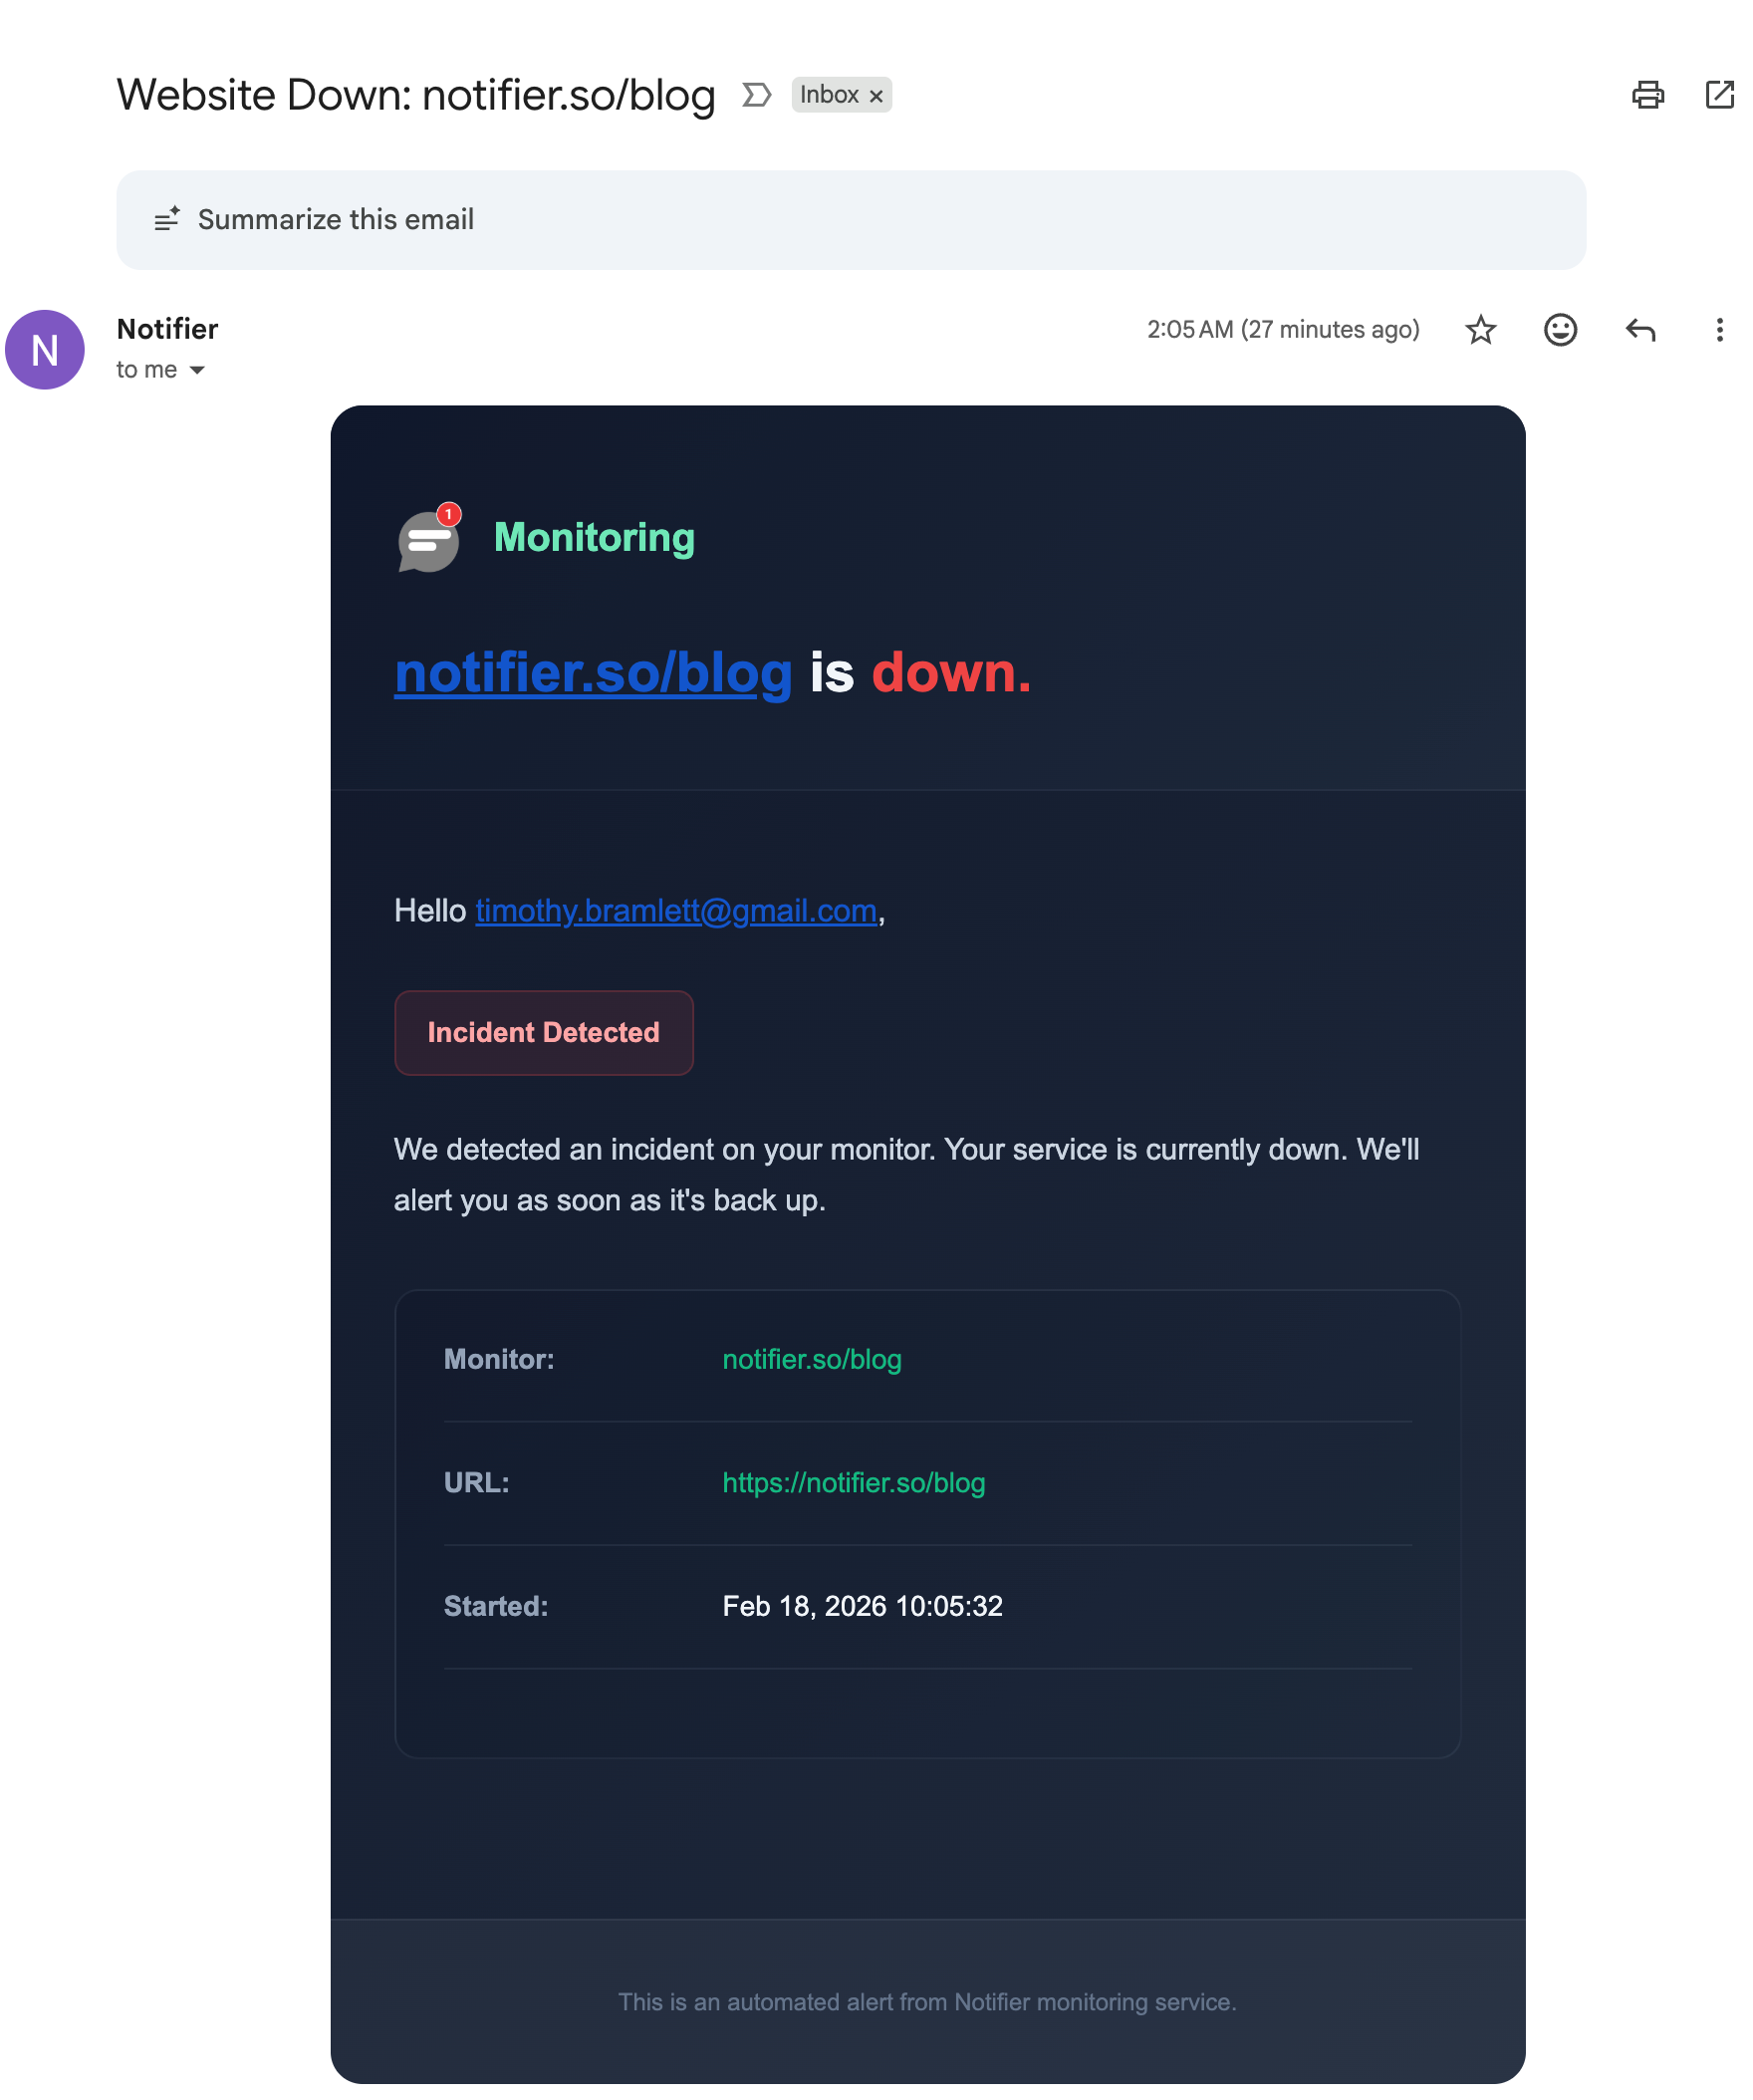
The Downtime Alert
When Notifier detects your site is down, you receive an email with a clear subject line: "Website Down: yoursite.com". The email body includes:
- What is down: The monitor name and URL
- When it started: The exact timestamp of the incident
- Visual status: A red "Incident Detected" badge so you can identify it at a glance
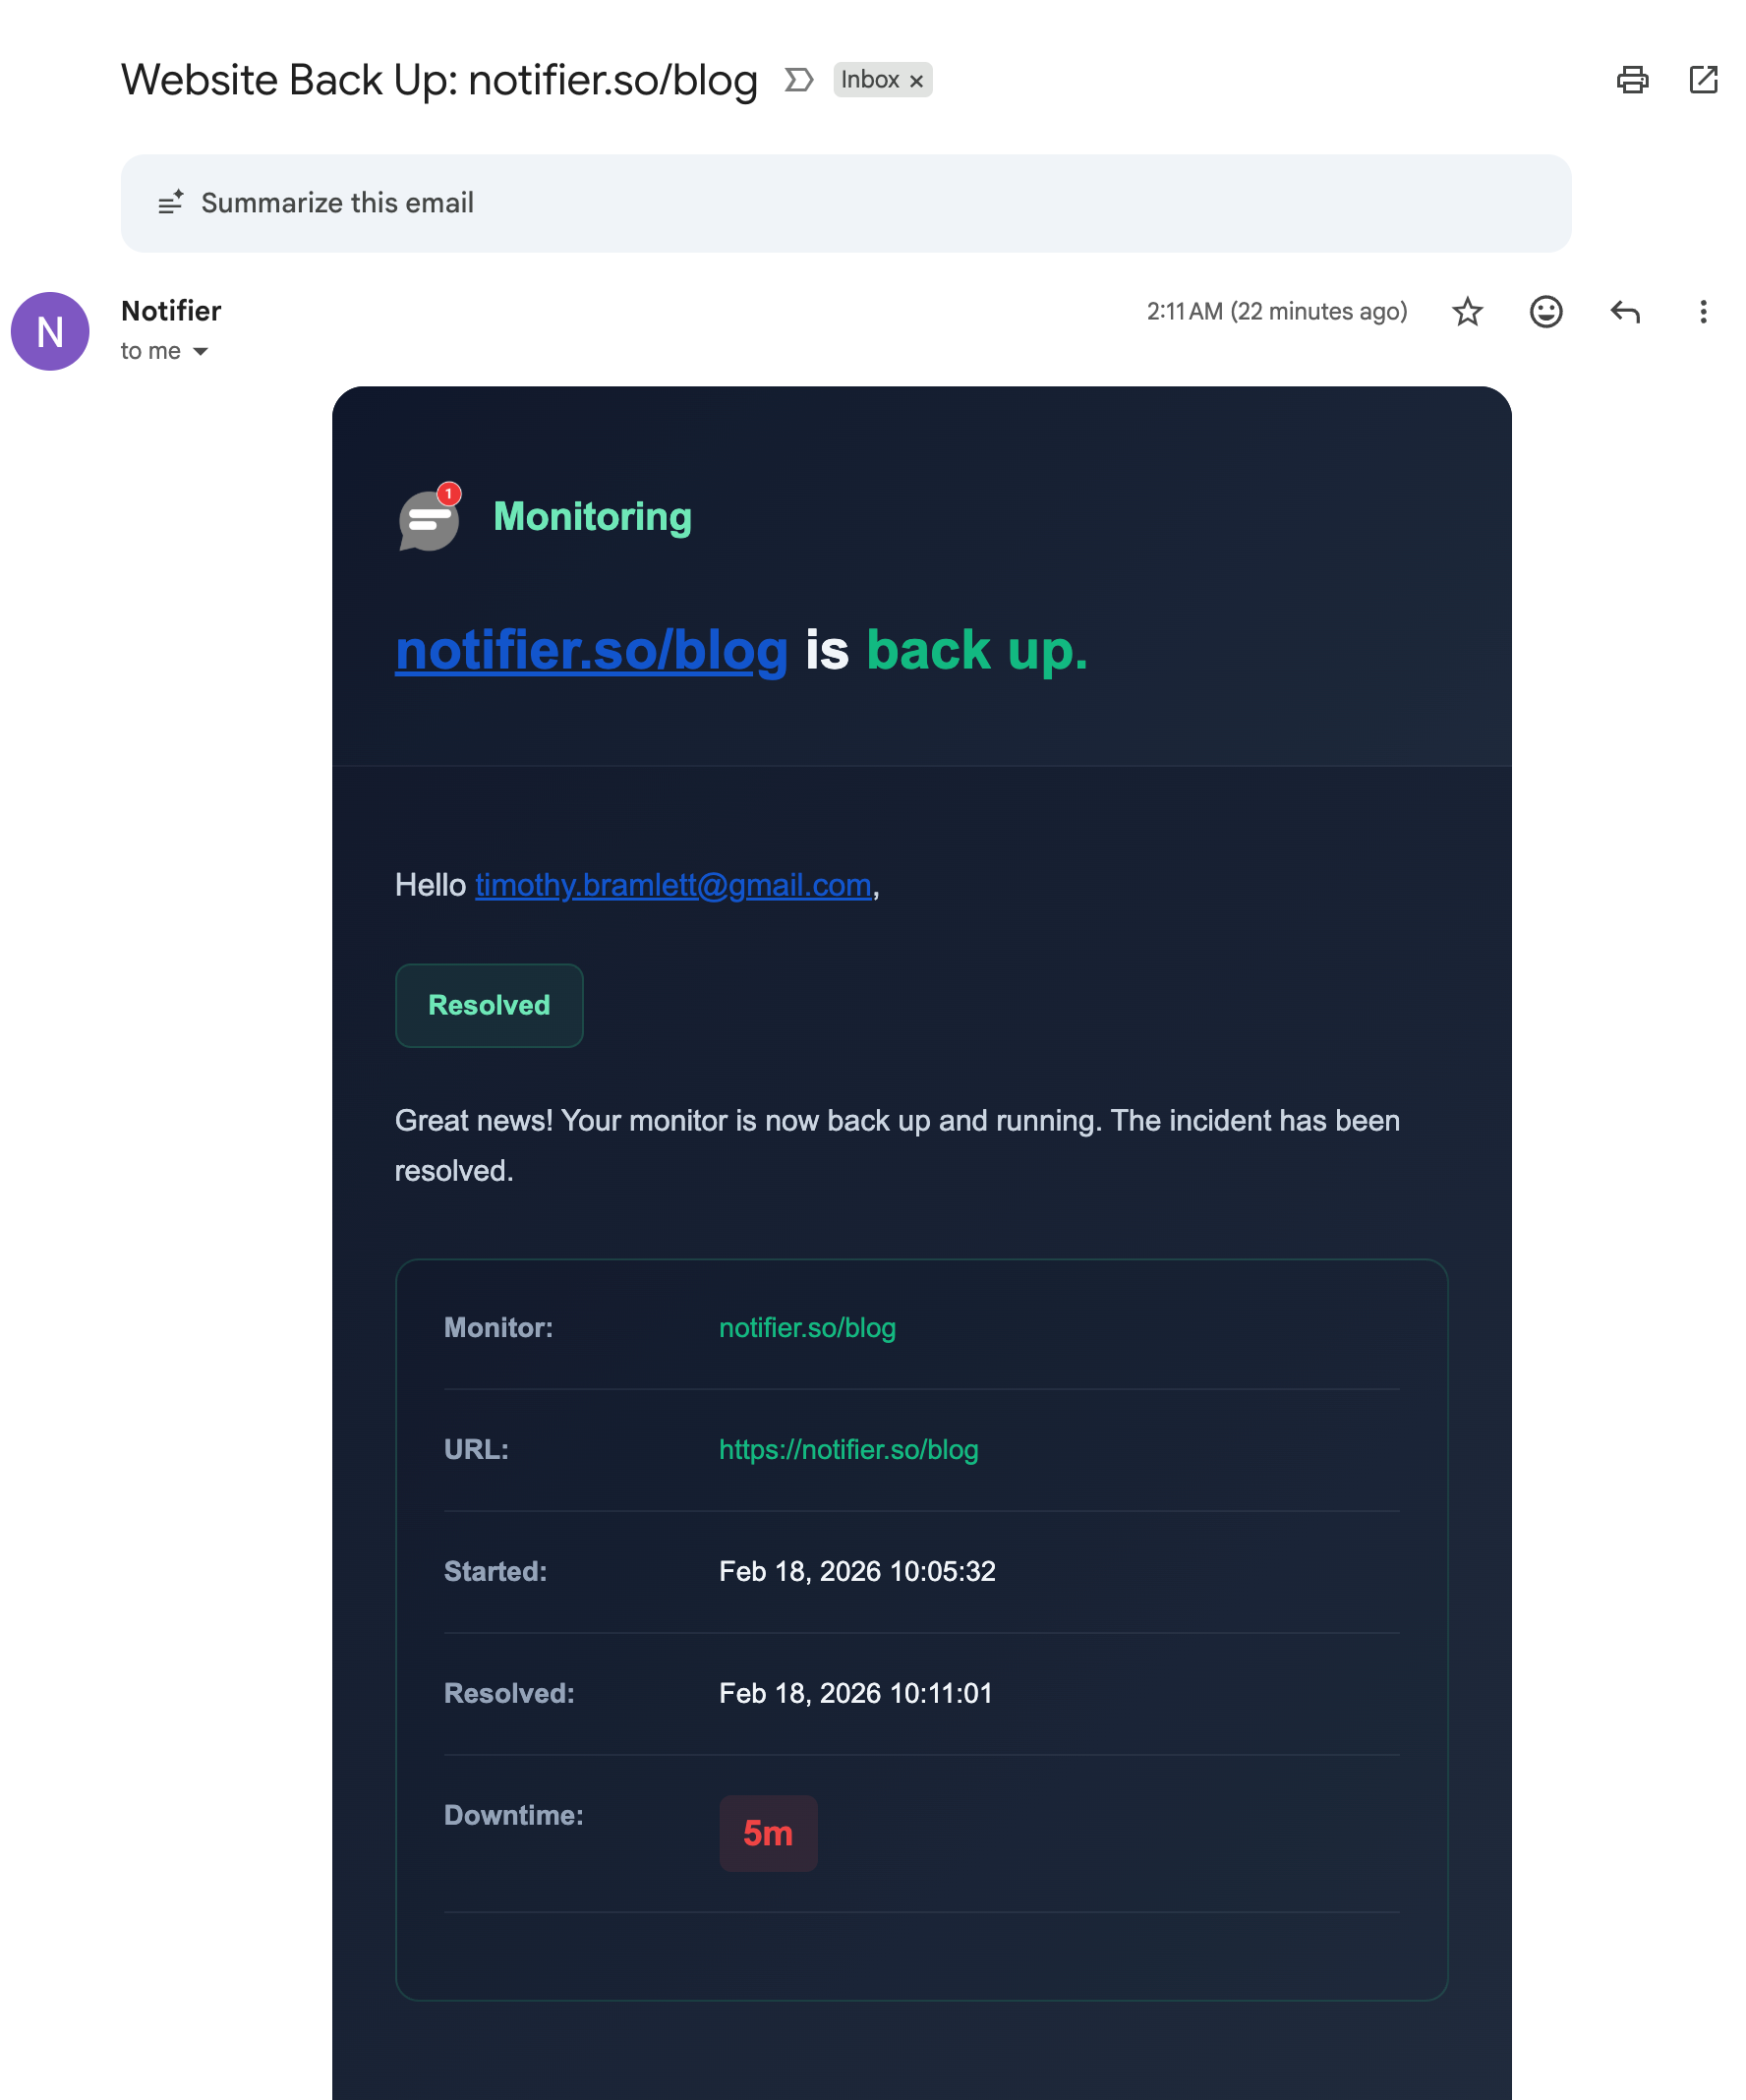
The Recovery Alert
When your site comes back up, you get a recovery email: "Website Back Up: yoursite.com". This one includes:
- Resolution confirmation: A green "Resolved" badge
- When it started: Original incident timestamp
- When it recovered: The exact time the site came back
- Total downtime: How long the outage lasted (highlighted in red for visibility)
Why This Matters
Some monitoring tools send vague alerts like "Check failed" with no context. You end up logging into a dashboard just to figure out what happened. A good monitoring email should give you the full picture without clicking anything. You should be able to read it on your phone and immediately know whether you need to act.
Why Monitoring Emails Land in Spam (And How to Fix It)
The biggest risk with email alerts is not that they are slow. It is that they never arrive at all. Gmail, Outlook, and other providers are aggressive about filtering automated emails into spam or promotions tabs. Here is how to make sure your monitoring emails reach your inbox.
Add the Sender to Your Contacts
The simplest fix. Add the monitoring tool's sender address to your email contacts. For Notifier, add alerts@notifier.so to your address book. Gmail and Outlook both treat emails from known contacts as higher priority.
Create a Gmail Filter
In Gmail, create a filter that matches emails from your monitoring tool and applies "Never send to Spam" plus optionally "Star it" or "Apply label." Here is how:
- Open Gmail and click the search bar filter icon
- In the "From" field, enter
alerts@notifier.so - Click "Create filter"
- Check "Never send it to Spam" and optionally "Star it" or "Apply the label"
- Click "Create filter" again to save
Create an Outlook Rule
In Outlook, go to Settings, then Mail, then Rules. Create a new rule that matches emails from your monitoring service and moves them to your Focused inbox or a specific folder. You can also add the sender to your Safe Senders list under Junk Email settings.
Check Your Promotions Tab
Gmail's category tabs (Primary, Social, Promotions, Updates) can hide monitoring emails. If your alert lands in Updates or Promotions, open the email and drag it to the Primary tab. Gmail will ask if you want to always do this for emails from that sender. Click yes.
Check after setup
After creating your first monitor, use the Test Notification button and verify the email arrived in your inbox (not spam or promotions). If it ended up in the wrong place, fix it now before you actually need it. The worst time to discover your alerts are going to spam is during a real outage.
Sending Alerts to Multiple People
If you are the only person monitoring your site, a single email address works fine. But most teams need alerts to reach multiple people. There are a few ways to handle this.
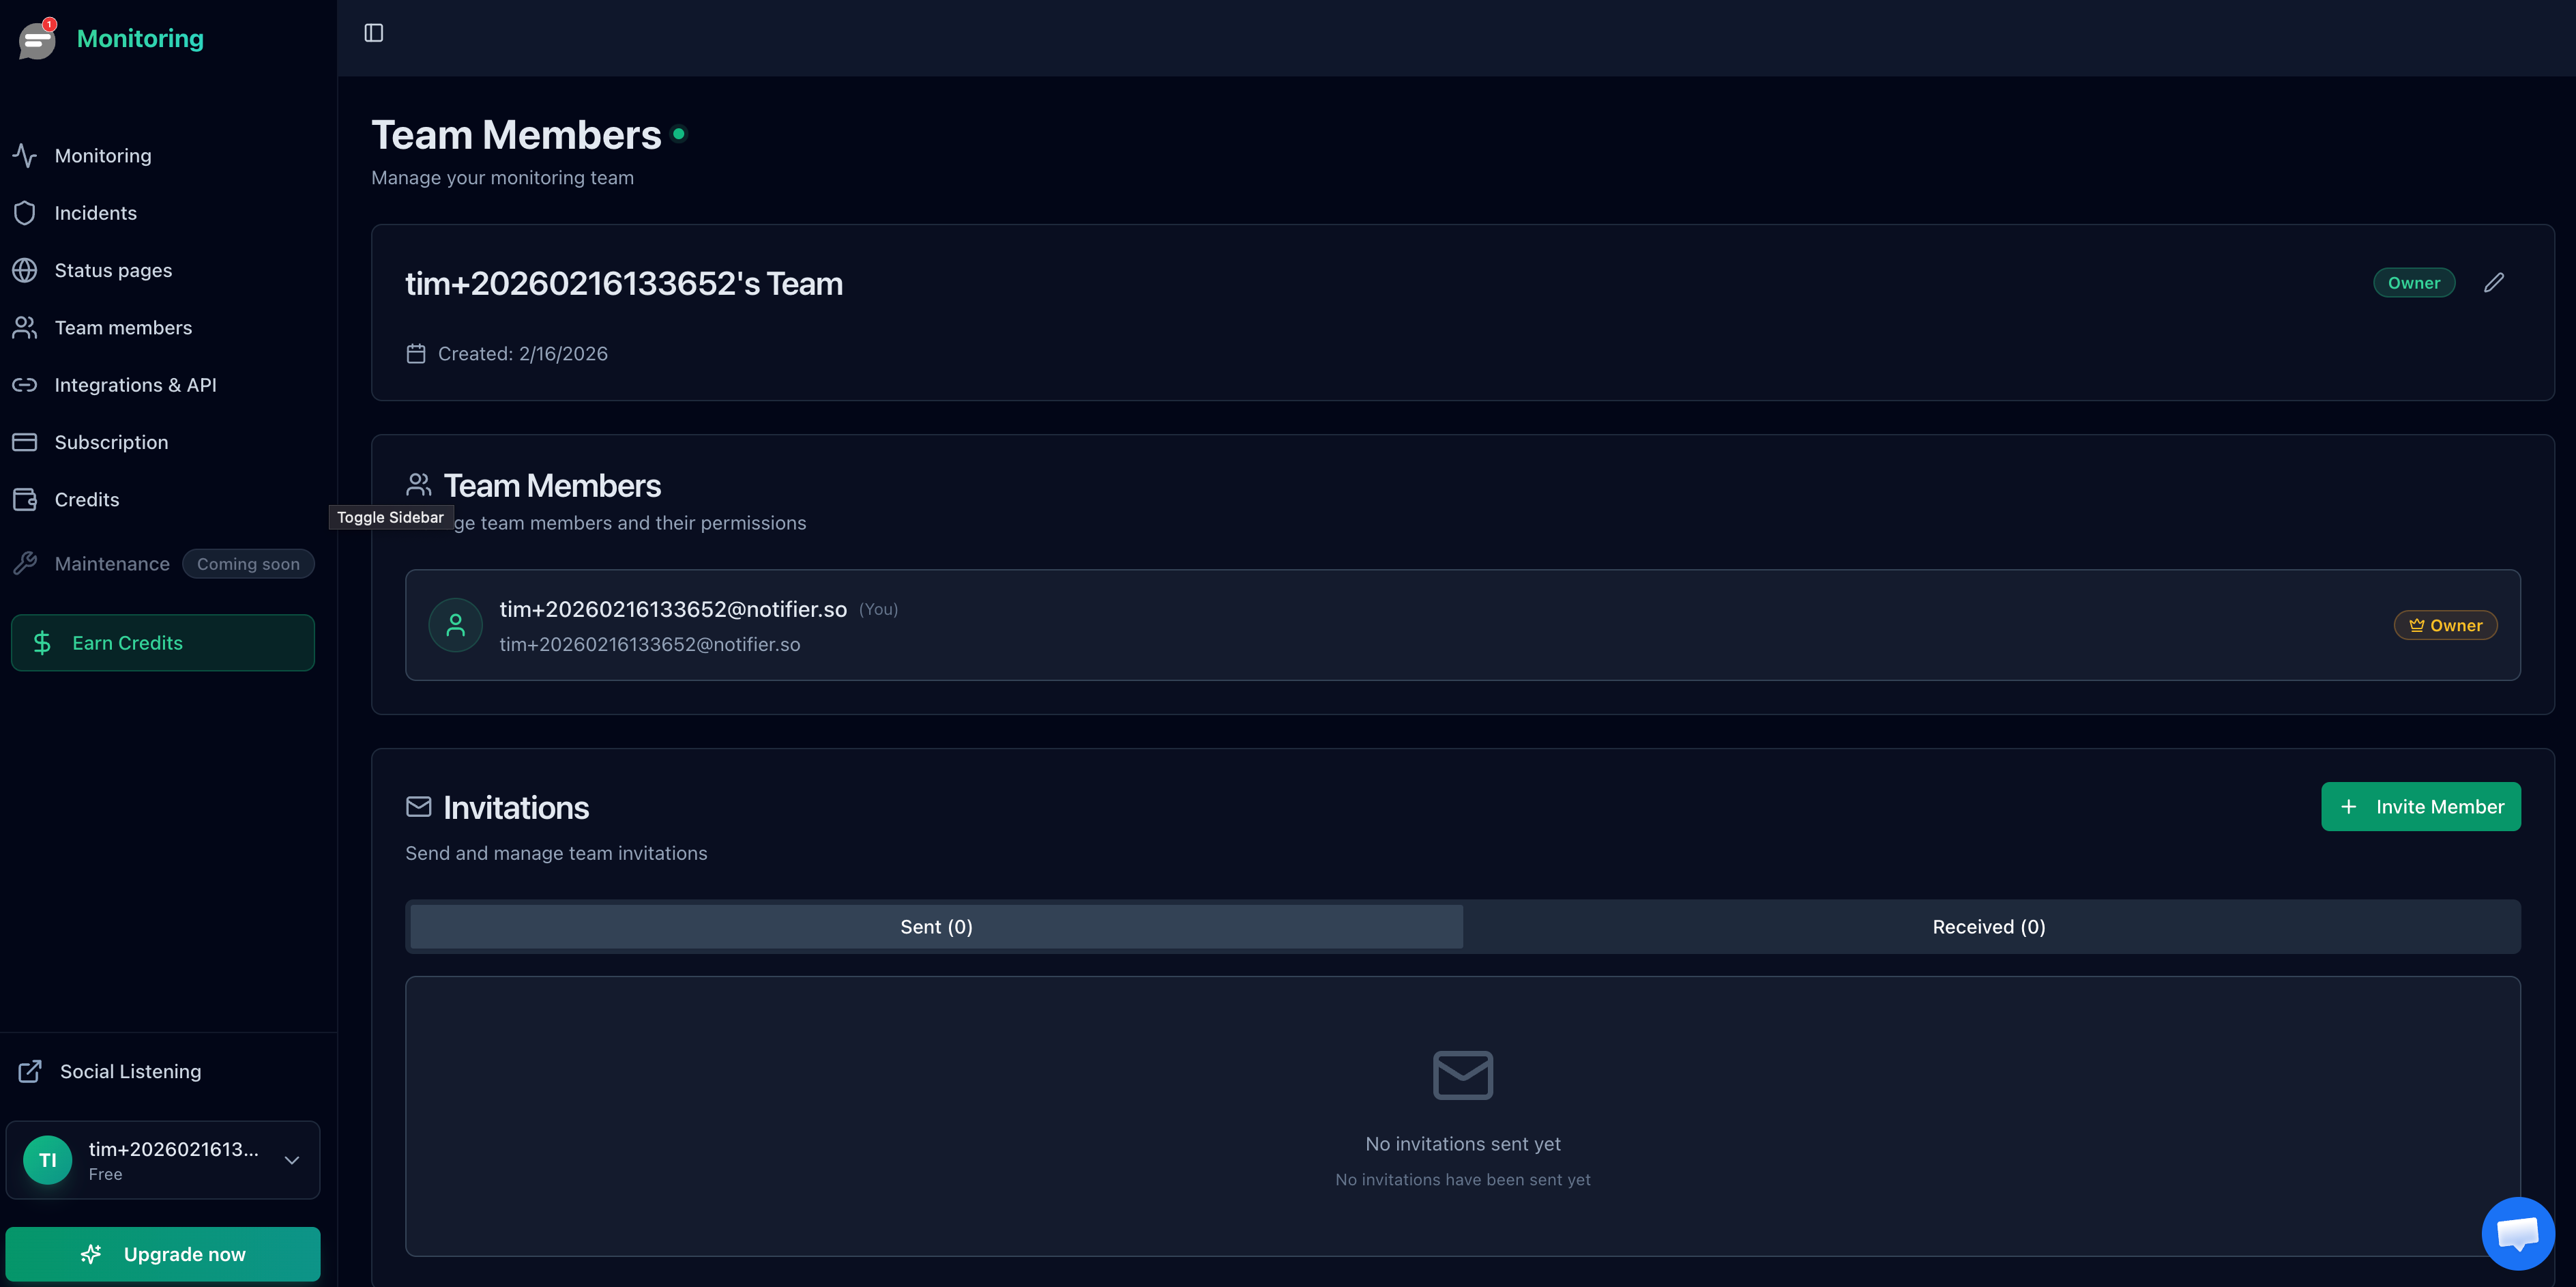
Team Members
On Notifier's Team plan ($19/month) and Enterprise plan ($35/month), you can invite additional team members who each receive their own email alerts. Each team member gets their own login and can configure their personal notification preferences.
Shared Email Aliases
If your team uses a shared email address like ops@yourcompany.com or a Google Group, you can use that as your notification address. Every member of the group receives the alert. This works on any plan, including the free tier.
Combine Email with Slack
A common pattern is to send email alerts for the audit trail and Slack alerts for real time team visibility. With Notifier, you can enable both on the same monitor. The email serves as documentation and the Slack message gets the team's attention immediately. See our Slack alerts guide for the full setup.
When Email Alone Is Not Enough
Email is the right starting point, but it should not be your only alert channel for critical services. Here is when to escalate beyond email and what to use.
Add SMS for Production Services
If your production website or API goes down, you need to know within minutes, not whenever you check your inbox. SMS alerts arrive on your phone's lock screen and work even when you do not have internet access. For anything that directly affects customers or revenue, enable SMS alongside email.

Add Phone Calls for Critical Infrastructure
For your most critical services, phone call alerts guarantee someone wakes up. A ringing phone at 3 AM is impossible to miss, which is exactly the point. Reserve phone call alerts for the services where downtime costs real money every minute.
A Practical Layered Setup
Here is a common pattern that works well for most teams:
| What You Monitor | Alert Channels | Why |
|---|---|---|
| Production website | Email + SMS + Slack | Customer facing, needs immediate response |
| Payment/checkout API | Email + SMS + Phone call | Revenue impact, wake someone up |
| Staging/dev environments | Email only | No urgency, check during work hours |
| Blog or docs site | Email + Slack | Important but not urgent |
| Internal tools | Slack only | Team visibility, no audit trail needed |
With Notifier, you configure alert channels per monitor. Your production site can use email, SMS, and Slack while your staging environment only gets email. This keeps noise low for non critical services and ensures critical alerts actually reach you.
How Monitoring Tools Compare for Email Alerts
Every monitoring tool includes email, but the details matter. Here is how the major tools compare.
| Tool | Email on Free Plan | Recovery Alerts | Multiple Recipients | SMS Escalation |
|---|---|---|---|---|
| Notifier | Yes (10 monitors) | Yes | Team plan ($19/mo) | All paid plans |
| UptimeRobot | Yes (50 monitors*) | Yes | Free (add contacts) | Paid plans only |
| Better Stack | Yes (10 monitors) | Yes | Team plan ($25/mo) | Paid plans only |
| Pingdom | No free plan | Yes | Included ($15/mo+) | SMS add-on |
| Freshping | Yes (50 monitors) | Yes | Free (add contacts) | No SMS |
| StatusCake | Yes (10 monitors) | Yes | Free (add contacts) | Paid plans only |
*UptimeRobot's free plan is limited to non-commercial use.
The biggest difference is what comes with the free plans and how much escalation (SMS, phone) costs. Notifier includes SMS and phone call alerts on all paid plans starting at $4/month. Some competitors charge extra per SMS or limit SMS to higher tiers.
Frequently Asked Questions
How fast do email alerts arrive?
Most monitoring tools send the email within seconds of detecting downtime. The delay is usually in email delivery, which depends on your email provider. Gmail typically delivers within 10 to 30 seconds. Corporate email servers with aggressive scanning can add 1 to 2 minutes. In total, expect to receive a downtime email within 1 to 3 minutes of the actual outage starting, depending on your check interval.
Can I send alerts to multiple email addresses?
Yes. On Notifier's Team and Enterprise plans, you can invite team members who each receive their own alerts. On any plan, you can use a shared email alias (like a Google Group) as your notification address to reach multiple people. Some competitors allow adding multiple email contacts on free plans.
What if my monitoring emails go to spam?
Add the sender address to your contacts, create a Gmail filter or Outlook rule to prevent spam filtering, and check your Promotions/Updates tabs. After setting up, always send a test notification to verify delivery. Notifier uses authenticated email sending (SPF, DKIM, DMARC) to maximize deliverability.
Should I use email or Slack for monitoring alerts?
Use both. Email gives you a permanent audit trail and works for people who are not in your Slack workspace. Slack gives you real time team visibility and faster response during work hours. See our Slack alerts guide for setup instructions.
Do I get recovery emails too?
Most monitoring tools, including Notifier, send both downtime and recovery emails. The recovery email tells you when the service came back online and how long the outage lasted. This is useful for incident records and SLA tracking.
Is email enough for production monitoring?
For production services that affect customers or revenue, email alone is not enough. Add SMS alerts at minimum so you get notified on your phone's lock screen. For truly critical services (payment processing, main website), consider adding phone call alerts as well. Use email as your baseline and escalate from there.
Set Up Email Alerts in 2 Minutes
Notifier's free plan includes 10 monitors with email alerts, 5 status pages, and no credit card required. Paid plans start at $4/month and add SMS, phone calls, and faster check intervals.
Start Monitoring Free