Your team already lives in Slack. When your website goes down, the alert should show up where people are actually looking. Not buried in an inbox. Not in a separate dashboard nobody checks. Right there in Slack, where someone will see it and act on it.
This guide walks you through setting up uptime monitoring with Slack alerts, from connecting your first integration to organizing channels so alerts don't become noise.
Why Slack Is the Best Place for Uptime Alerts
Email alerts work, but they have a problem: people don't check email in real time. An outage notification sitting in your inbox for 20 minutes defeats the purpose of monitoring. Slack solves this because your team is already there.
Shared Visibility
When a downtime alert posts to a Slack channel, everyone on the team sees it. There's no "I didn't get the email" or "it went to spam." The alert is visible, and so is the response. When someone acknowledges the issue and starts working on it, the whole team knows.
Faster Response Times
Slack pushes notifications to desktop and mobile instantly. Most developers have Slack open all day. Combine that with a monitoring tool that checks your site every 30 to 60 seconds, and you can know about an outage within a minute or two of it happening.
Context in One Place
When an alert fires in Slack, your team can immediately discuss it in a thread. Share logs, coordinate the fix, and document what happened. No switching between tools. No "check the monitoring dashboard" followed by "check the incident channel." Everything is in one place.
Slack should not be your only alert channel
Slack is great for team visibility, but it shouldn't be the only way you get notified. For critical production systems, pair Slack alerts with SMS or phone call alerts as a backup. If someone's phone is on silent or Slack is down, you need a fallback.
Two Ways to Connect: Webhooks vs OAuth Apps
Monitoring tools connect to Slack in one of two ways. Understanding the difference helps you pick the right tool and avoid integration headaches.
Incoming Webhooks (Legacy)
The older method. You create a Slack app manually, enable Incoming Webhooks, generate a webhook URL, and paste it into your monitoring tool. Each channel needs its own webhook URL.
- Pros: Simple concept, works with almost any tool
- Cons: Manual setup, webhook URLs can expire or get revoked, one URL per channel, no interactive features
- Used by: UptimeRobot, Uptime Kuma
OAuth Slack Apps (Recommended)
The modern method. You click "Connect Slack" in your monitoring tool, authorize the app in your Slack workspace, and you're done. The tool automatically discovers your channels and handles permissions.
- Pros: One click setup, automatic channel discovery, more secure, richer message formatting
- Cons: The monitoring tool needs to build and maintain a proper Slack app
- Used by: Notifier, Better Stack, StatusCake
Slack officially recommends the OAuth app approach. It's more secure (no raw webhook URLs floating around), easier to manage, and supports features like channel selection dropdowns and interactive buttons.
Setting Up Slack Alerts with Notifier (Step by Step)
Notifier uses the OAuth approach, so setup takes about two minutes. Here's the full walkthrough.
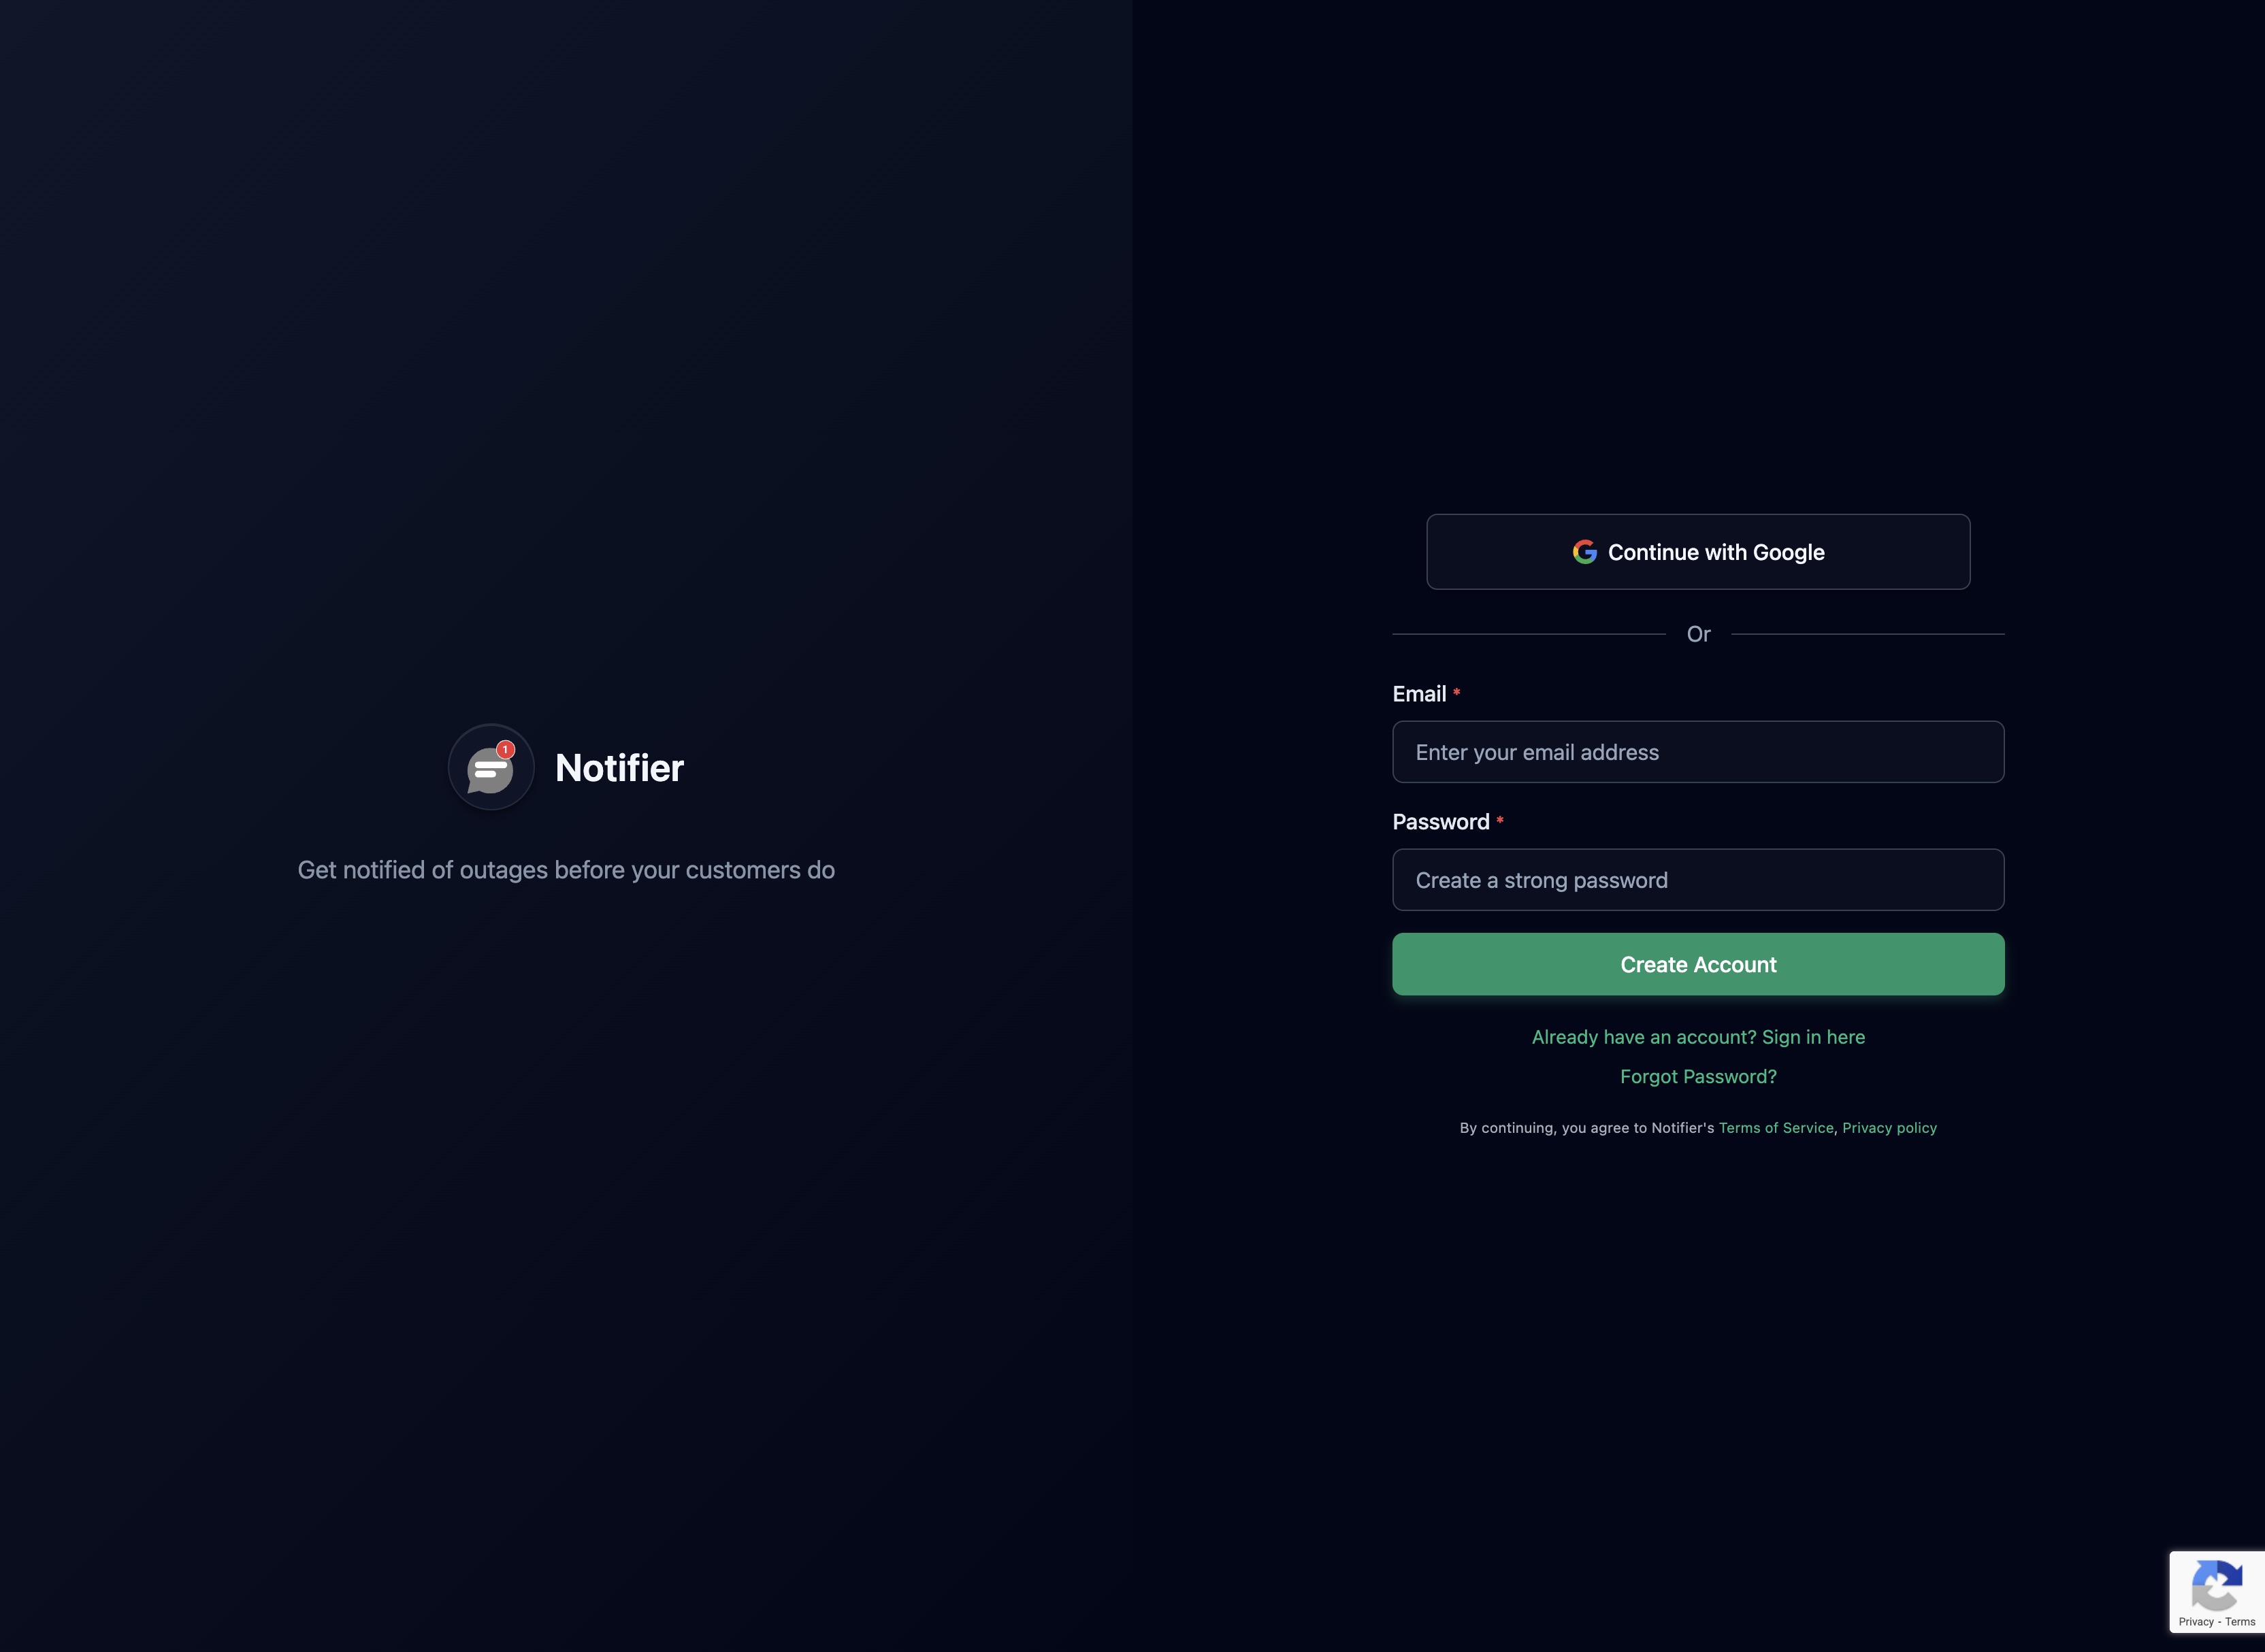
Step 1: Create Your Account
If you don't have a Notifier account yet, sign up for free. The free plan includes Slack integration with up to 10 monitors.
Step 2: Go to Integrations
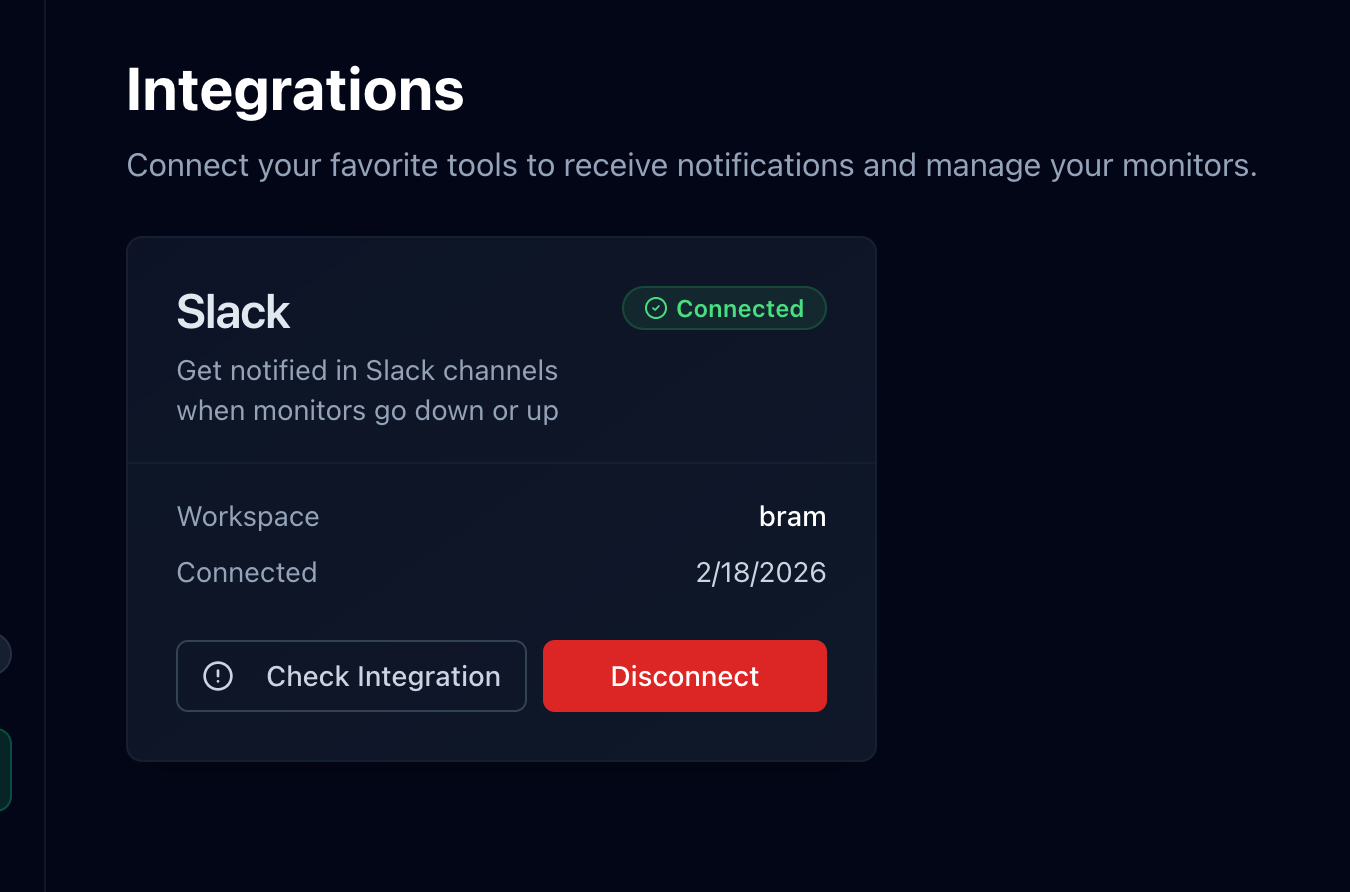
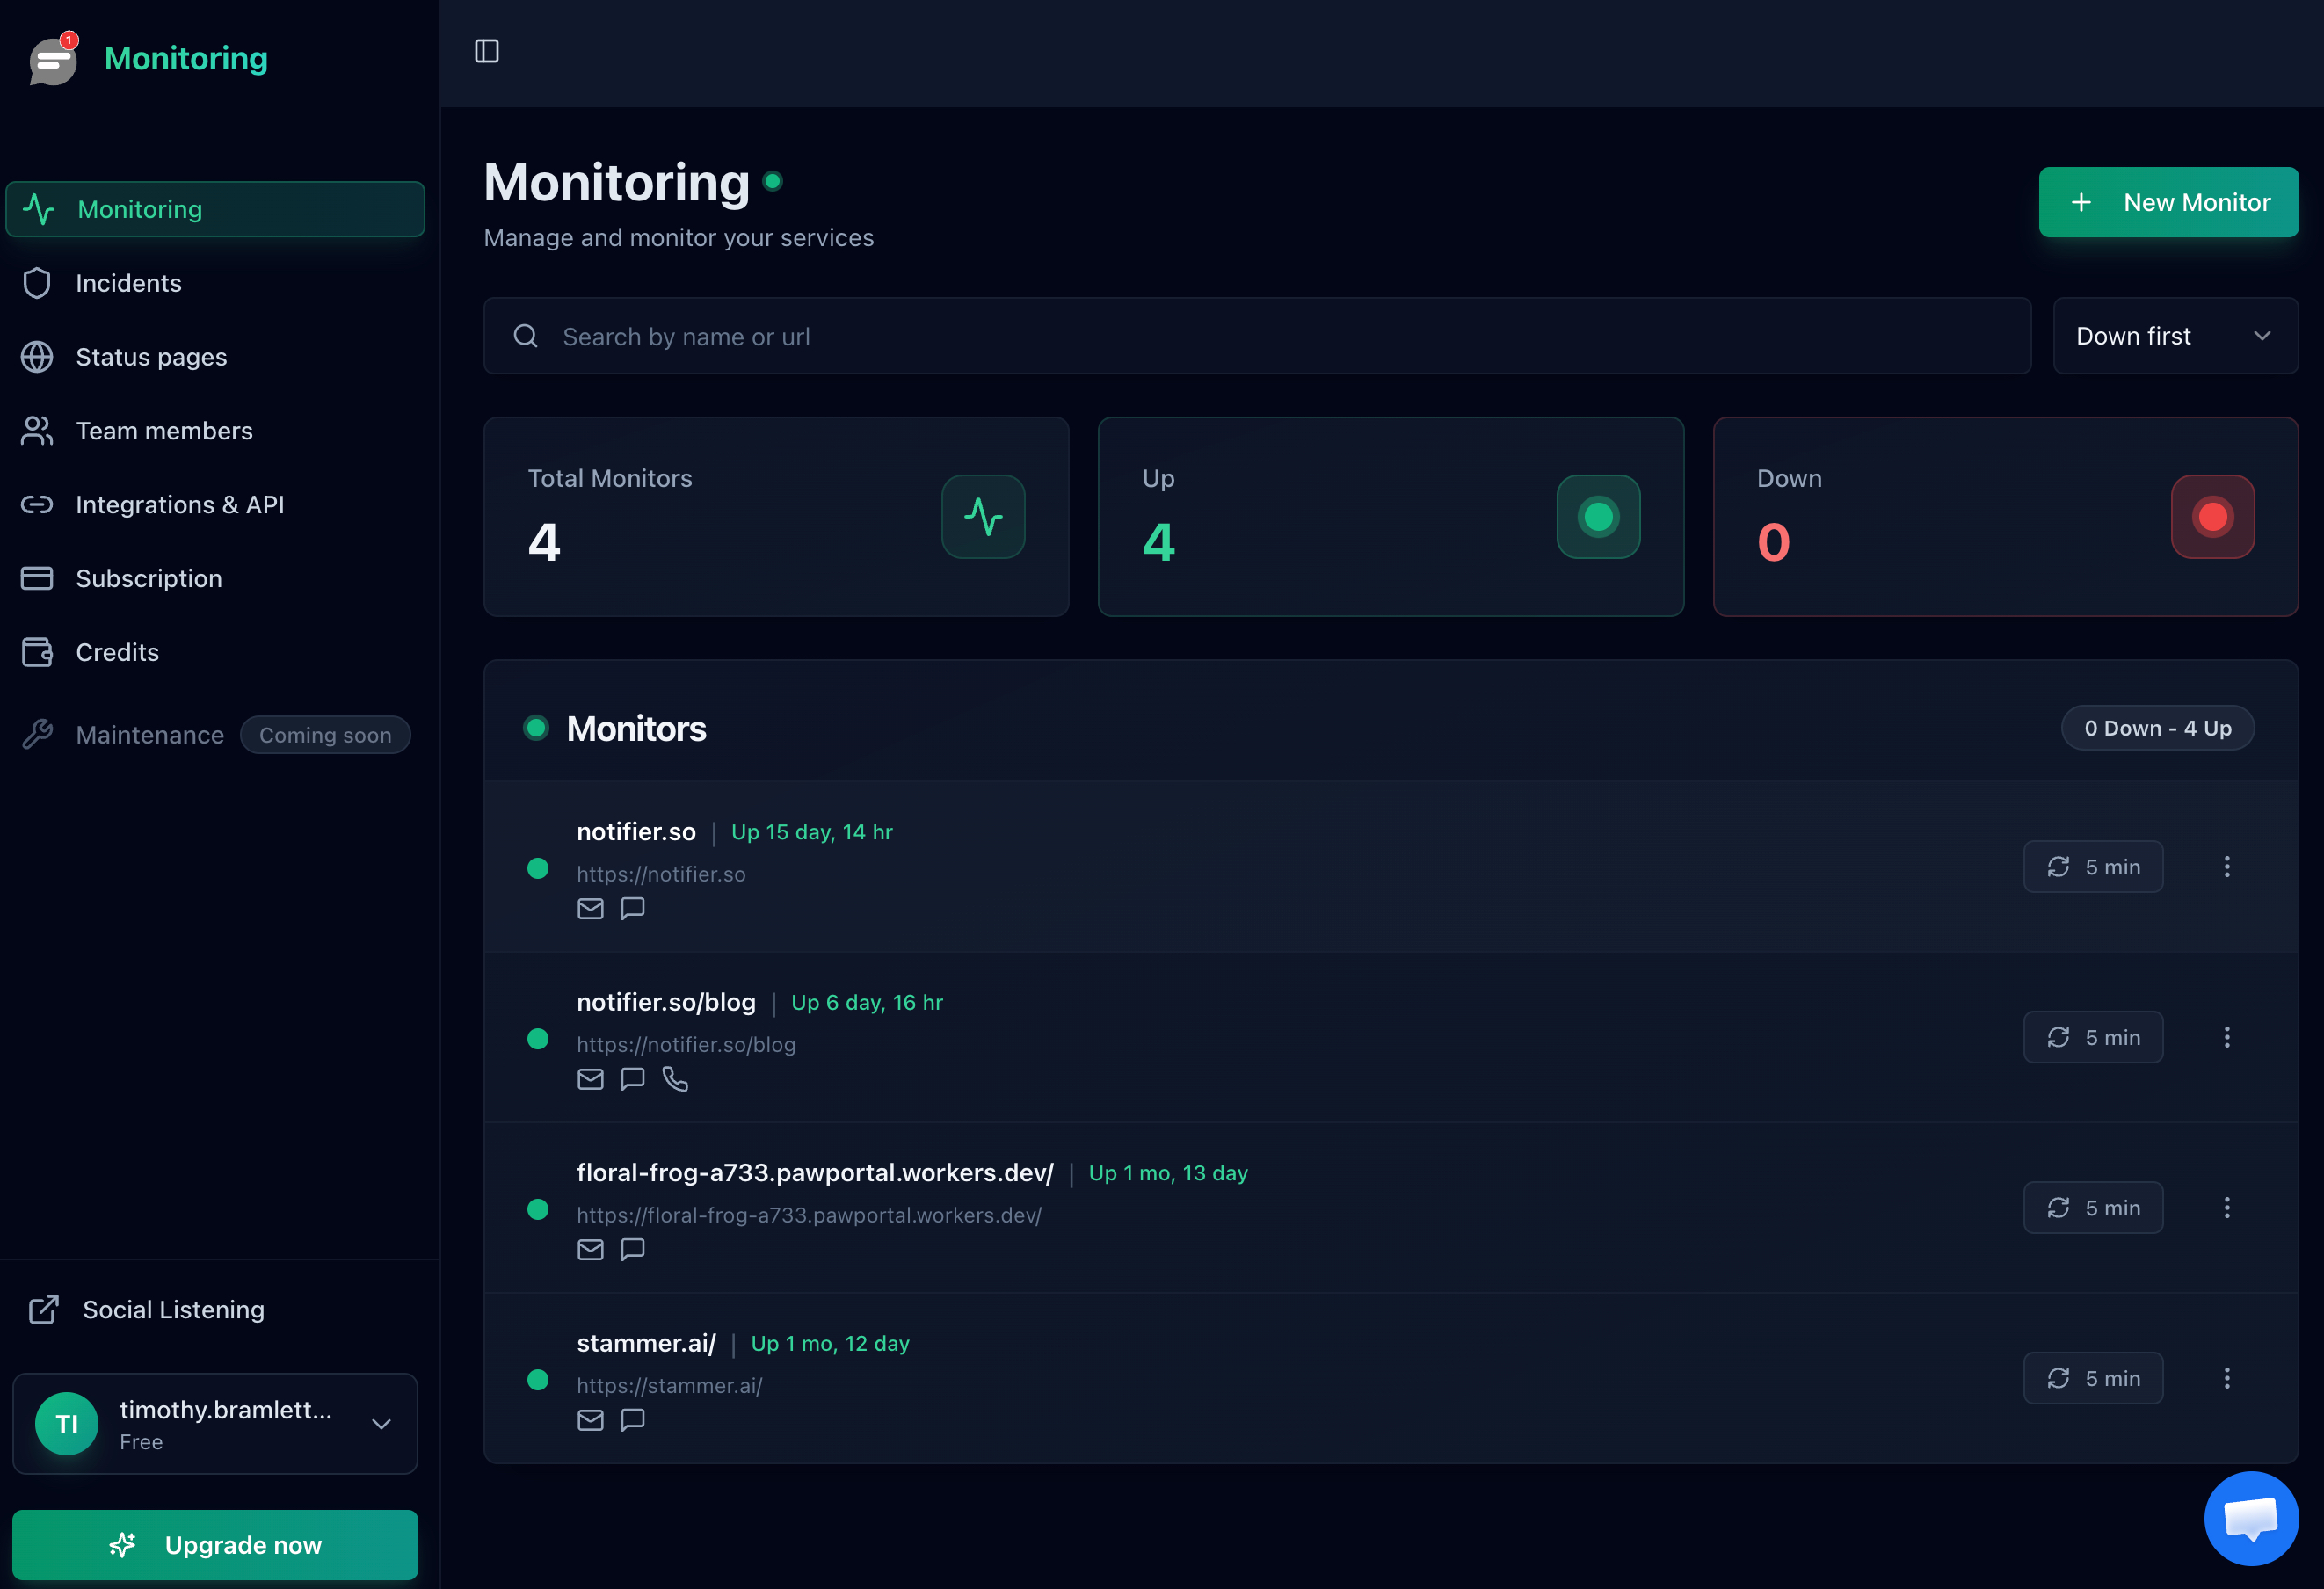
In your Notifier dashboard, navigate to Integrations & API in the left sidebar. You'll see the Slack integration card.
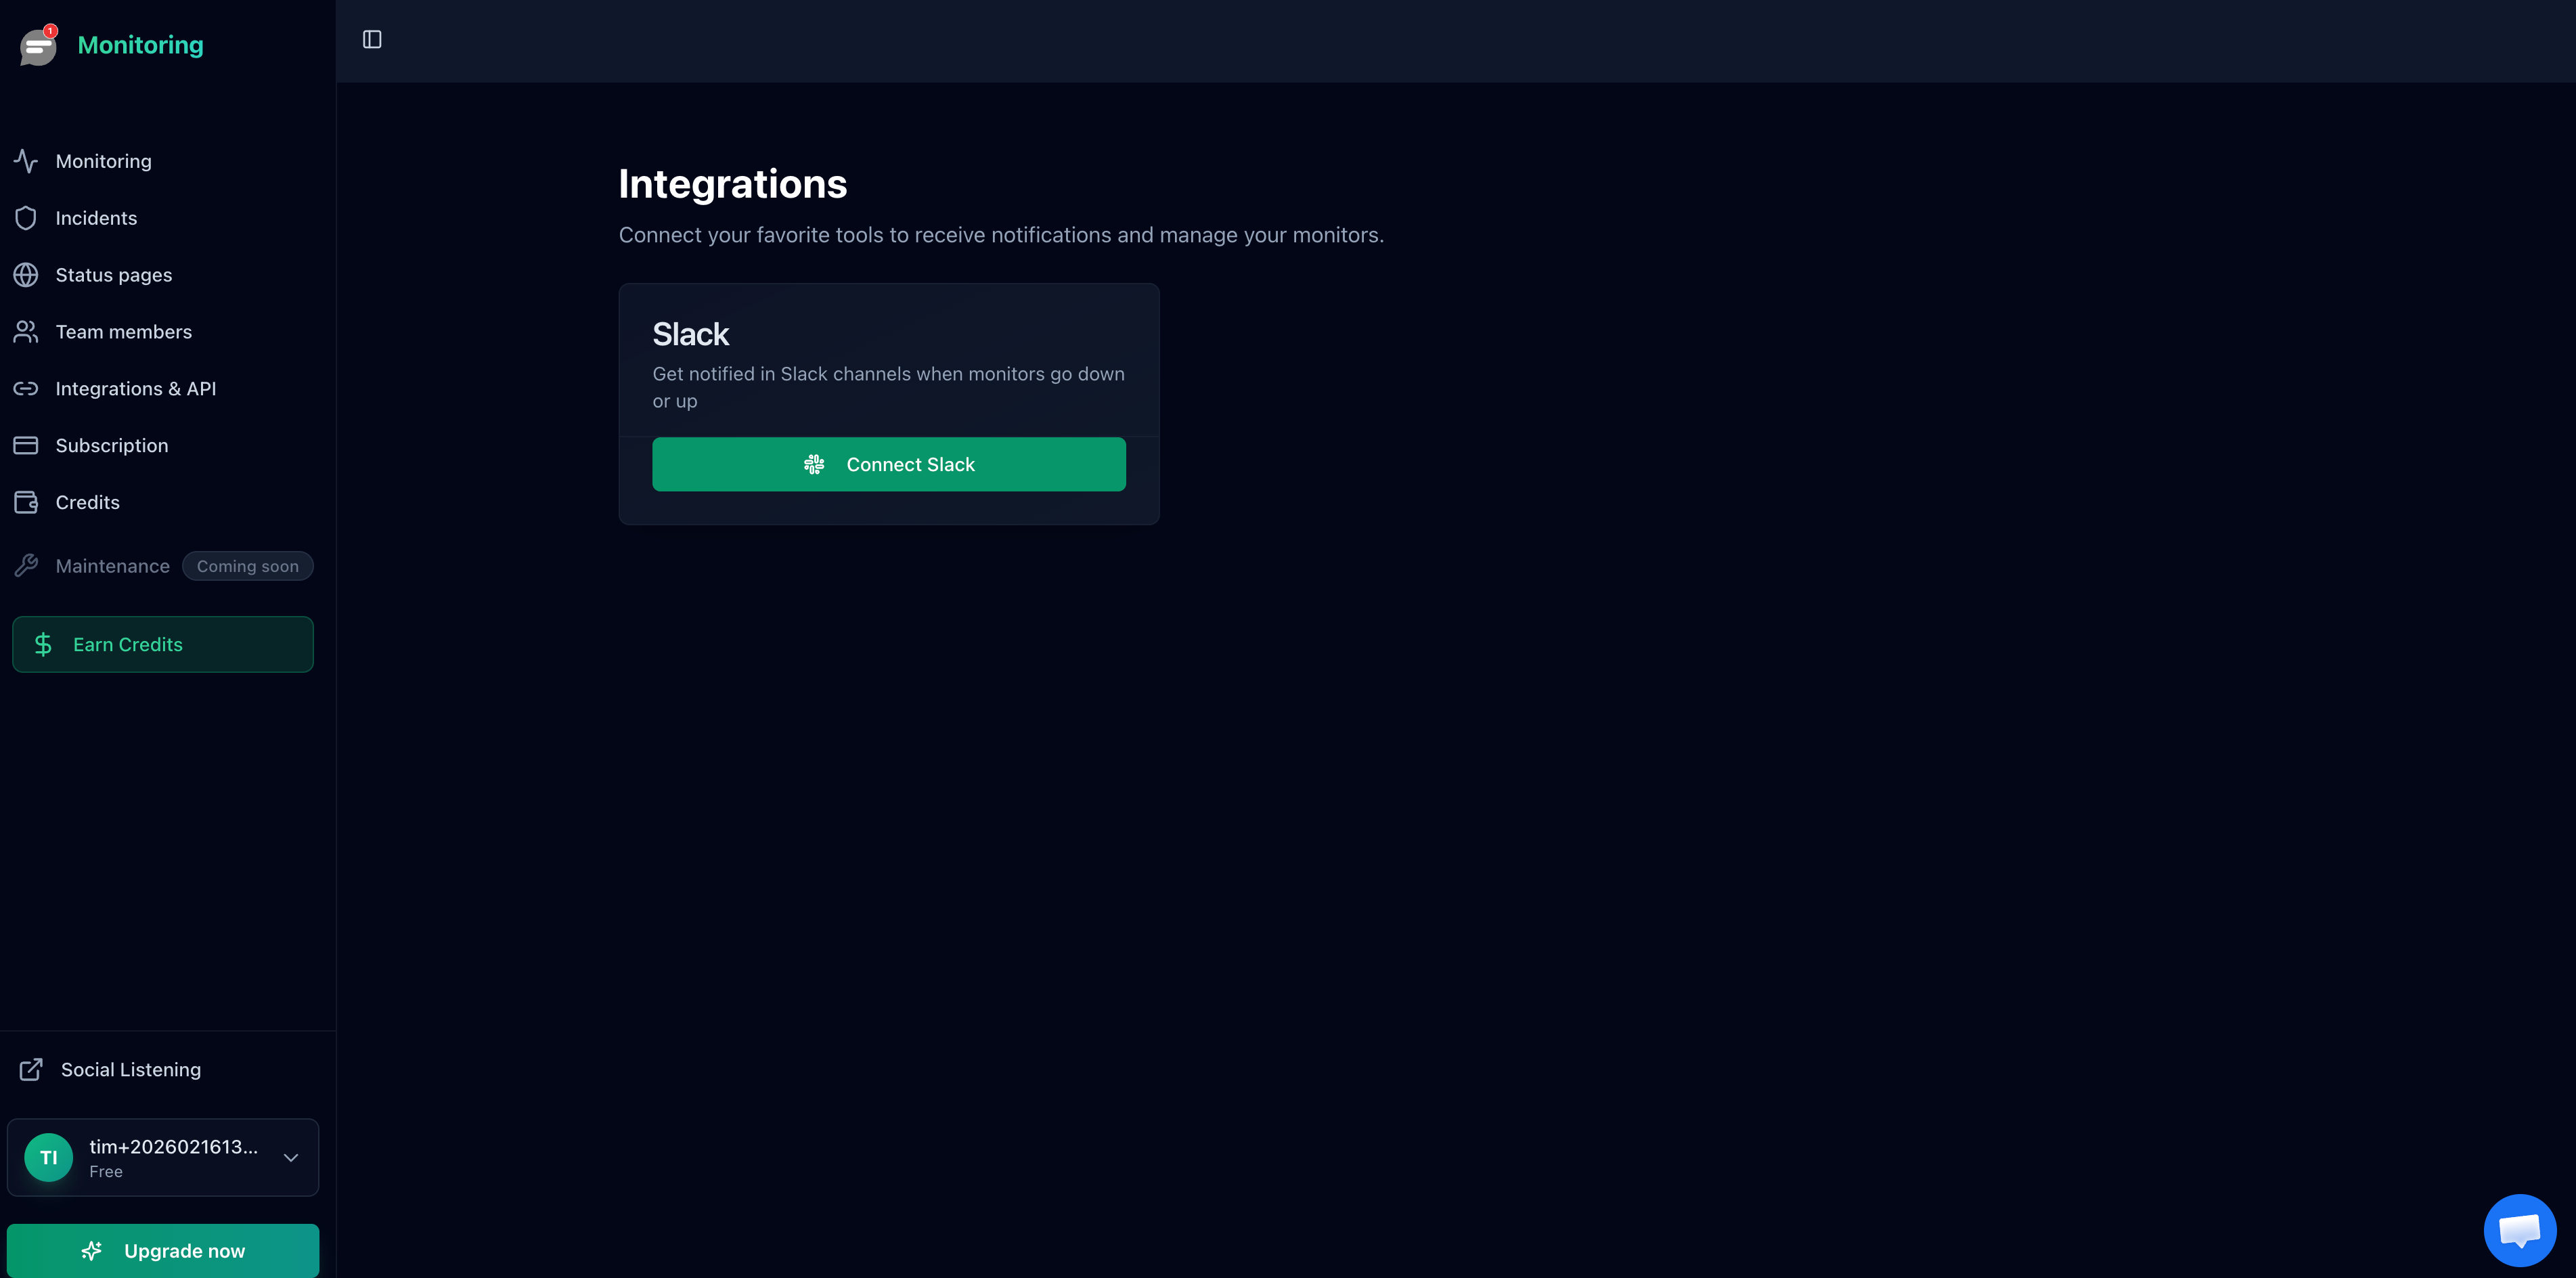
Step 3: Connect Slack
Click the Connect Slack button. This opens the Slack authorization screen where you approve the Notifier app in your workspace. The app requests permission to read your channel list and send messages.
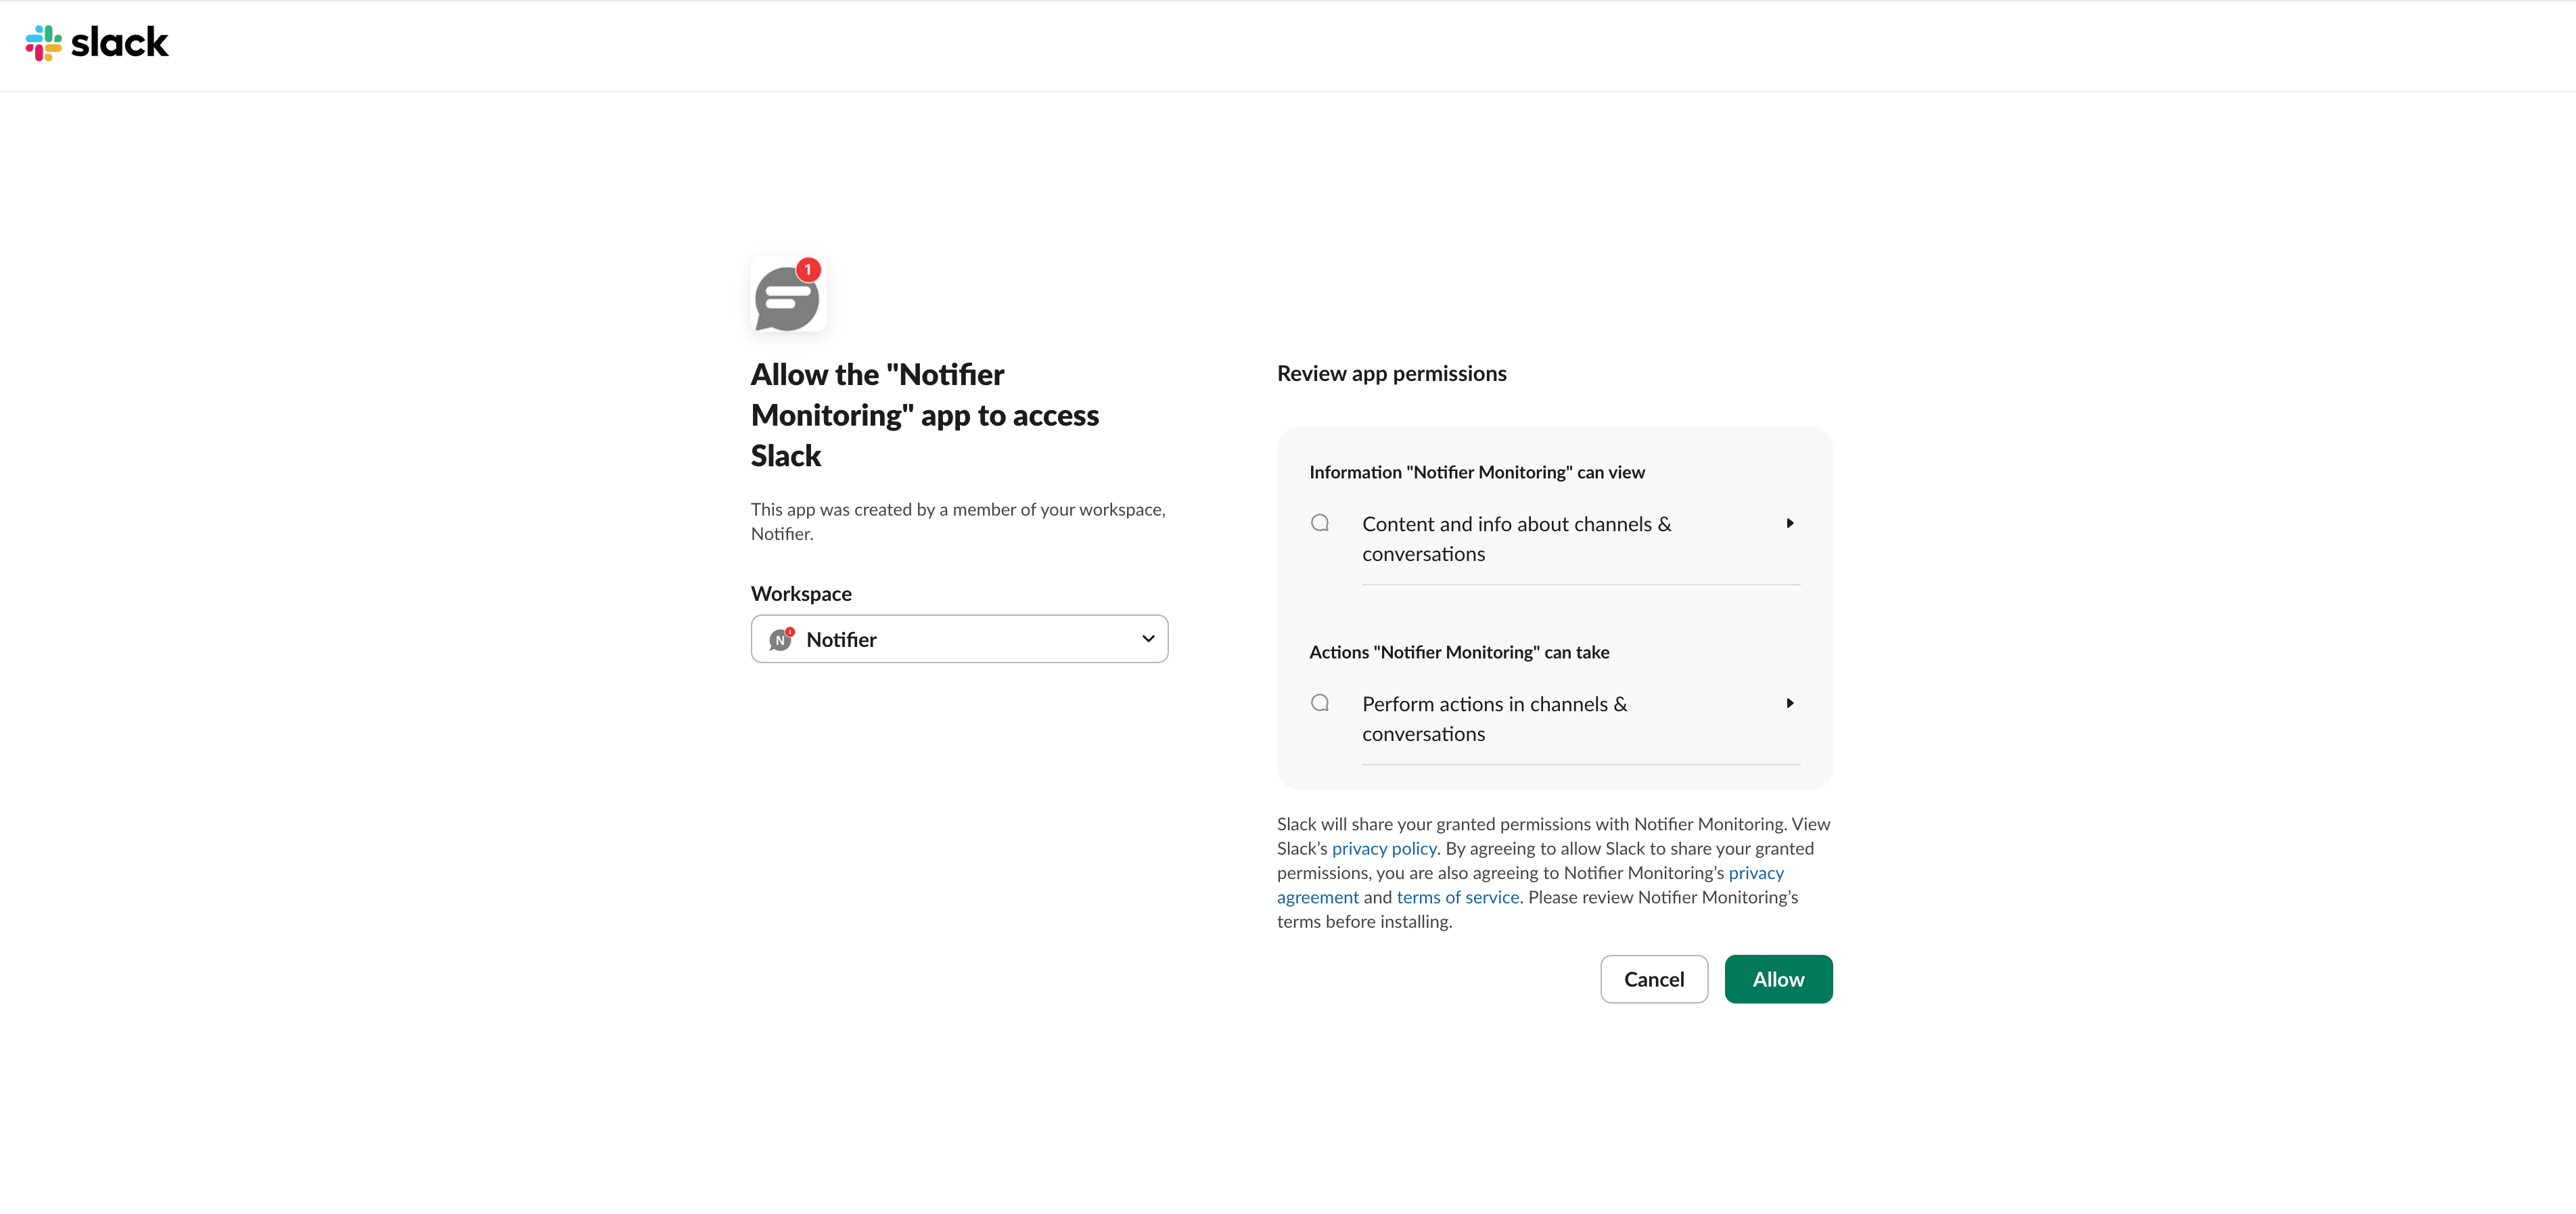
Click Allow, and you'll see a success confirmation.
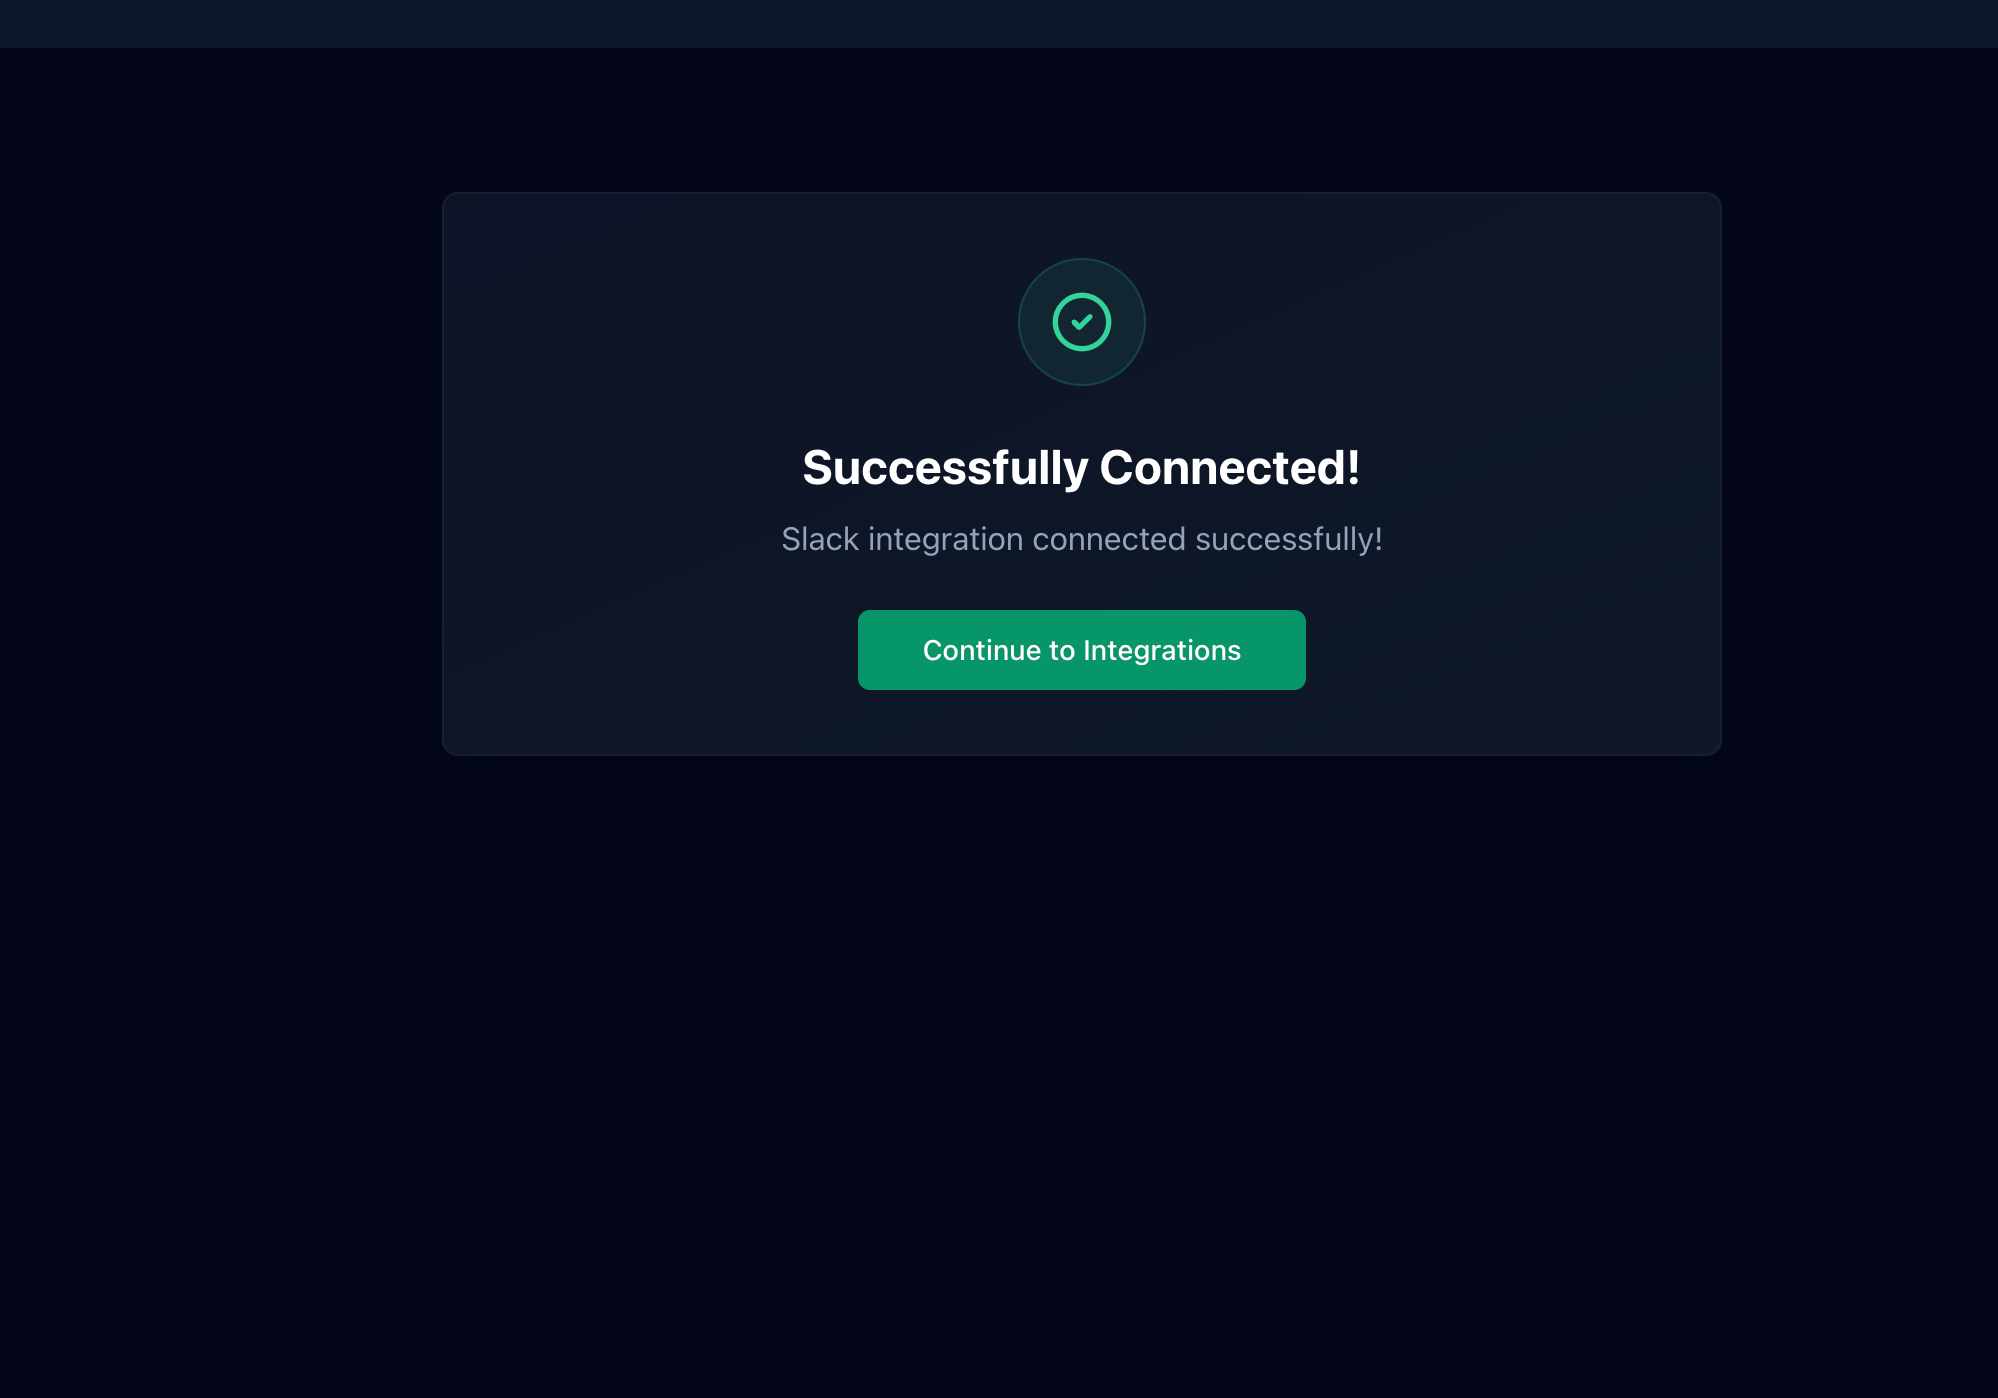
Click Continue to Integrations and you'll see your Slack workspace is now connected with a green "Connected" badge.
Step 4: Add a Monitor with Slack Alerts
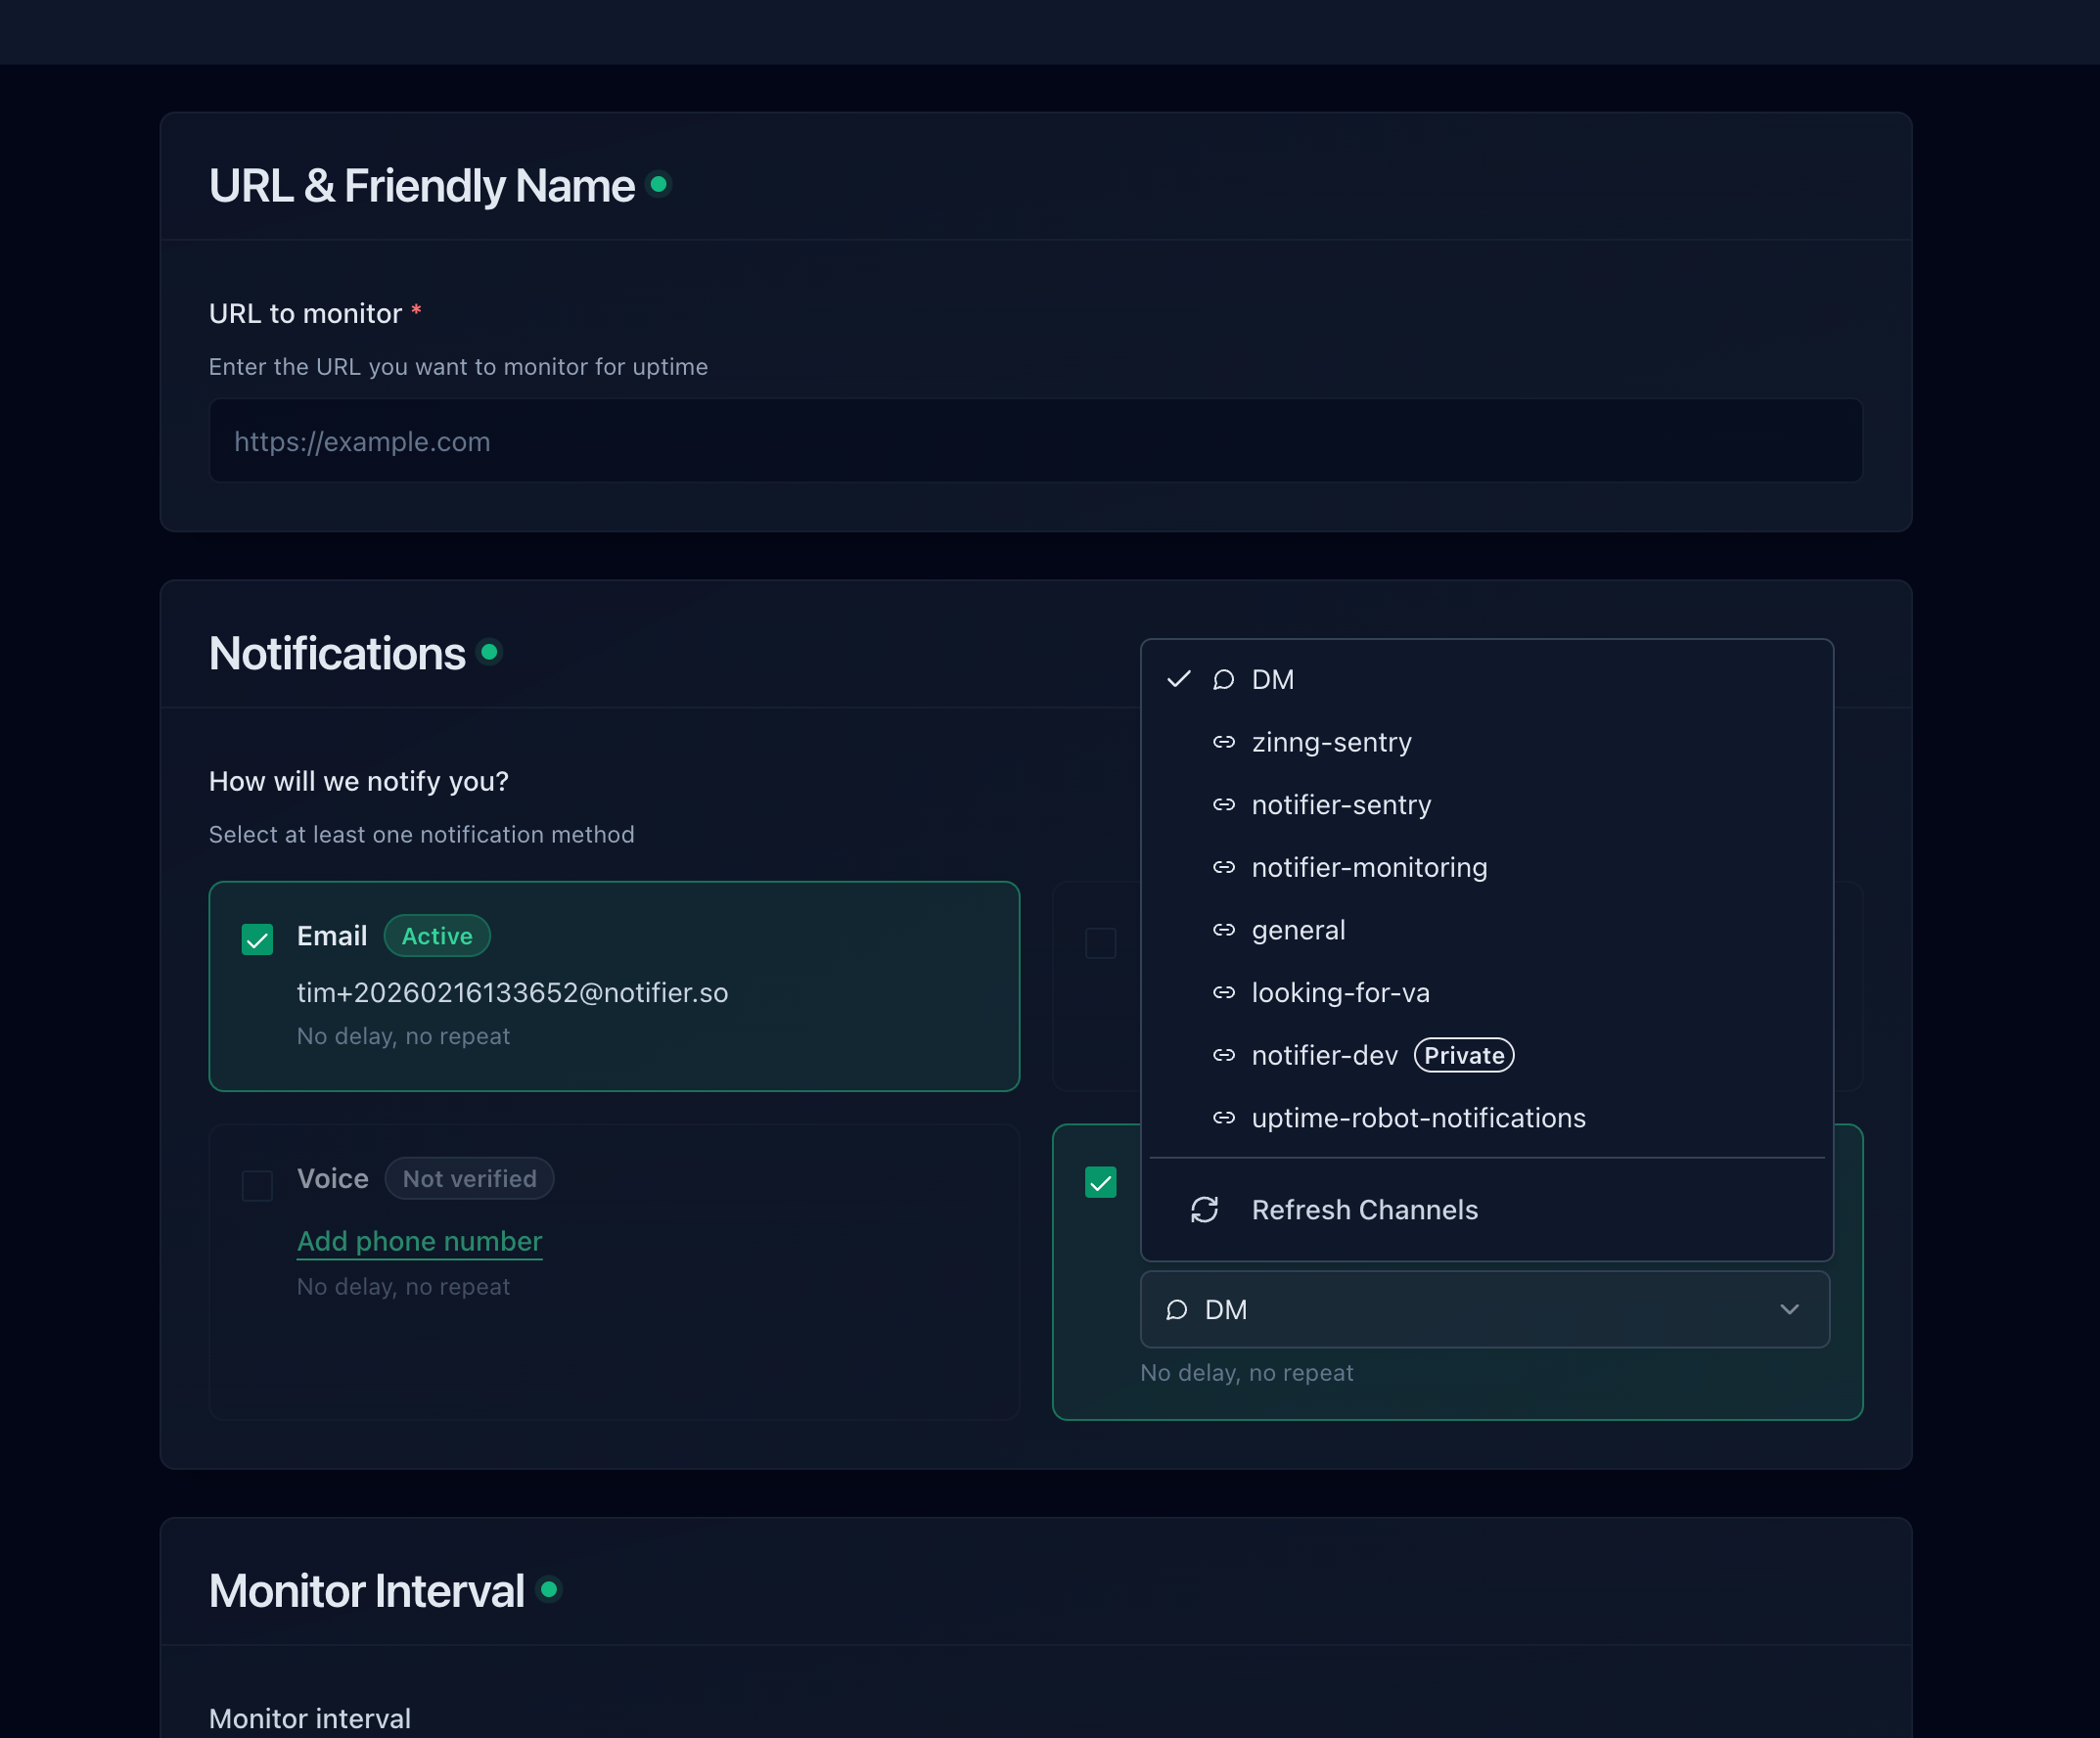
Now create a monitor (or edit an existing one). In the notification settings, you'll see a Slack dropdown with all your workspace channels. Select the channel where you want alerts to go.
Once saved, the Slack section on your monitor will show an "Active" badge with your selected channel.
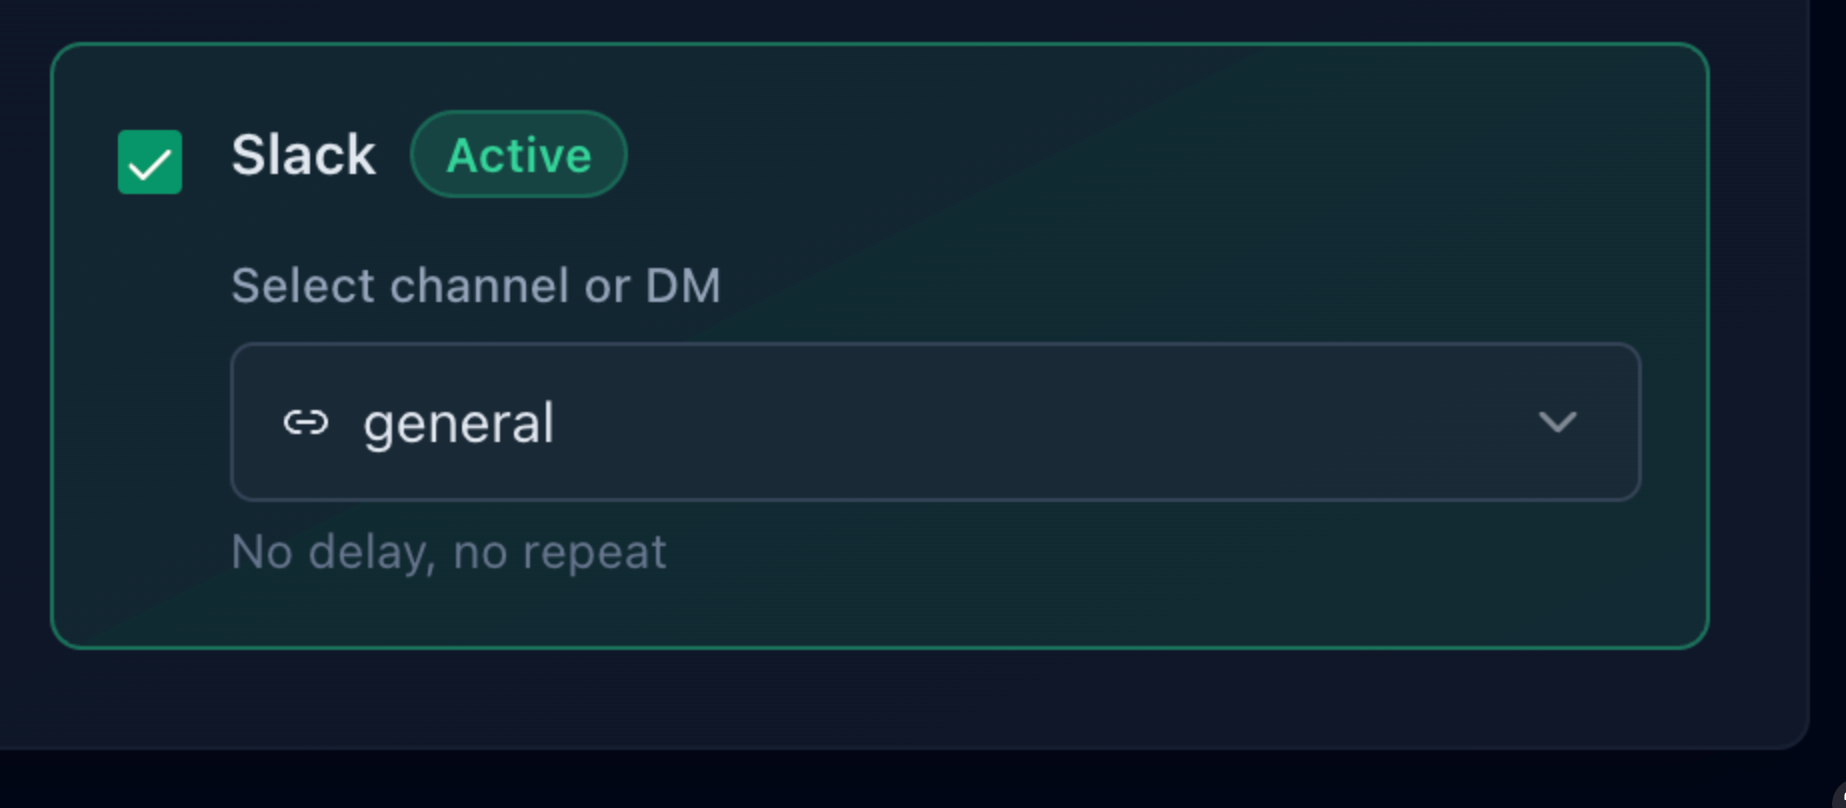
You can choose a public channel, a private channel, or send alerts directly as a DM. Each monitor can go to a different channel, so you can route production alerts to #alerts-production and staging alerts to #alerts-staging.
Private channels
Only public channels appear in the dropdown by default. To use a private channel, first invite the Notifier app to that channel in Slack (go to channel settings, then Integrations, then Add app). After that, the private channel will appear in the dropdown.
Step 5: Test It
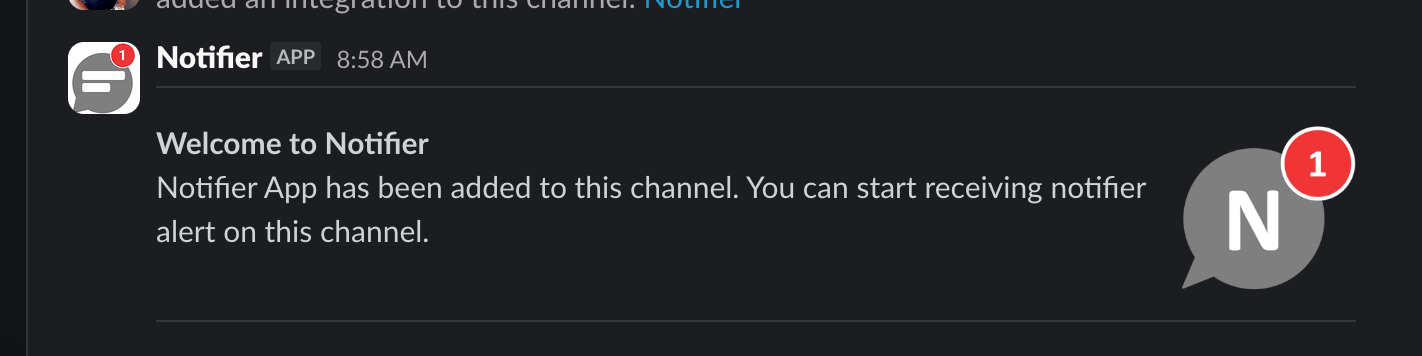
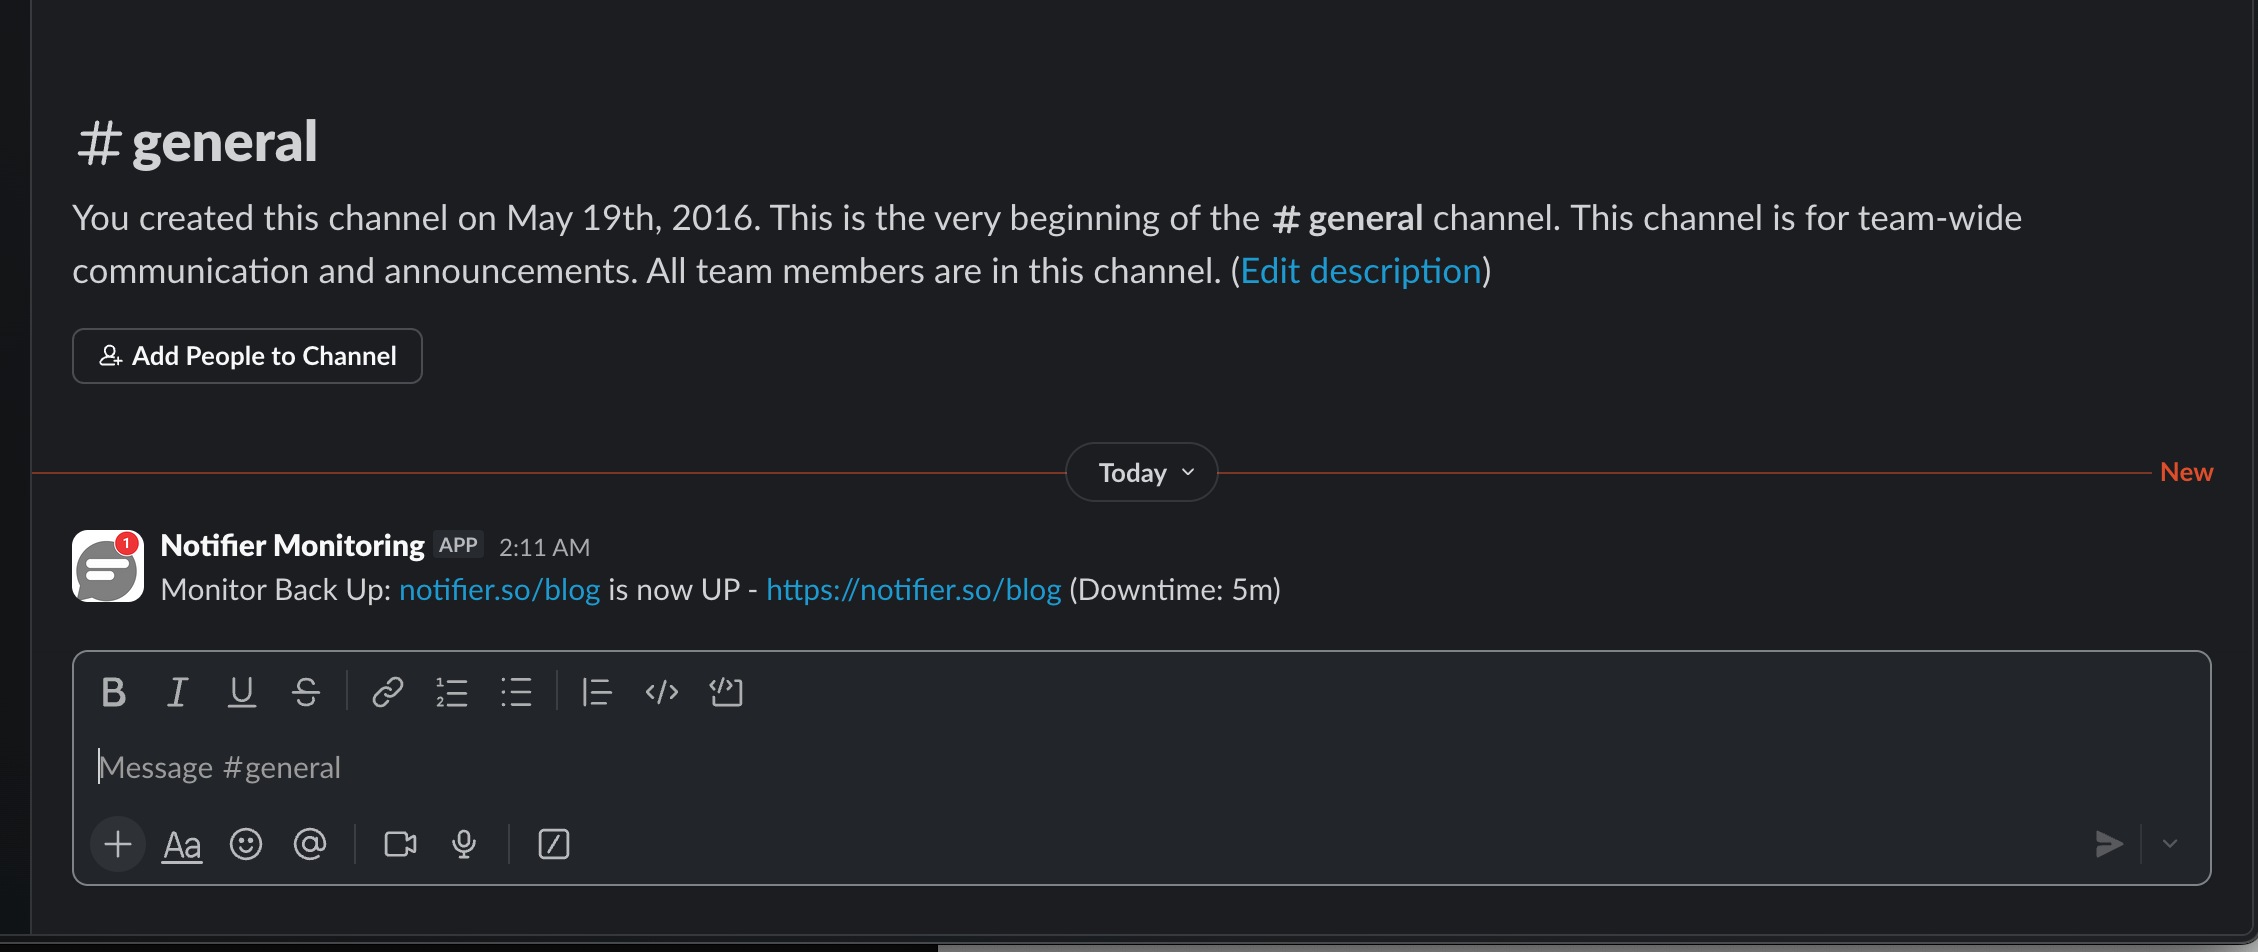
Save your monitor and wait for the first check to complete. You'll see a welcome message from the Notifier app in your Slack channel confirming it's connected.
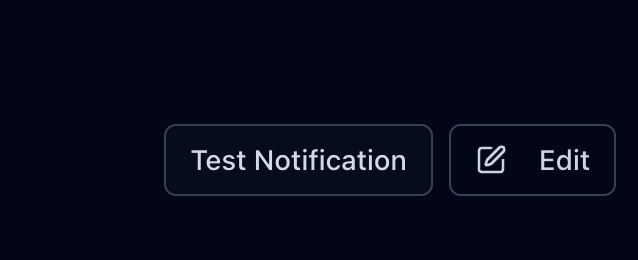
You can also send a test notification from the monitor detail page using the Test Notification button.
When your site goes down, Notifier detects it and your dashboard updates in real time.
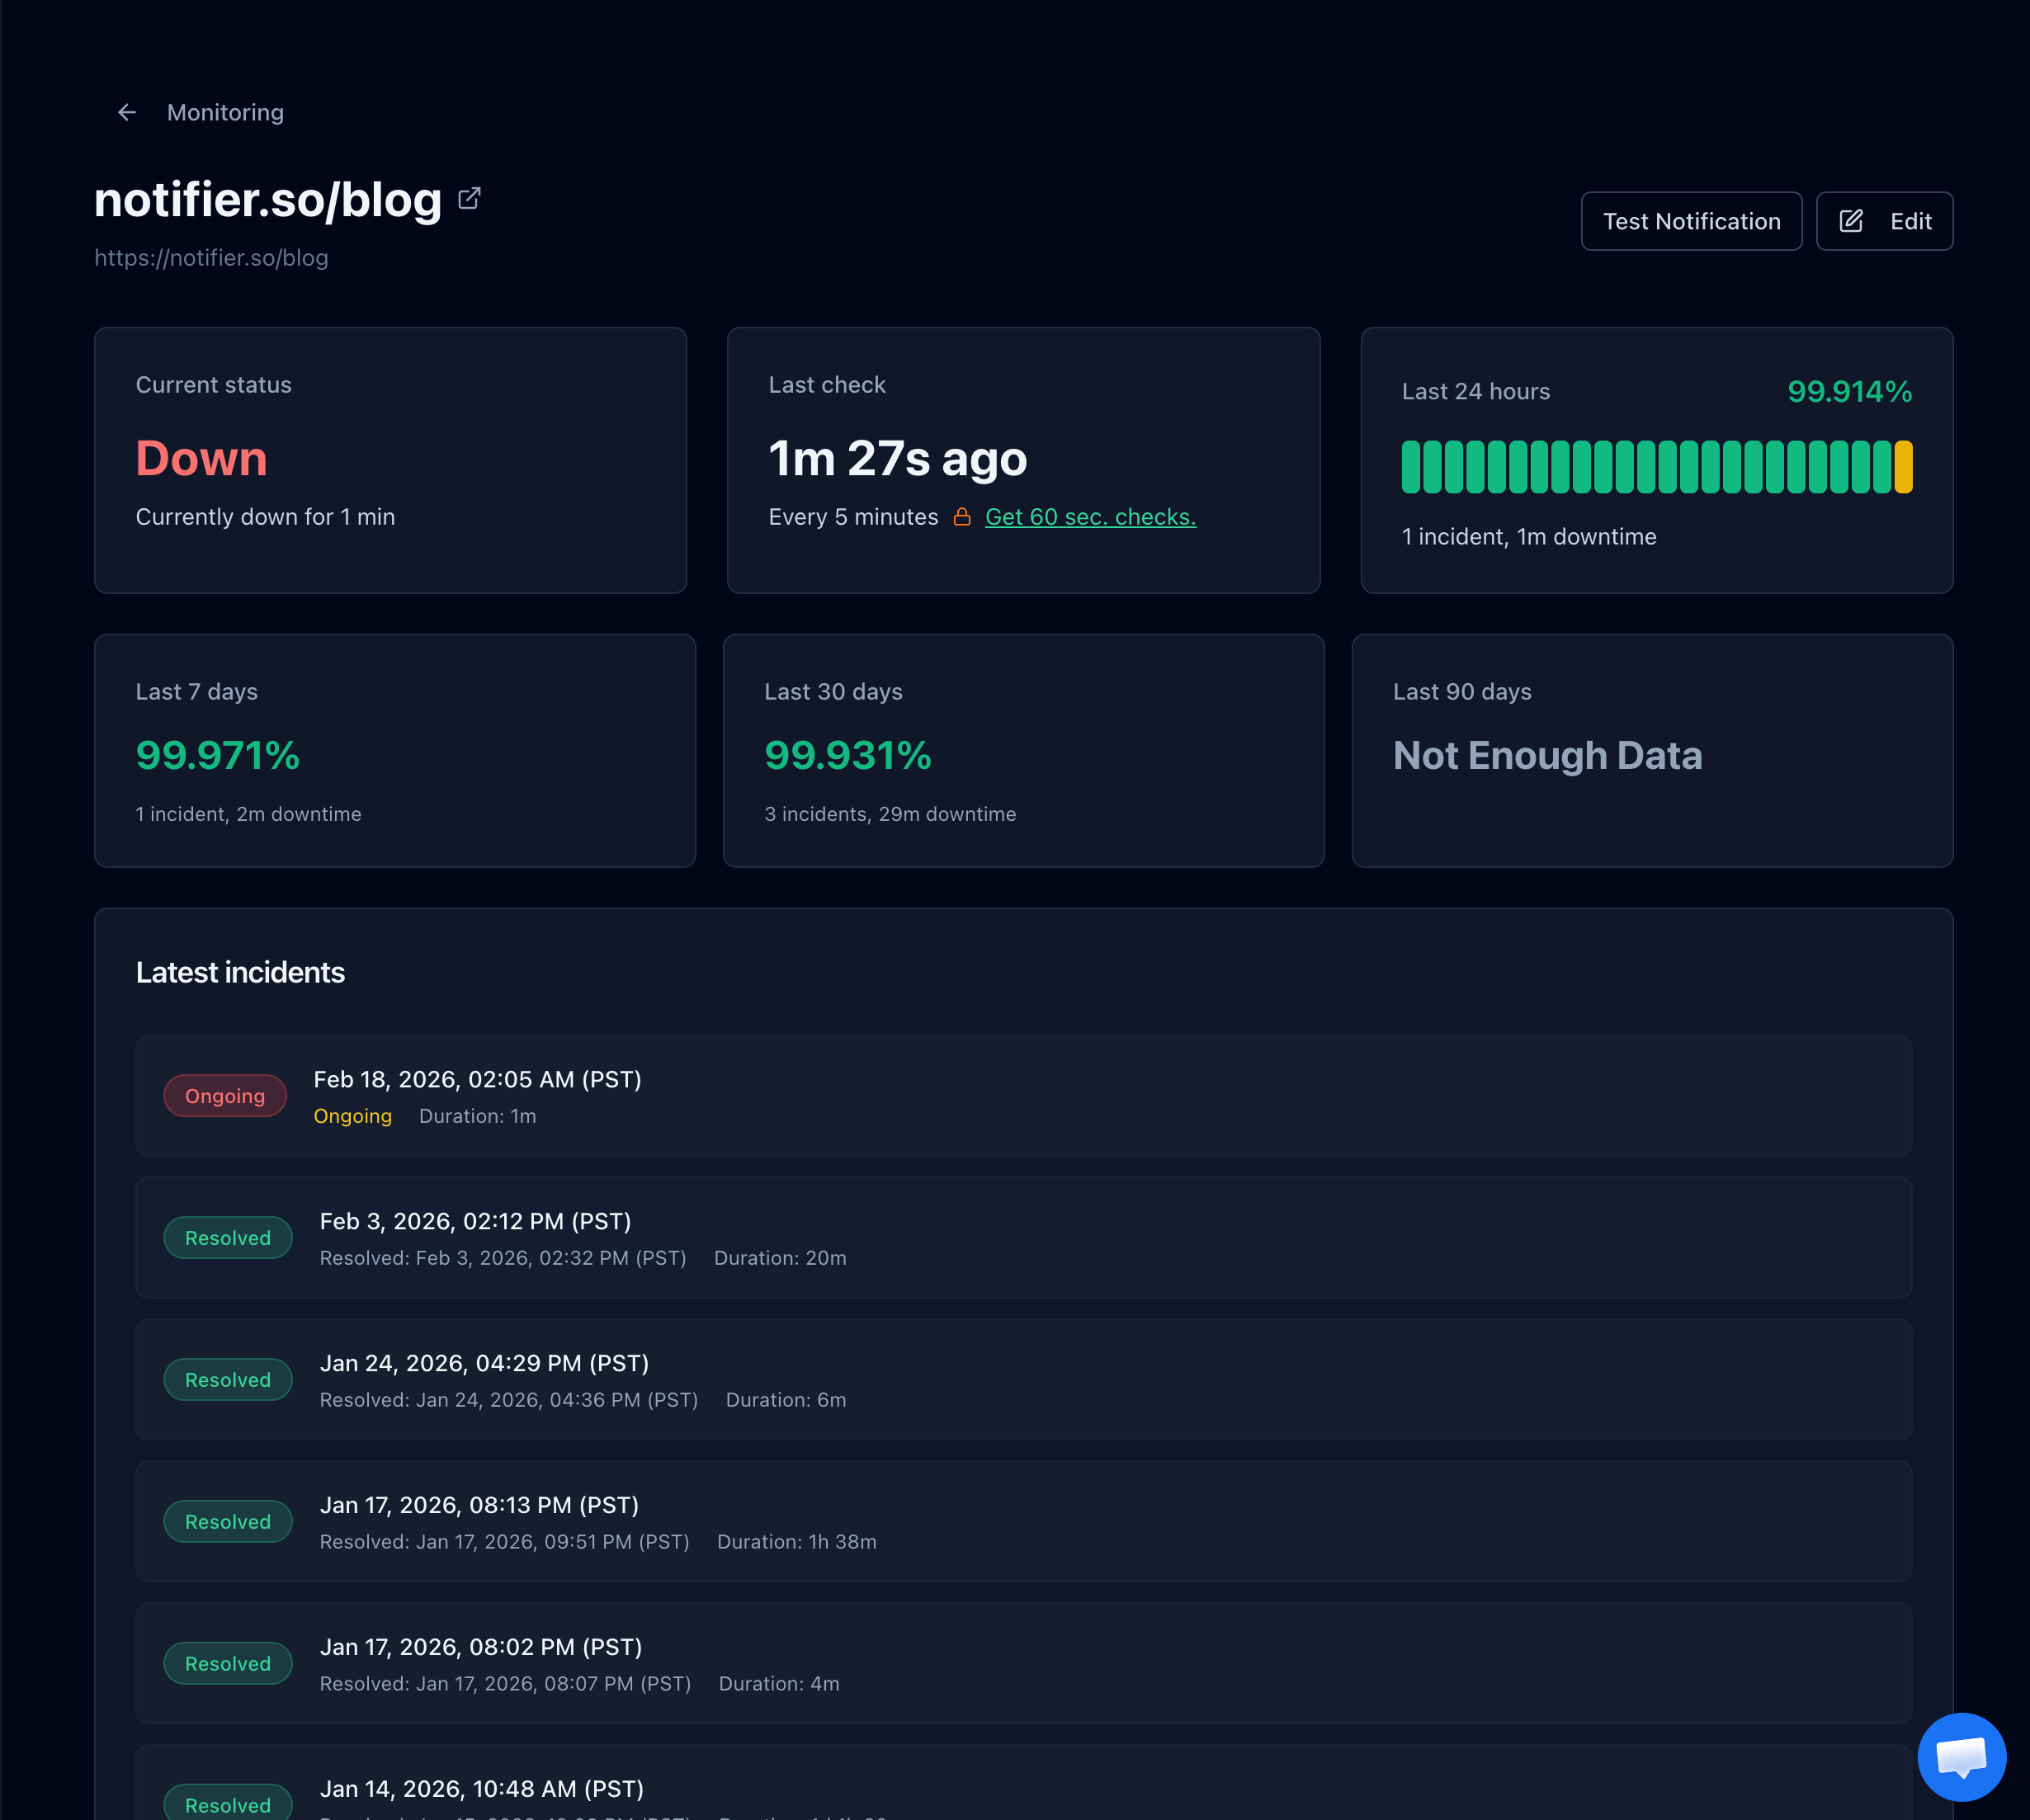
When the site comes back up, you'll get a recovery alert in Slack showing how long the downtime lasted.
How to Organize Slack Channels for Monitoring
The biggest mistake teams make is dumping all alerts into one channel. Within a week, that channel becomes noise and everyone mutes it. Here's a better approach.
Separate by Severity
Create channels based on how urgent the alert is, not which tool sent it:
#alerts-criticalProduction is down. Customer facing. Needs immediate action. Never mute this channel.#alerts-warningDegraded performance, staging issues, non critical systems. Check when you can.#alerts-infoRoutine notifications, capacity warnings, resolved incidents. Review periodically.
Separate by Environment
If you monitor both production and staging, keep those alerts in different channels. Staging going down at 2am is not worth waking anyone up for.
#monitoring-productionProduction uptime alerts#monitoring-stagingStaging and dev environment alerts
Use Channel Descriptions
Set the channel topic to explain what belongs there. Something like "Production downtime alerts from Notifier. Do not mute." helps new team members understand the alert structure immediately.
Keep Alerts and Discussion Separate
Don't have conversations in your alert channel. When an alert fires, use threads to discuss it, or create a temporary incident channel. The alert channel should be a clean feed of automated messages so nothing gets buried.
How to Avoid Alert Fatigue
Alert fatigue is the number one reason monitoring setups fail. When your team gets 50 Slack notifications a day, they stop reading any of them. The critical alert about your production API being down gets lost among routine warnings about a staging server restarting.
Start Small
Don't monitor everything on day one. Start with your most important endpoints: your main website, your API, your checkout flow. Add more monitors gradually based on what actually matters, not what you could theoretically track.
Tune Your Thresholds
If a monitor triggers false positives, fix the threshold instead of ignoring the alerts. Most monitoring tools let you configure how many failed checks are required before sending an alert. Setting this to 2 or 3 consecutive failures eliminates most false positives from brief network blips.
Use Escalation, Not Duplication
Don't send every alert to every channel. Use a layered approach:
- Slack for real time team visibility
- Email for documentation and audit trail
- SMS or phone call for critical production outages that need immediate action
With Notifier, you can configure each monitor to use different alert channels. Your main website might send alerts to Slack, email, and SMS. Your blog might only alert via Slack. Here's what SMS alerts look like as a backup alongside Slack:

Review and Prune Regularly
Once a month, look at your alerts. Are there monitors that trigger constantly but nobody acts on? Remove them or fix the underlying issue. Are there channels that everyone has muted? That's a sign the signal to noise ratio is off.
How Monitoring Tools Compare for Slack Integration
Not all Slack integrations are created equal. Here's how the major monitoring tools handle it.
| Service | Method | Per-Monitor Routing | Free Tier Includes Slack |
|---|---|---|---|
| Notifier | OAuth App | Yes | Yes |
| Better Stack | OAuth App | Yes | Yes |
| StatusCake | OAuth App | Via contact groups | Yes |
| UptimeRobot | Webhook | Yes (manual setup per channel) | Yes |
| Pingdom | Slack Marketplace / Zapier | Limited | No free tier |
| Uptime Kuma | Webhook | Yes (manual setup) | Self-hosted (free) |
Key Differences
Notifier stands out for its simplicity. The OAuth integration means you click one button, authorize, and you're connected. Channel selection is built into the monitor editor, so routing alerts to different channels takes seconds. And Slack is included on the free plan with no limitations.
UptimeRobot uses legacy webhooks, which means more manual setup. You need to create a Slack app, enable Incoming Webhooks, generate a URL, and paste it in. If you want alerts in multiple channels, you repeat this process for each one.
Better Stack has a solid OAuth integration with interactive buttons in Slack messages (acknowledge, resolve, escalate). This is useful for larger teams with formal incident management processes.
Pingdom requires a paid plan ($15+/month) and the Slack integration is either through the Slack Marketplace app or through a third party tool like Zapier. Not the most seamless experience.
Common Pitfalls (and How to Fix Them)
1. Webhook URLs Breaking
If you use a tool that relies on Slack webhooks, the webhook URL can stop working if someone removes the Slack app, regenerates tokens, or changes workspace settings. You won't know until an actual outage happens and no alert arrives. Tools that use OAuth (like Notifier) don't have this problem because the connection is managed automatically.
2. Private Channels Not Appearing
This confuses people constantly. Most monitoring tools can only see public channels by default. To send alerts to a private channel, you need to invite the monitoring app to that channel first. In Slack, go to the channel, click the channel name at the top, go to Integrations, and add the app.
3. Alert Storms from Cascading Failures
A single network issue can trigger 10 different monitors at once, flooding your Slack channel with alerts. This is where starting with fewer monitors helps. If you're monitoring 5 critical endpoints instead of 50 secondary ones, an alert storm is 5 messages instead of 50.
4. Nobody Knows Who's Responsible
An alert fires in Slack. Everyone sees it. Nobody acts because everyone assumes someone else will handle it. Fix this by establishing clear ownership. Either designate an on call person or use Slack's @mention in your channel topic to specify who's responsible this week.
5. Relying Only on Slack
Slack is great for visibility, but it's not a pager. If someone is away from their computer or has notifications paused, they'll miss the alert. For anything that could cost you money or customers, add SMS or phone call alerts as a backup.
Get Started in 5 Minutes
Setting up Slack alerts for your uptime monitoring doesn't need to be complicated. Here's the quick version:
- 1. Create a free Notifier account (10 monitors, Slack included)
- 2. Go to Integrations & API and click Connect Slack
- 3. Authorize the app in your Slack workspace
- 4. Add a monitor and select your Slack channel
- 5. Create a dedicated
#monitoring-alertschannel to keep things organized
As your monitoring grows, organize channels by severity or environment, add SMS backup for critical alerts, and review your alert volume monthly. But for now, just getting alerts into Slack is a huge improvement over email alone.
If you run into any issues connecting Slack, Notifier's support team typically responds within minutes via chat or email at support@notifier.so.