Website downtime costs money. For every minute your site is down, you're losing potential customers and damaging your reputation. The good news? Setting up website monitoring is easier than you think.
Why You Need Website Monitoring
If you're running a business online, you need to know when your website goes down. Your hosting provider won't always tell you, and by the time a customer complains, the damage is done.
Website monitoring checks your site at regular intervals and alerts you immediately when something goes wrong. It's your early warning system.
Step 1: Create Your Free Account
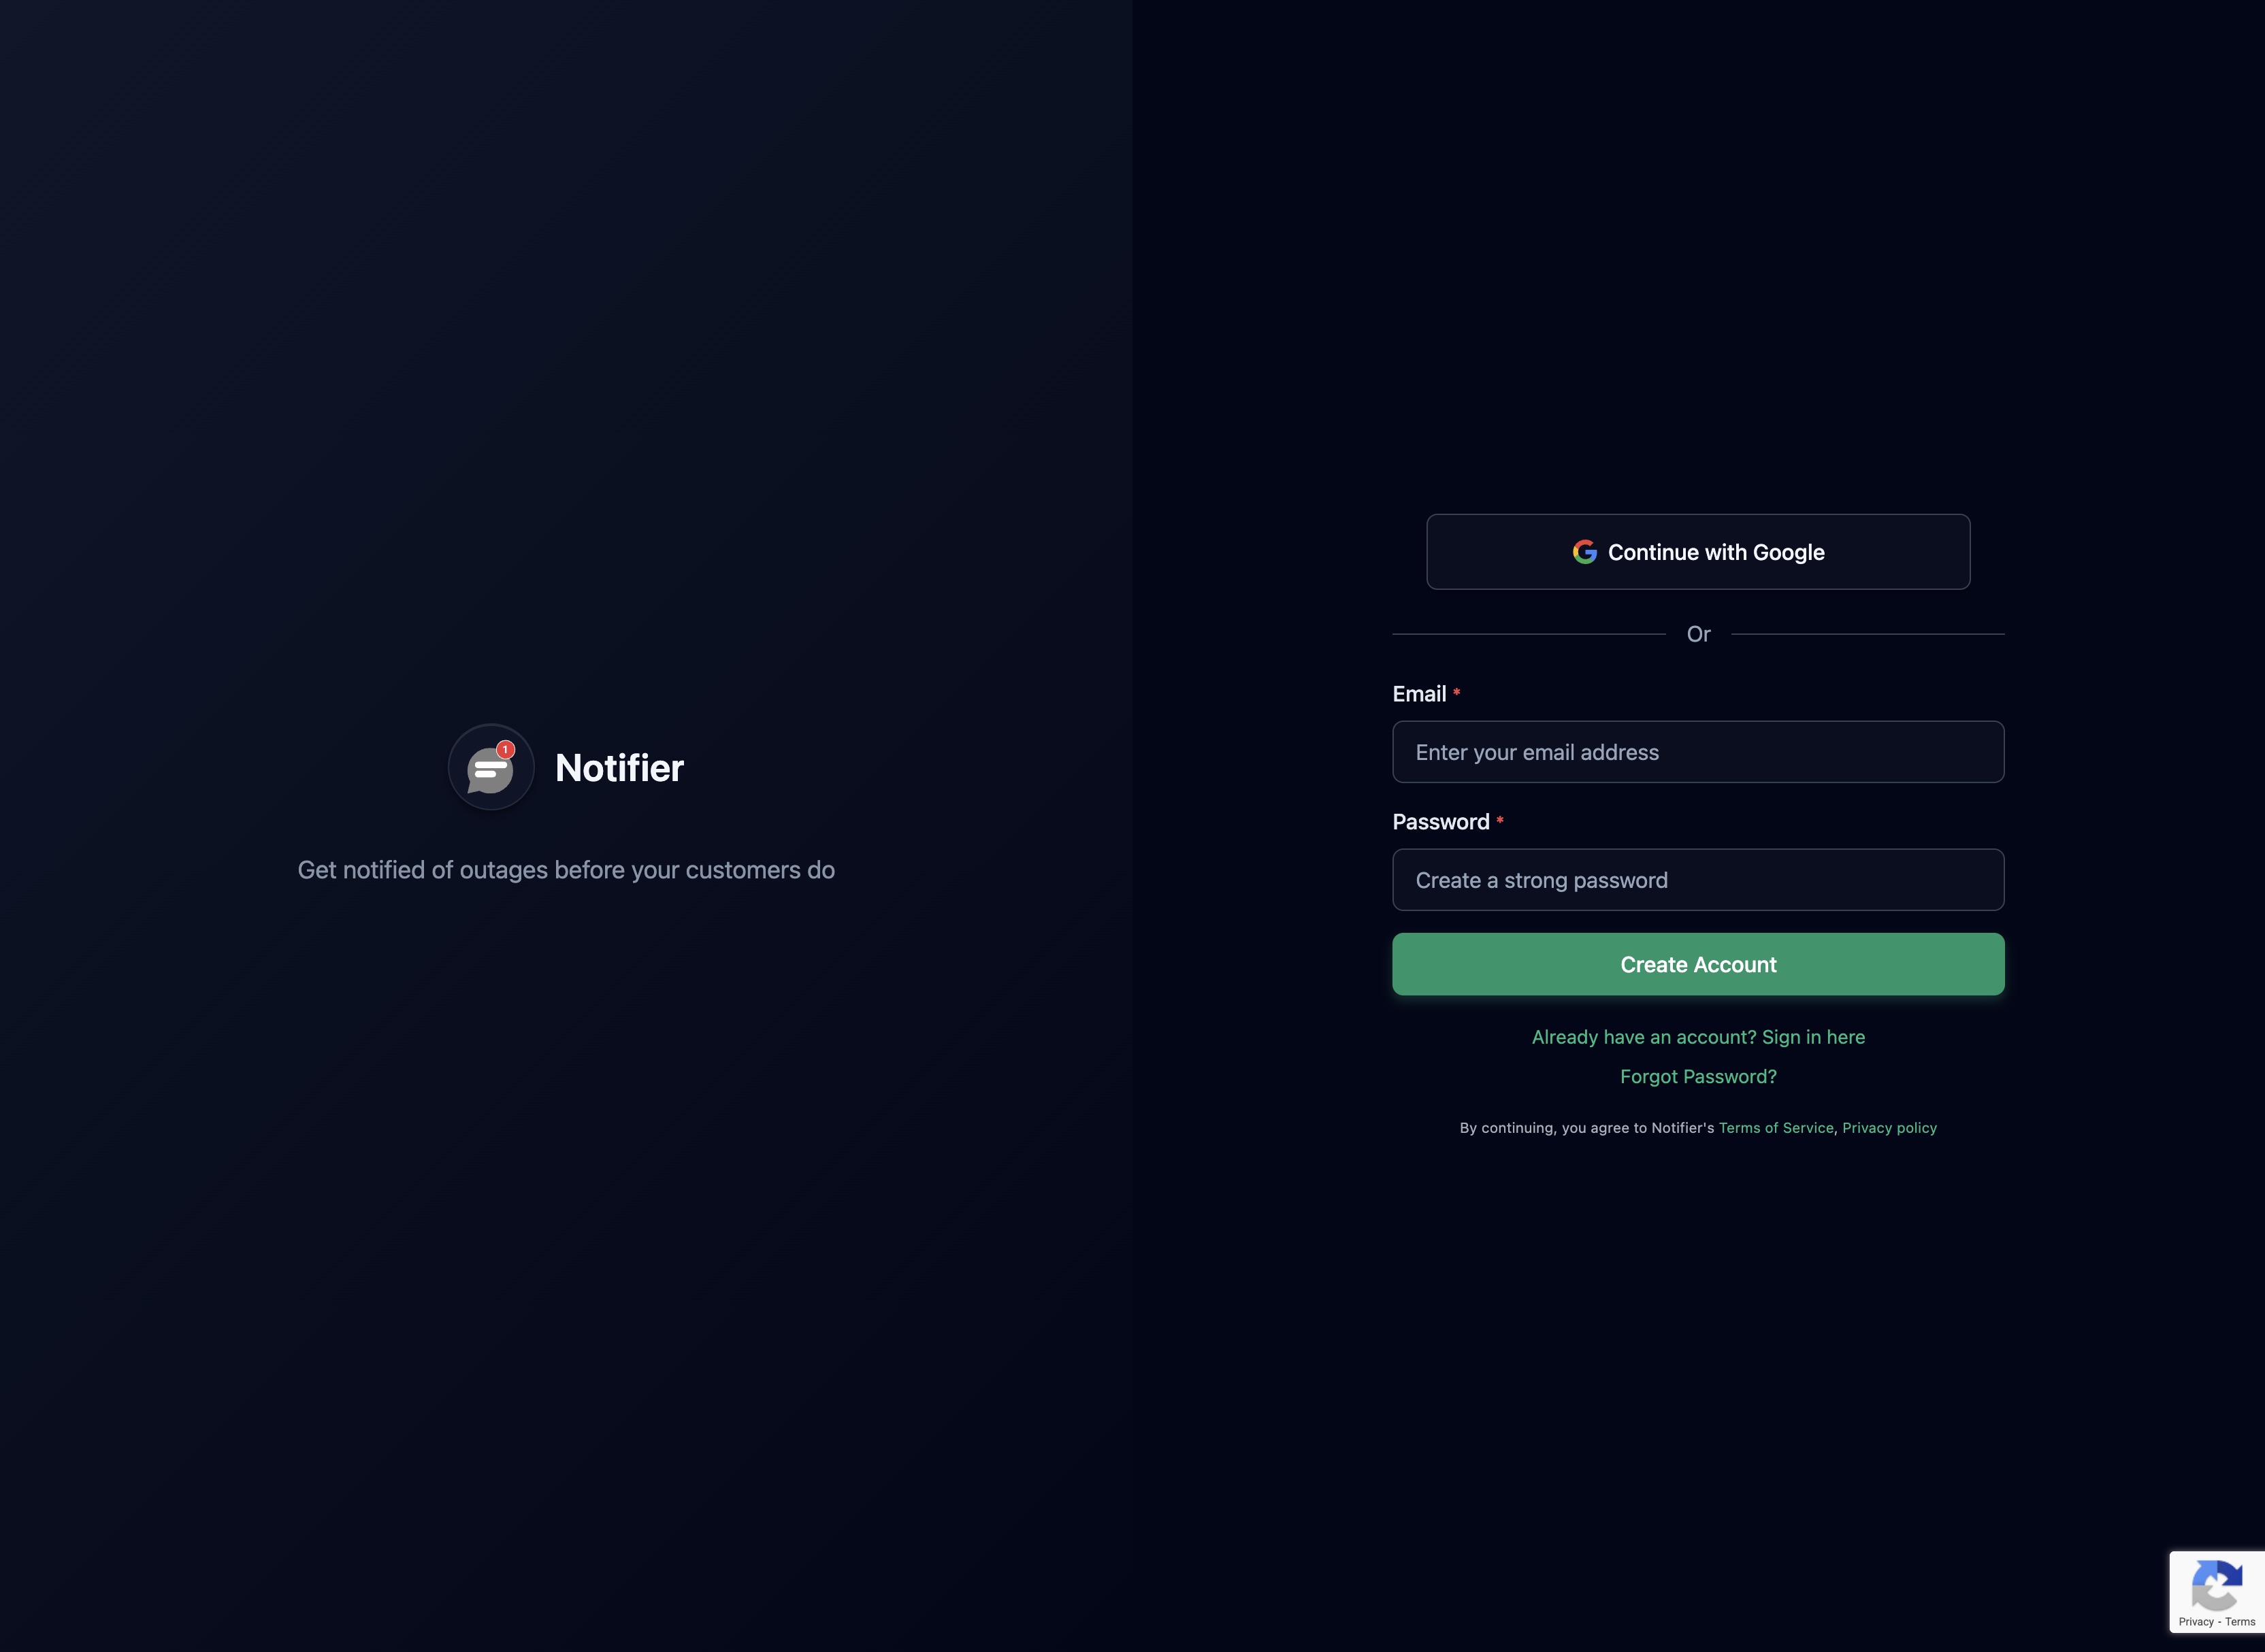
Create your free account. No credit card required. You get 10 monitors and 5 status pages completely free.
Step 2: Add Your First Monitor
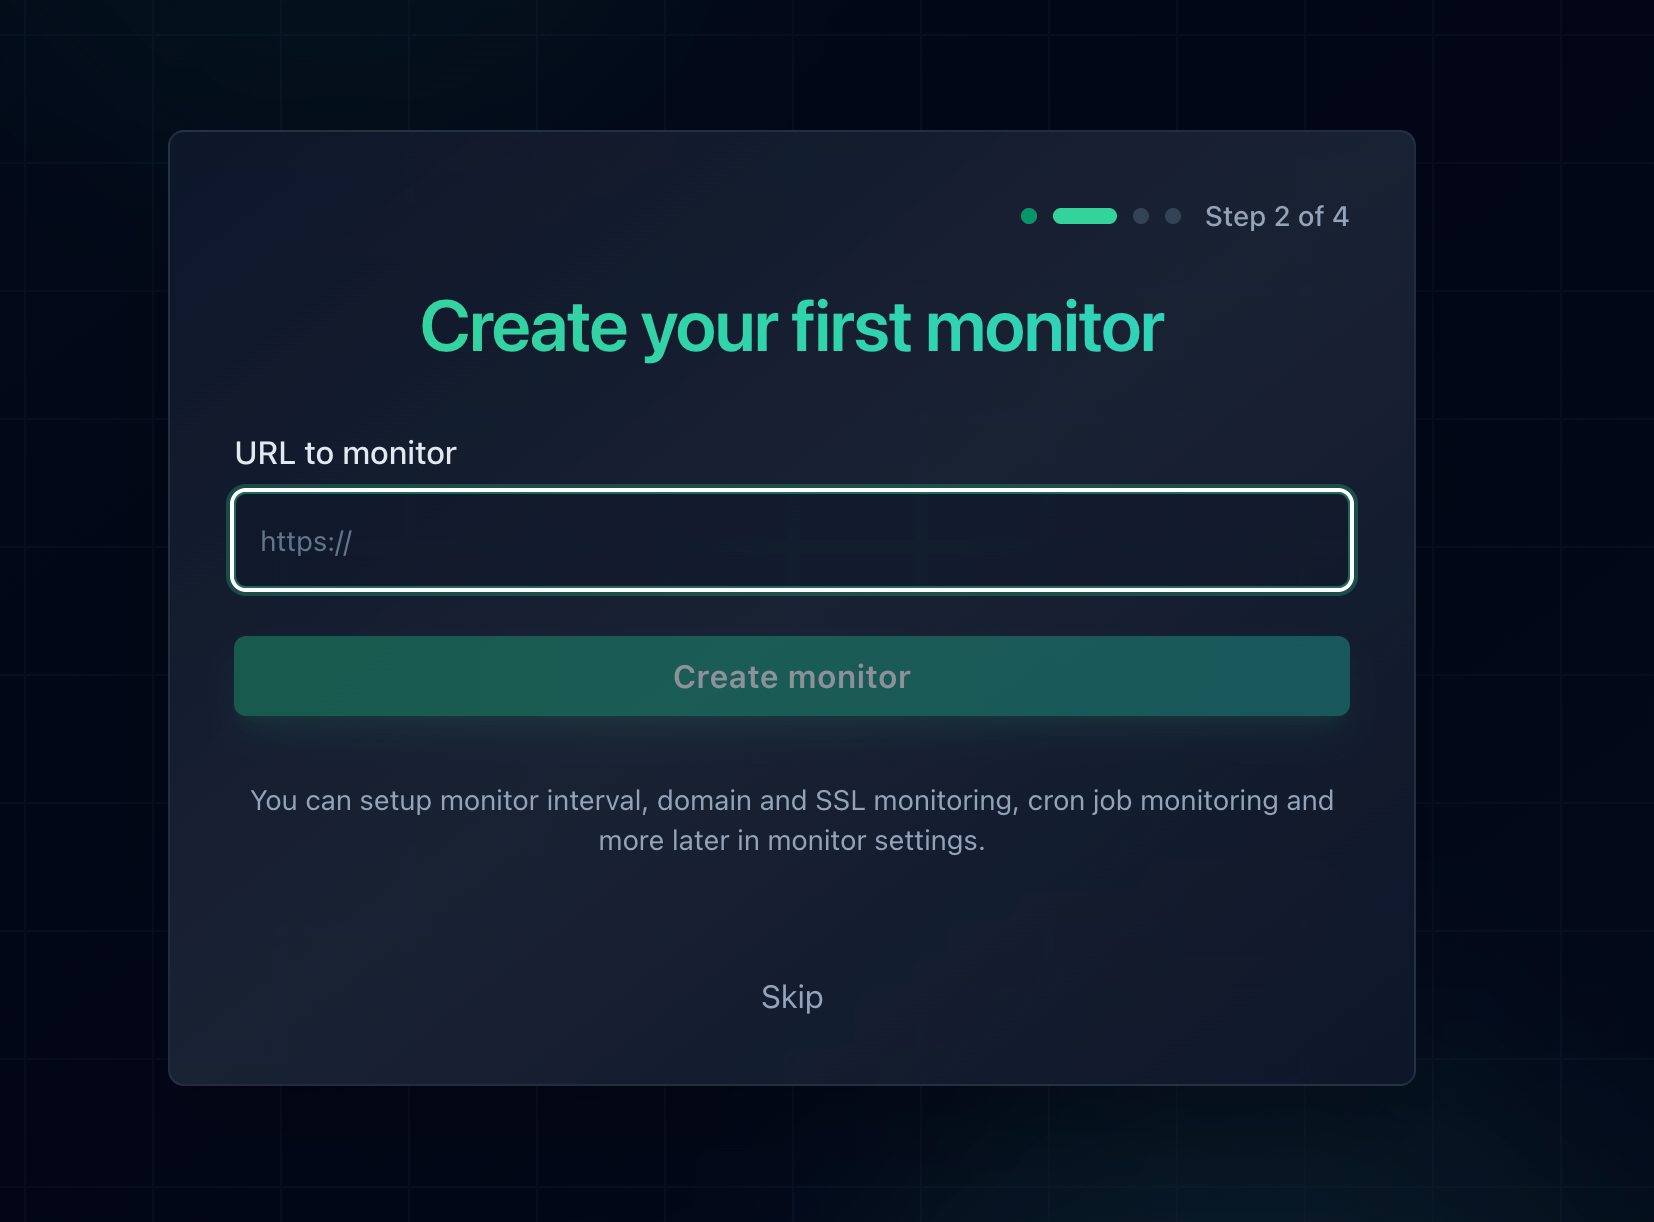
Once you're logged in, click "Add Monitor" and enter the URL you want to monitor. This can be your homepage, your API endpoint, or any URL that returns an HTTP response.
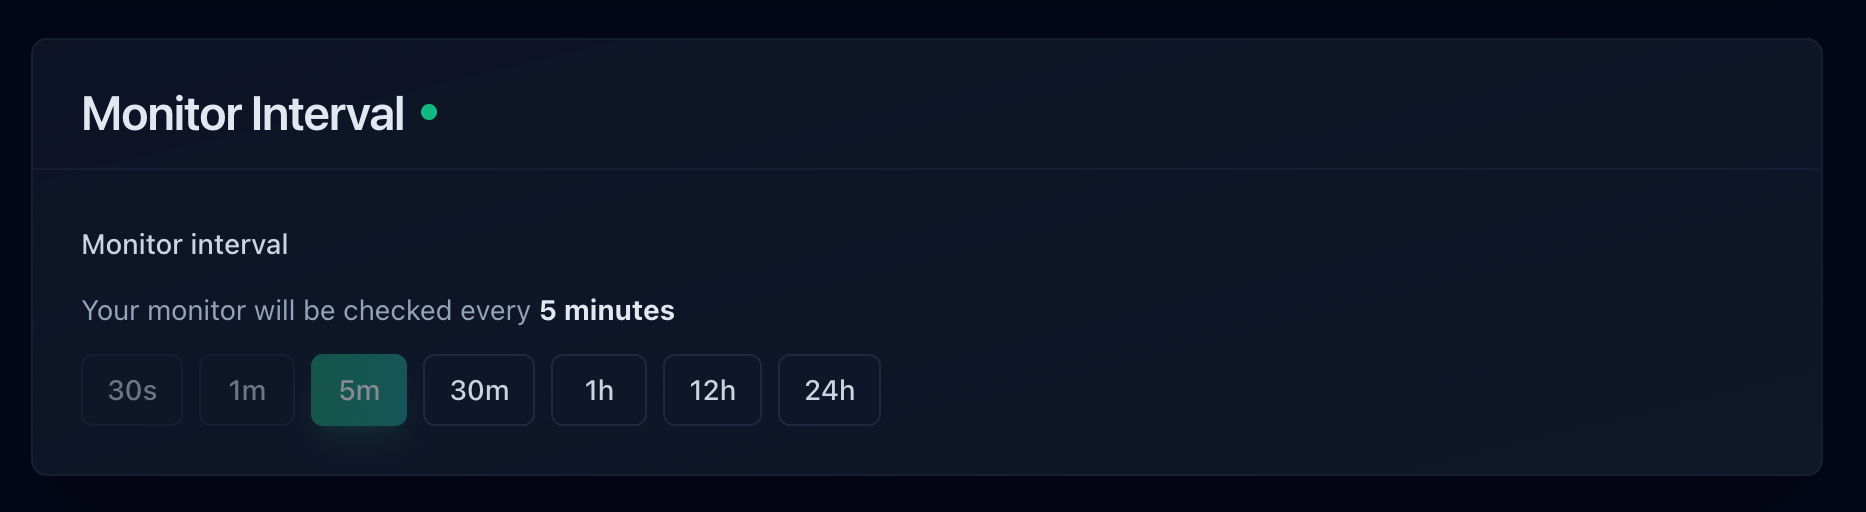
Choose your check interval. We recommend starting with 5 minutes for most sites. If you need faster alerts, paid plans offer 30 second checks.
Step 3: Configure Your Alerts
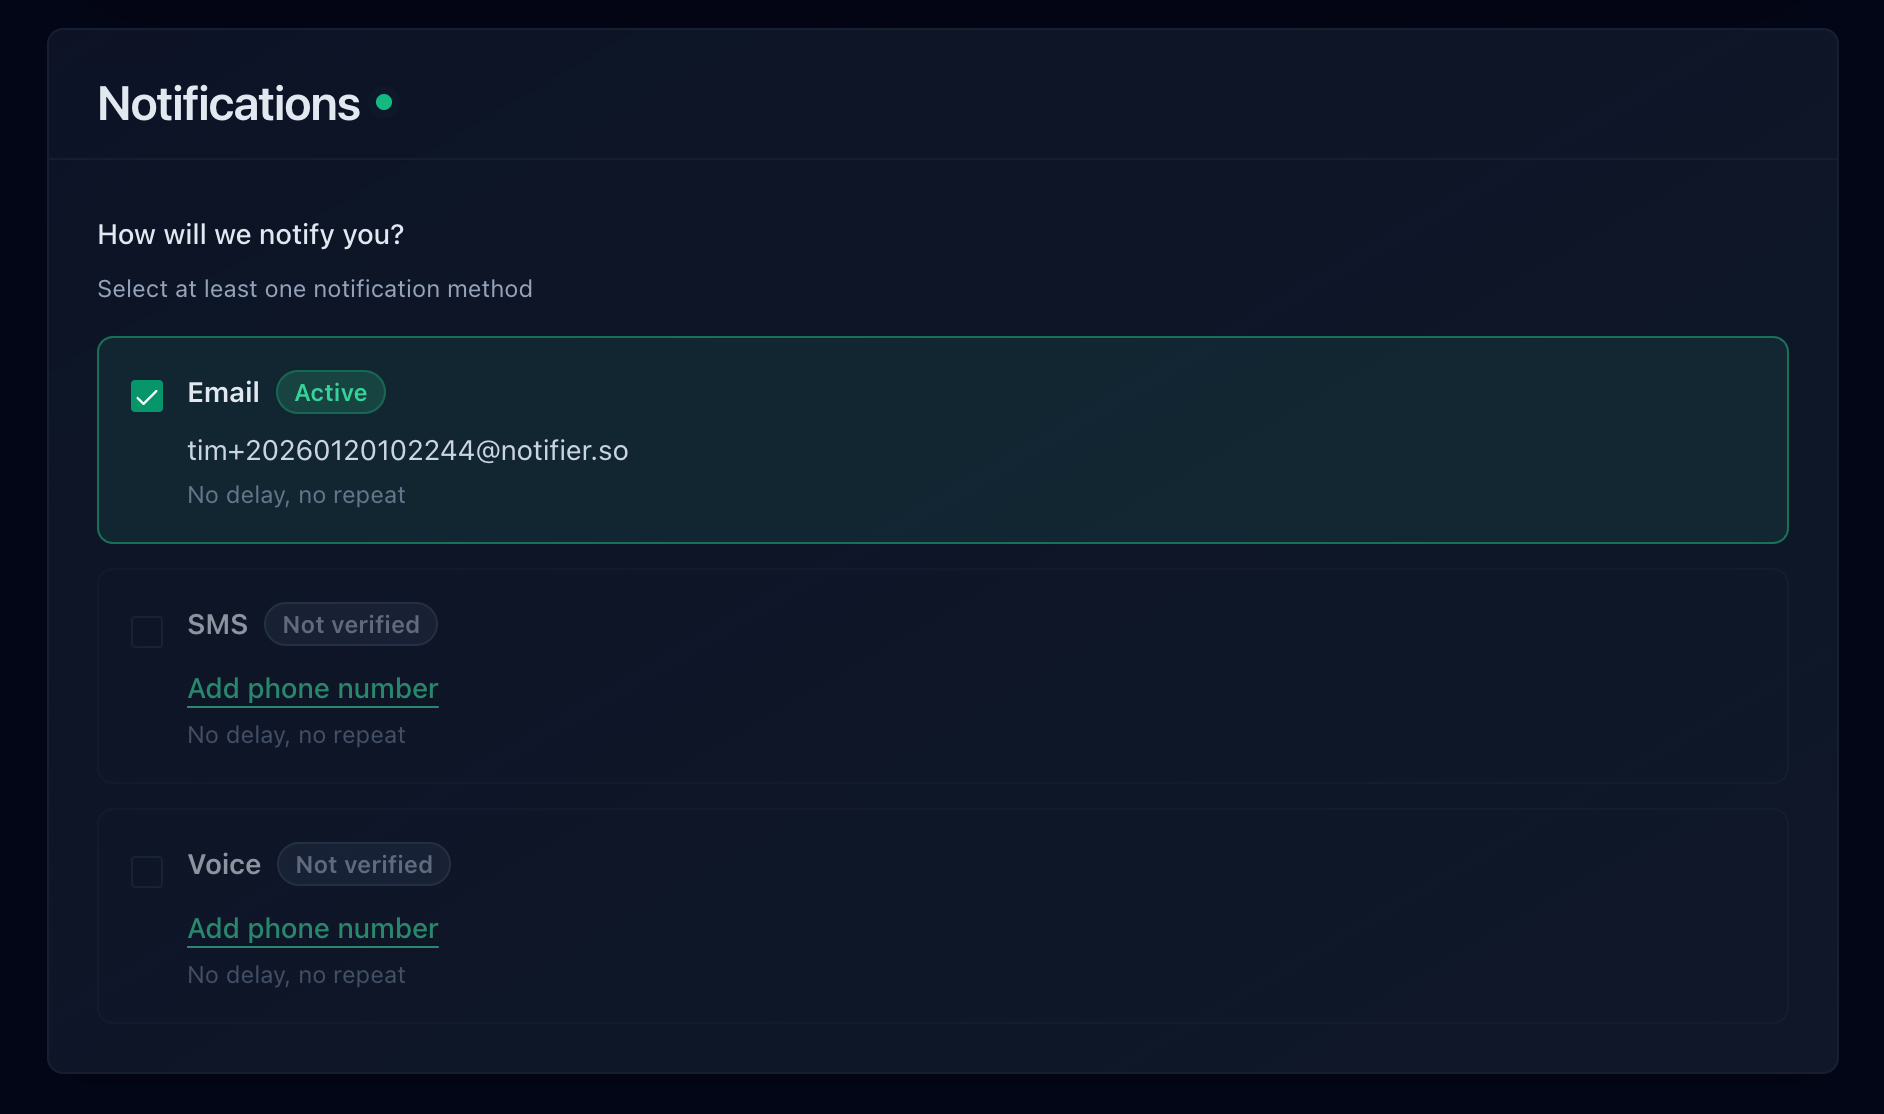
By default, you'll receive email alerts when your site goes down. You can also add SMS alerts if you need to be notified even when you're away from your computer.
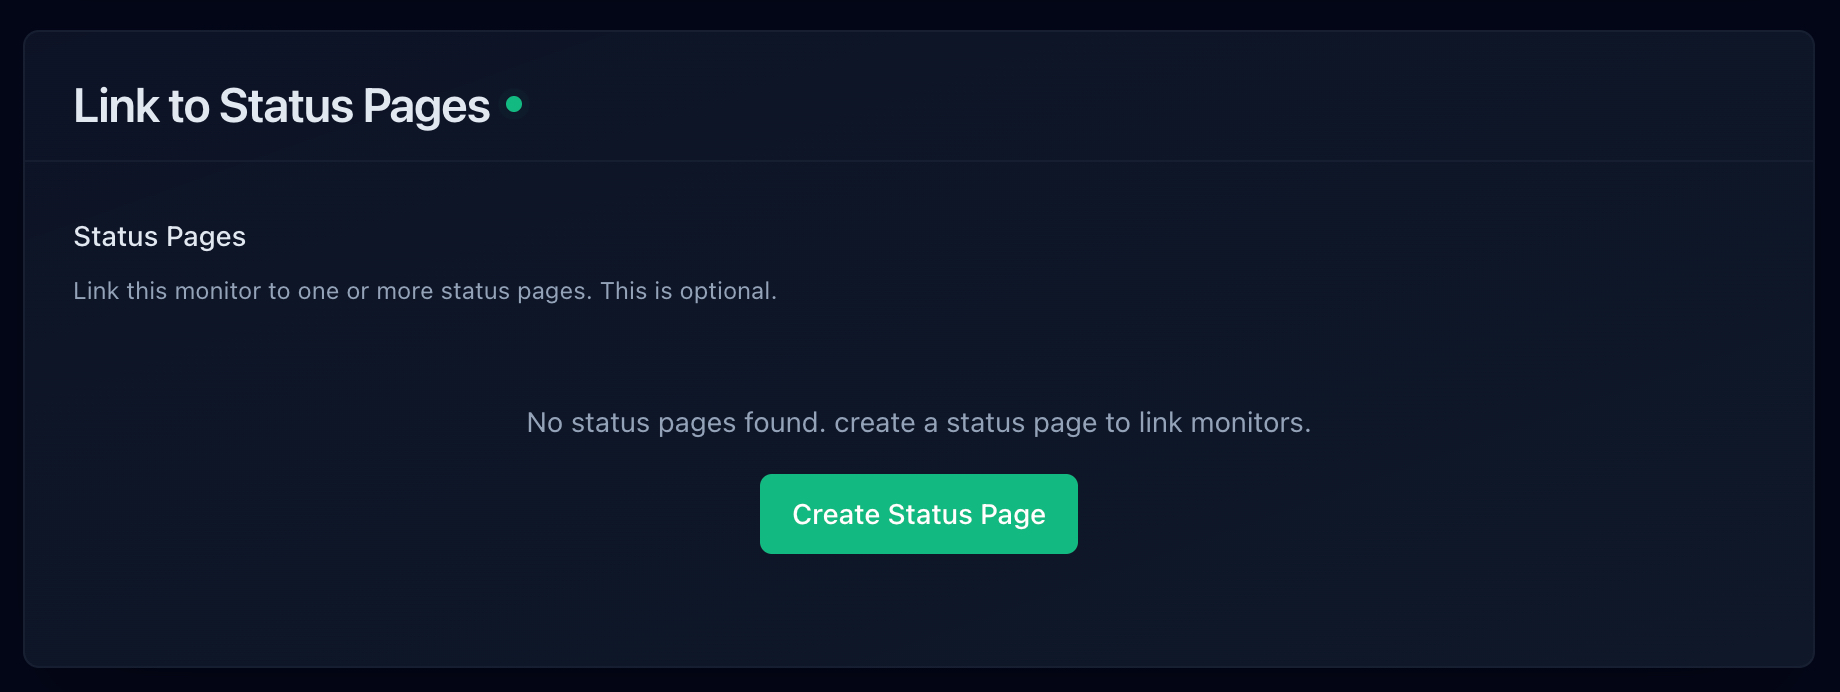
Step 4: Create a Status Page (Optional)
Want to keep your customers informed? Create a public status page that shows your uptime history. This builds trust and reduces support tickets when something goes wrong.
You're All Set
That's it. You now have website monitoring set up. You'll be notified the moment your site goes down, giving you time to fix the issue before it impacts your business.