At a Glance
- •To create a status page, sign up for a monitoring tool with built-in status pages (like Notifier), add your services as monitors, and publish a public status page that updates automatically when outages occur.
- •Status pages reduce support tickets by 30% to 50% during outages because users can check service status themselves instead of contacting your team.
- •Include individual service components, current status indicators, incident history, planned maintenance schedules, and a way for users to subscribe to updates.
- •Hosted status page tools (Notifier, Statuspage, Instatus) take minutes to set up. Self-hosted options (Cachet, Upptime, Cstate) offer more control but require ongoing maintenance.
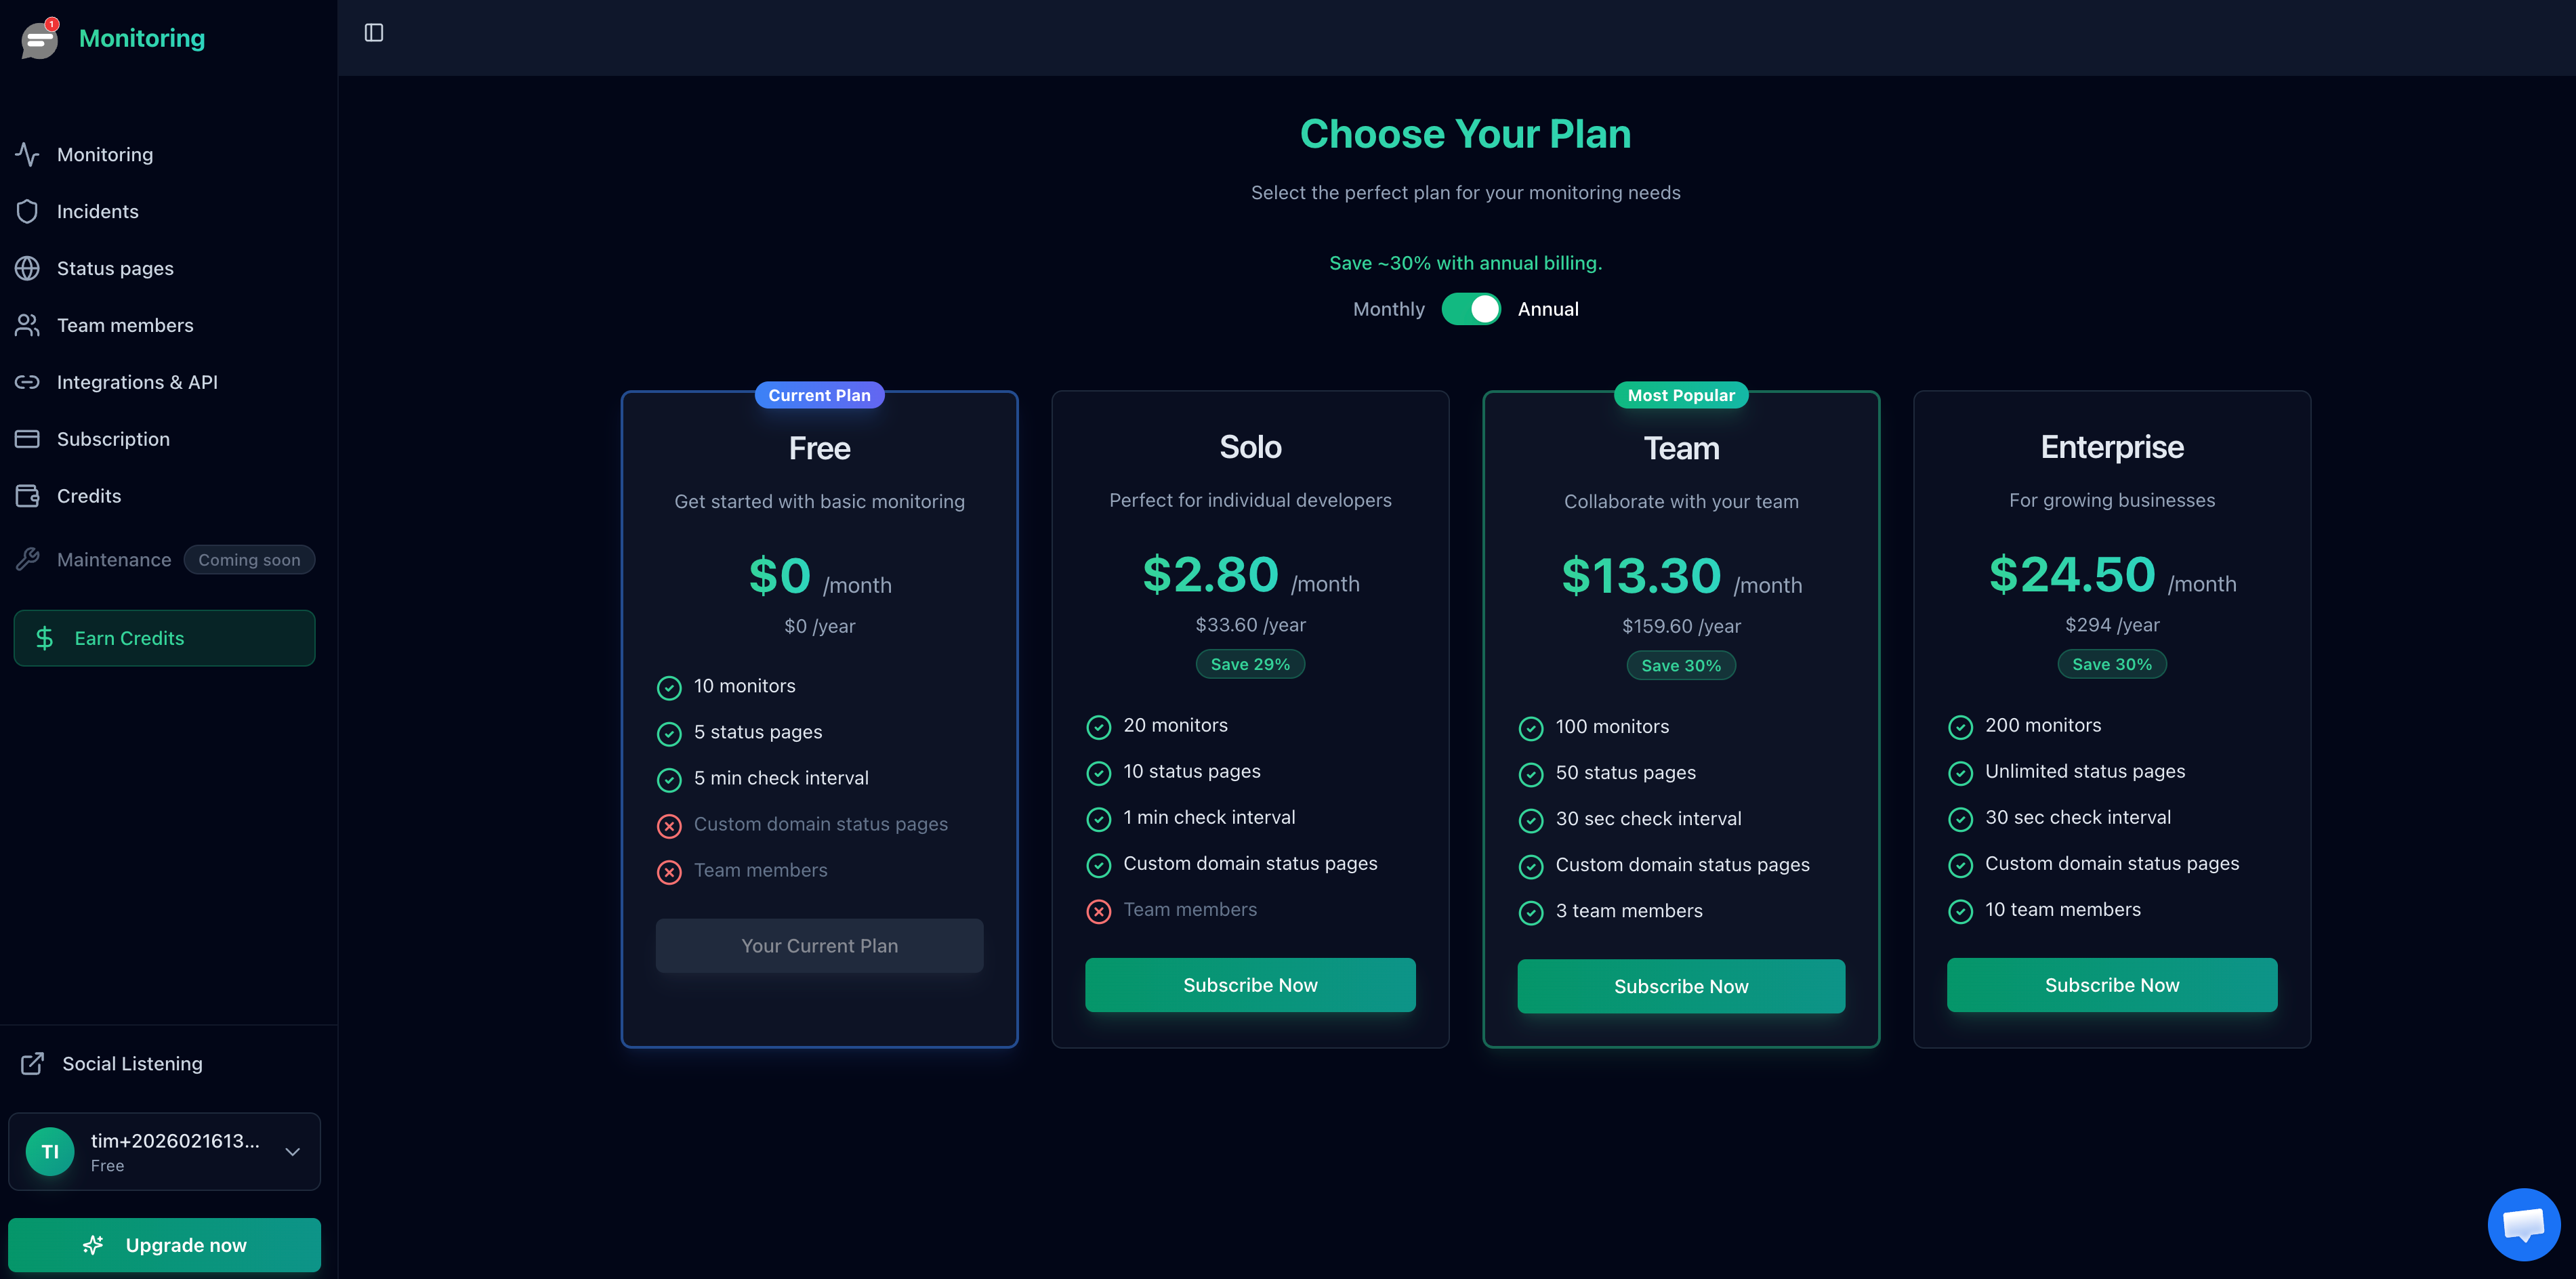
- •Notifier includes 5 free status pages on the free plan and supports custom domains starting at $4/month on the Solo plan.
When your service goes down, the first thing your users do is search for answers. They check your website, they tweet at you, and they flood your support inbox. A status page gives them a single, reliable place to check. It tells them what's happening, what you're doing about it, and when things will be back to normal.
This guide walks you through creating a status page from scratch. You'll learn what to include, how to choose between hosted and self-hosted options, and how to set one up with Notifier in under five minutes. We'll also cover custom domain setup, incident communication best practices, and real examples of effective status pages.
What Is a Status Page and Why Does It Matter?
A status page is a public web page that shows the real-time operational status of your website, API, or service. At its simplest, it answers one question: "Is it working right now?"
But good status pages do much more than that. They list each service component individually (website, API, payment processing, email delivery), show current and historical uptime data, and provide a timeline of past incidents with full resolution details.
Why Status Pages Matter
There are three practical reasons every online service should have a status page:
- Reduced support load: During an outage, your support team gets flooded with "Is X down?" messages. A status page answers that question before users ever contact you. Companies that publish status pages consistently report 30% to 50% fewer support tickets during incidents.
- Customer trust: Transparency builds trust. When users can see that you acknowledge issues quickly and communicate clearly about resolution timelines, they're more likely to stick with your service. Hiding outages does the opposite.
- Faster incident response: When your whole team can see the same status page, it becomes the single source of truth during an incident. No more "Is this still happening?" questions in Slack. The status page tells everyone the current state.
For a deeper look at why status pages are essential for online services, see our guide on uptime status pages.
What to Include on Your Status Page
An effective status page includes five core elements. Missing any of them makes the page less useful for your users.
1. Service Components
Break your service into individual components that users care about. Don't list internal systems. List things users interact with:
- Website / App: Your main frontend
- API: If you have external API consumers
- Payment Processing: Checkout, billing, subscriptions
- Email Delivery: Transactional emails, notifications
- Authentication: Login, SSO, two-factor
Keep the list between 3 and 8 components. Too few and the page isn't useful (just showing "Service: Operational" tells users nothing when the API is down but the website is up). Too many and the page becomes cluttered and hard to scan.
2. Current Status Indicators
Each component needs a clear status. The standard categories are:
| Status | Color | When to Use |
|---|---|---|
| Operational | Green | Everything is working normally |
| Degraded Performance | Yellow | Slower than usual but still functional |
| Partial Outage | Orange | Some features or regions are affected |
| Major Outage | Red | Service is completely unavailable |
3. Incident History
Show a chronological log of past incidents with timestamps, descriptions, and resolution details. This serves two purposes: it proves you handle issues transparently, and it helps users identify patterns ("Does this service go down every Thursday at 3 PM?"). Most status page tools display the last 30 to 90 days of incident history automatically.
4. Planned Maintenance
Announce scheduled maintenance windows in advance. Include the expected start time, duration, and which components will be affected. This prevents users from filing support tickets about planned downtime. On Notifier, maintenance windows are available on Solo plans and above so your monitors won't trigger false alerts during scheduled work.
5. Subscriber Notifications
Let users subscribe to updates via email or SMS so they get notified when something changes. This is the difference between users who obsessively refresh your status page during an incident and users who get a notification when the issue is resolved. On Notifier, visitor and subscriber notifications are available on Team plans ($19/month) and above.
Hosted vs Self-Hosted Status Pages
You have two broad options for creating a status page: use a hosted service or run your own. Here's how they compare.
Hosted Status Pages
Hosted solutions run on the provider's infrastructure. You sign up, configure your components, and publish. The provider handles uptime, SSL, and updates.
- Pros: Setup takes minutes, no server maintenance, provider ensures the status page stays up even when your service is down, automatic SSL, built-in monitoring integration
- Cons: Monthly cost (free tiers available), less customization than self-hosted, reliant on the provider's uptime
Popular hosted options include Notifier, Atlassian Statuspage, and Instatus.
Self-Hosted Status Pages
Self-hosted tools run on your own servers. You get full control over the code, design, and data.
- Pros: Complete customization, no recurring fees (just server costs), full data ownership, no vendor lock-in
- Cons: You must keep the status page running during outages (if your main server goes down, your status page might go down too), requires DevOps knowledge, manual updates and security patches, no built-in monitoring
Popular self-hosted options include Cachet (PHP), Upptime (GitHub Actions), and Cstate (Hugo). For more on hosting options, see our guide on public status page hosting.
The reliability paradox:
A self-hosted status page that runs on the same infrastructure as your service will go down when your service goes down. That's exactly when you need it most. If you self-host, make sure the status page runs on completely separate infrastructure (a different cloud provider, a different region, or a static site on a CDN). Hosted solutions avoid this problem entirely because the provider's infrastructure is independent from yours.
Status Page Tool Comparison
Here's how the most popular status page tools compare on the features that matter most.
| Tool | Free Tier | Custom Domains | Incident History | Monitoring Built-In | Starting Price |
|---|---|---|---|---|---|
| Notifier | 5 pages free | Solo+ ($4/mo) | Yes | Yes (10 free monitors) | $0 (free plan) |
| Statuspage (Atlassian) | Limited | All paid plans | Yes | No (requires separate tool) | $29/mo |
| Instatus | 1 page free | All paid plans | Yes | No | $20/mo |
| Better Stack | 1 page free | Paid plans | Yes | Yes | $29/responder/mo |
| Cachet | Free (self-hosted) | Yes (your server) | Yes | No | Free + server costs |
| Upptime | Free (GitHub Pages) | Yes (GitHub Pages) | Yes | Yes (GitHub Actions) | Free |
| Cstate | Free (static site) | Yes (your CDN) | Yes | No | Free |
Our recommendation: If you want a status page that's connected to real monitoring data and updates automatically, Notifier is the most practical choice. You get both monitoring and status pages in one tool, with 5 free status pages on the free plan. For teams that need custom domains, the Solo plan at $4/month is the most affordable option that includes them.
Step-by-Step: Create a Status Page With Notifier
Here's how to create a public status page from scratch using Notifier. The entire process takes about five minutes.
Step 1: Create Your Account
Go to notifier.so/register and create a free account. No credit card required. The free plan includes 10 monitors and 5 status pages.
Step 2: Add Your Monitors
Before creating a status page, you need monitors set up for the services you want to display. Add a monitor for each service component: your website URL, API endpoint, payment page, and any other critical URLs.
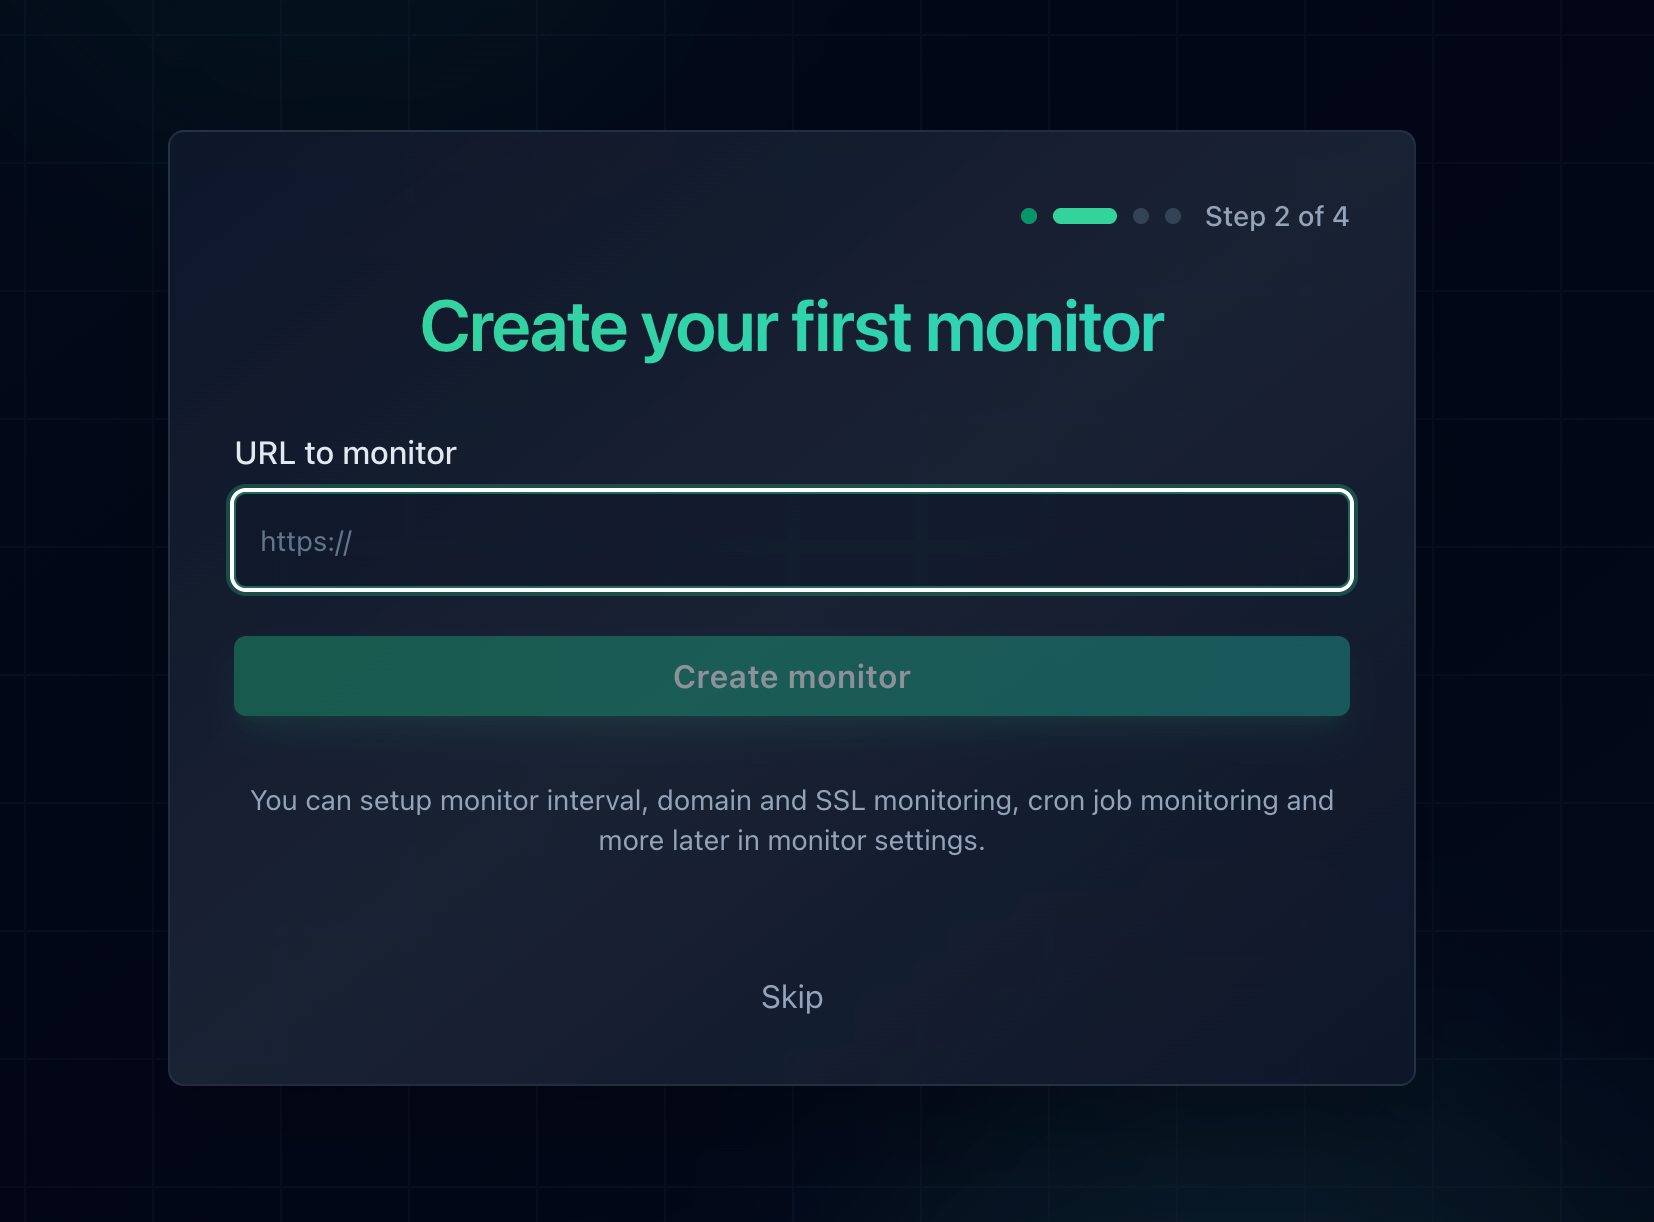
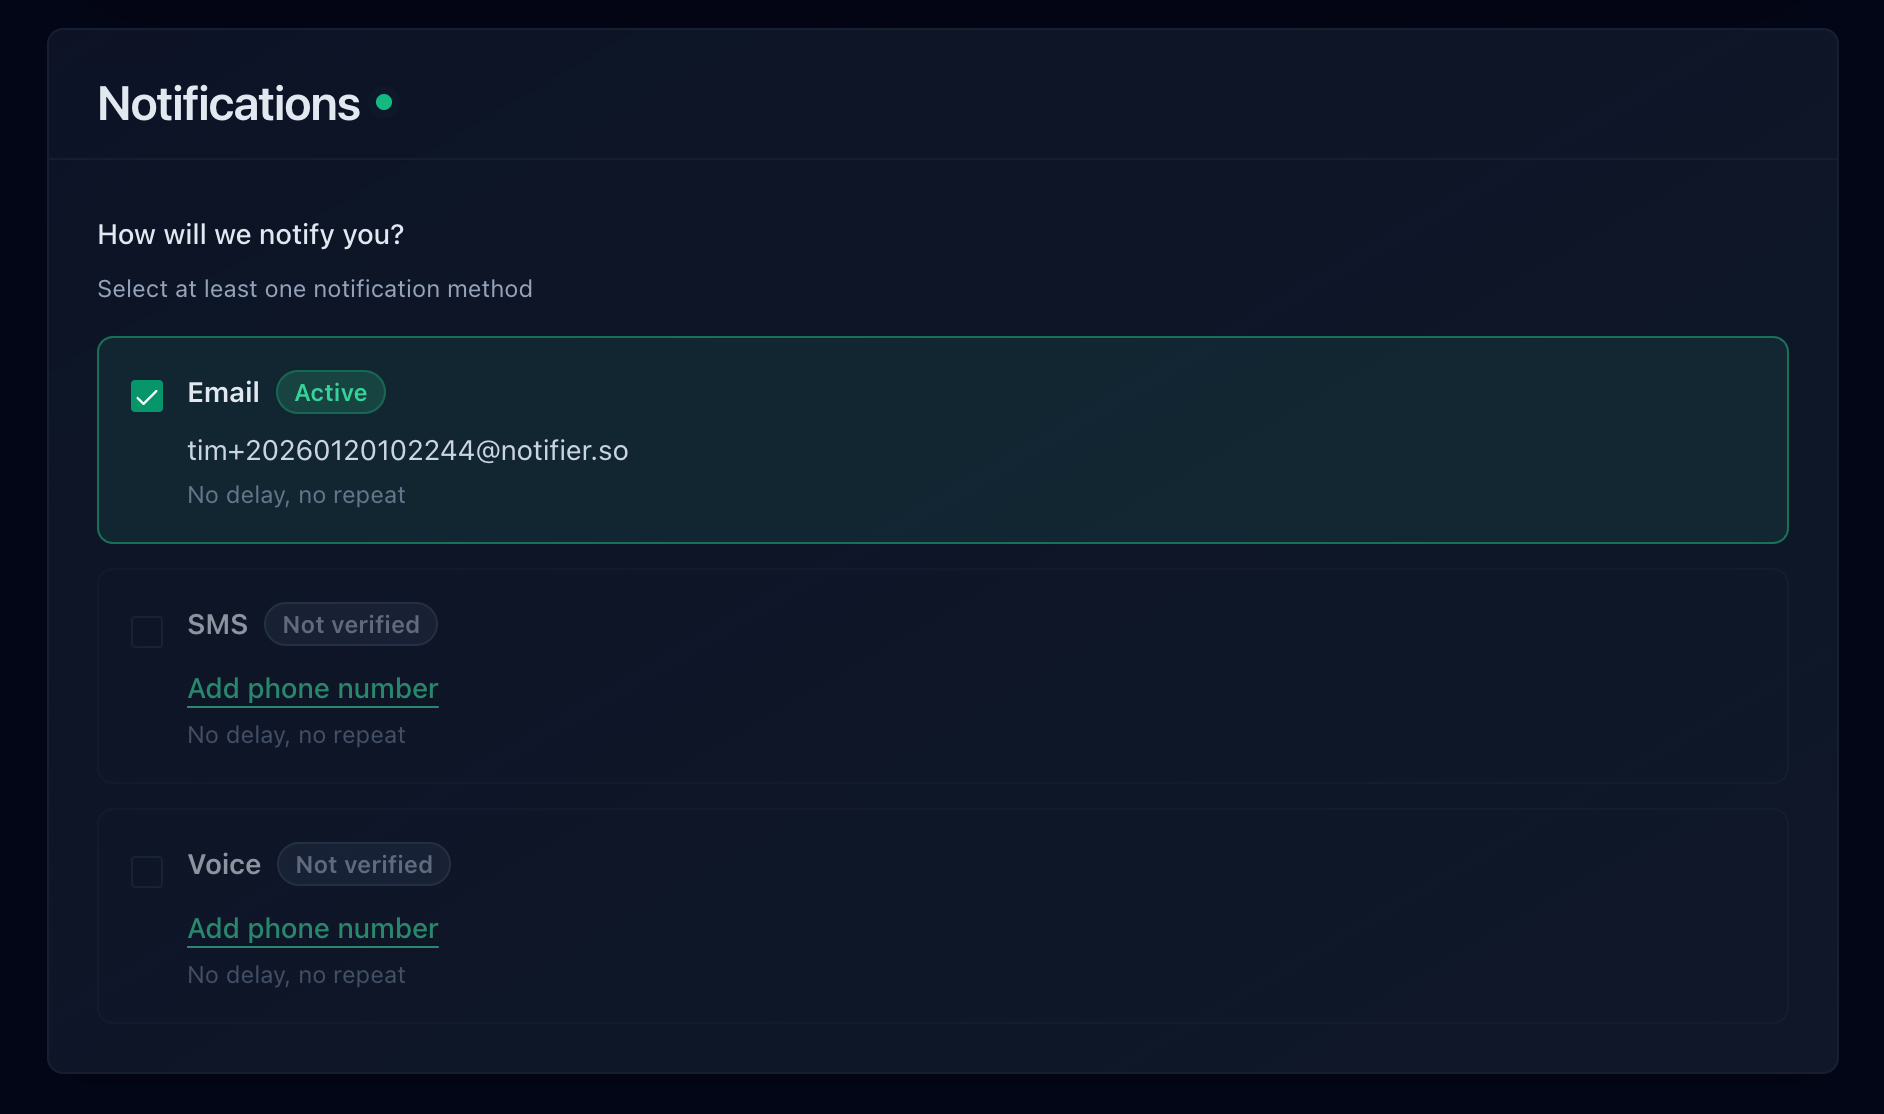
Configure your alert preferences for each monitor so you get notified instantly when something goes down. For a detailed walkthrough of alert setup, see our guide on website downtime alerts.
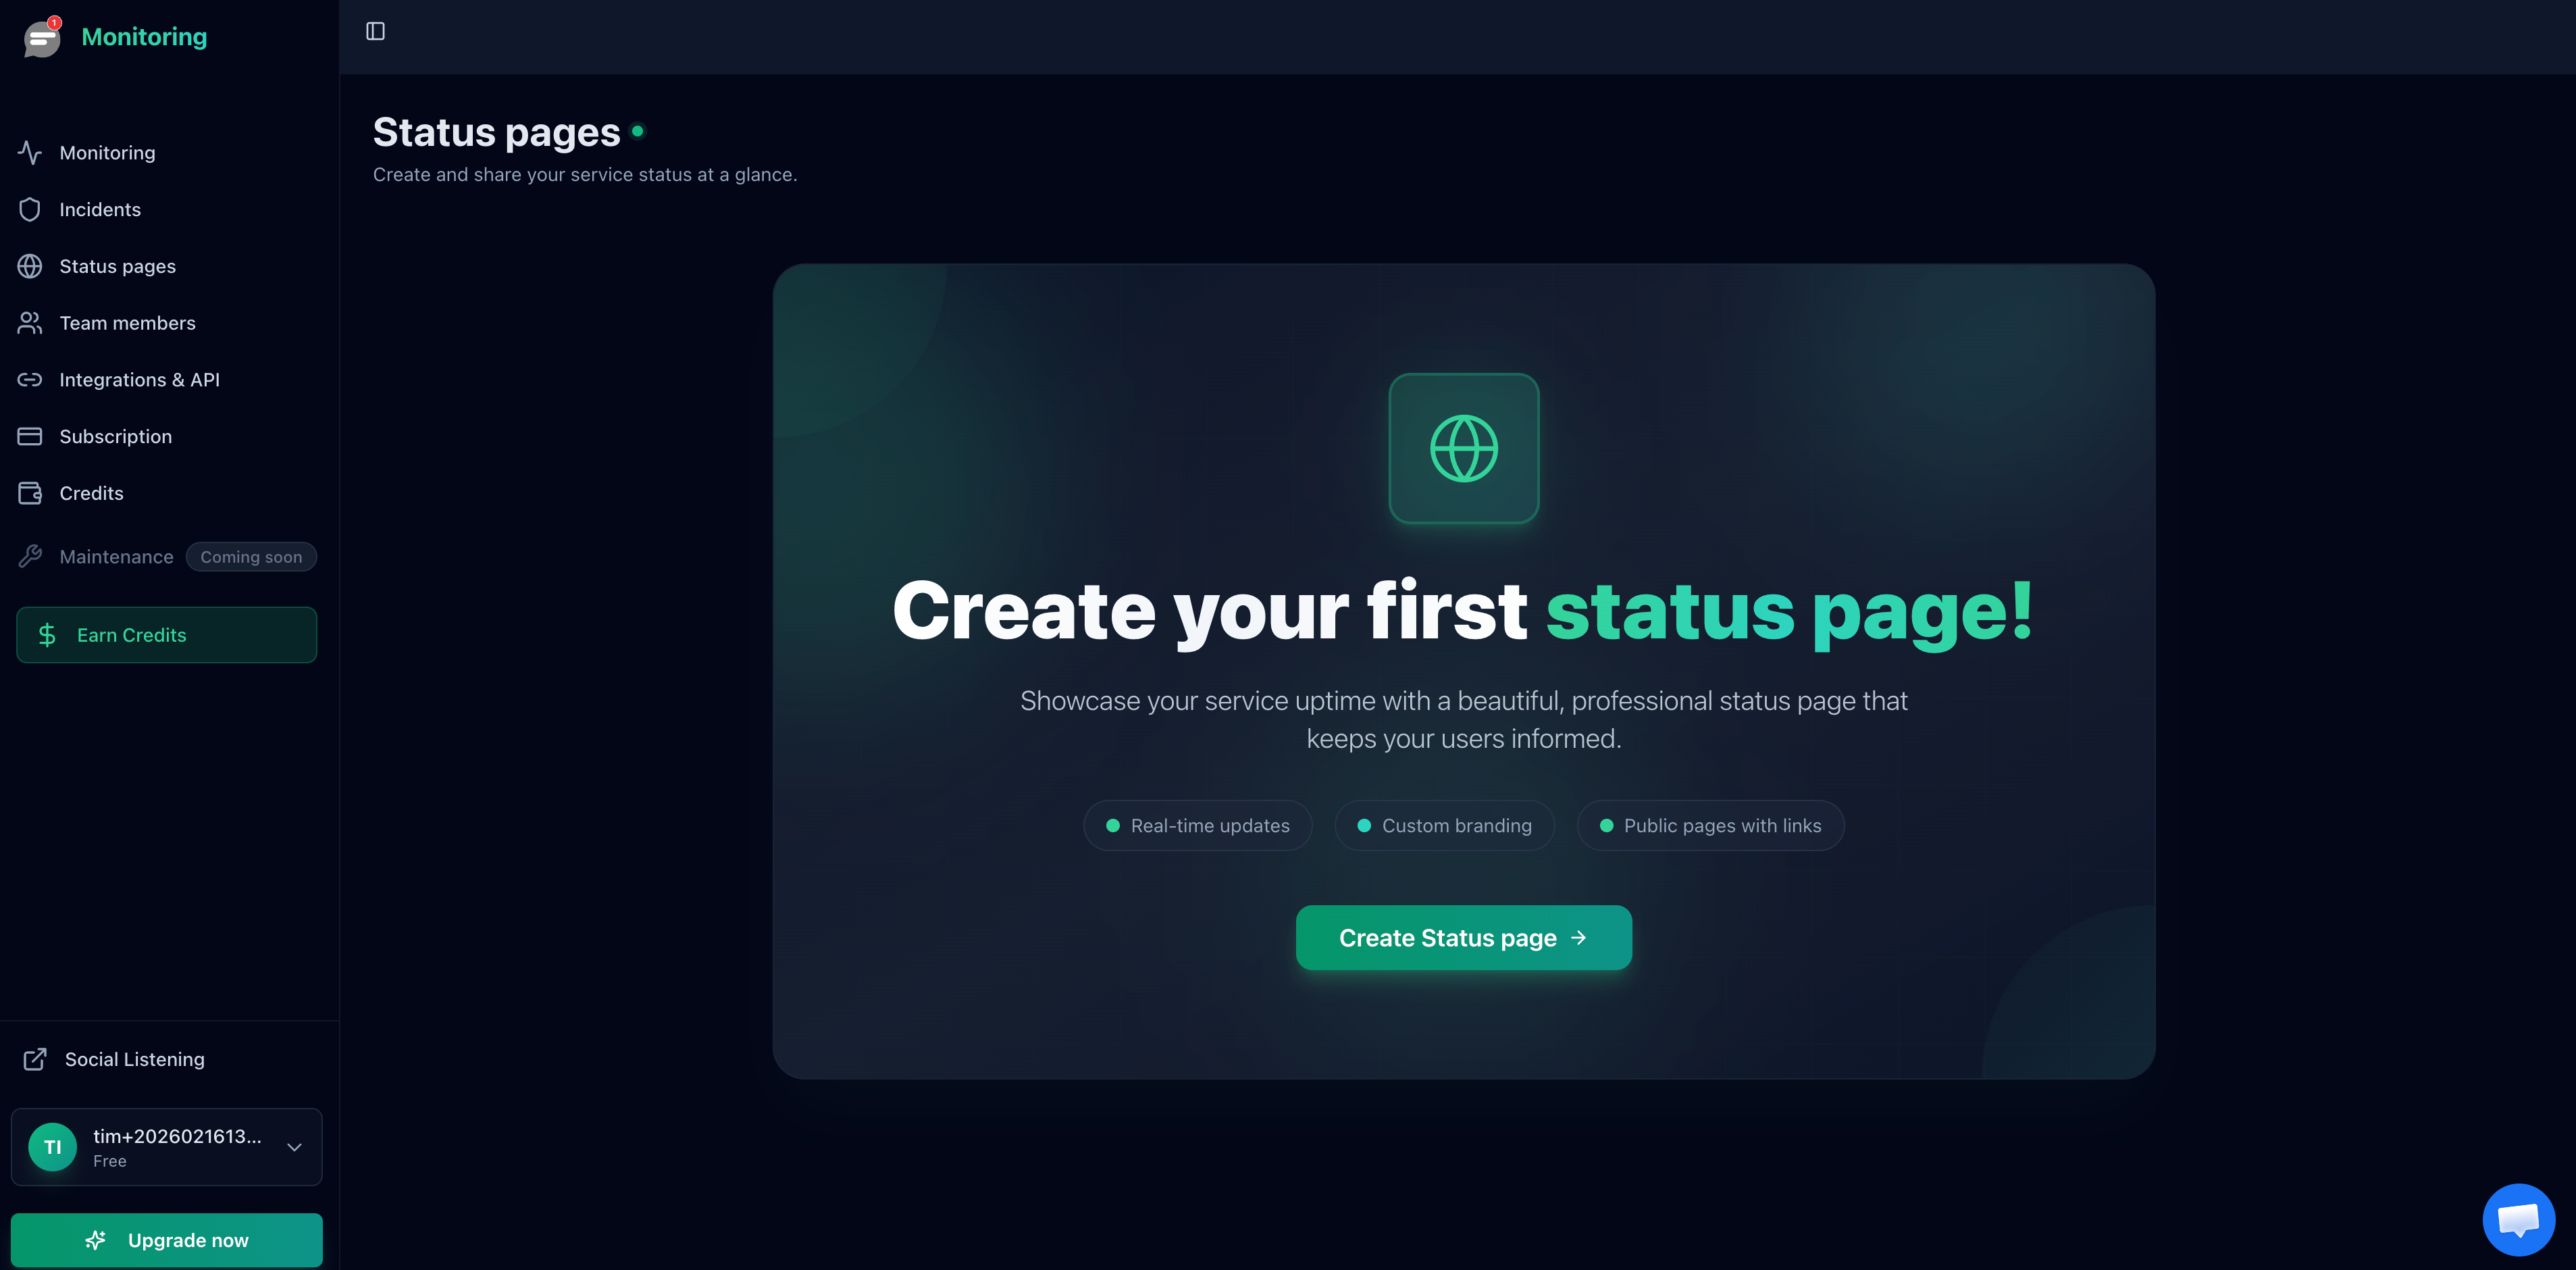
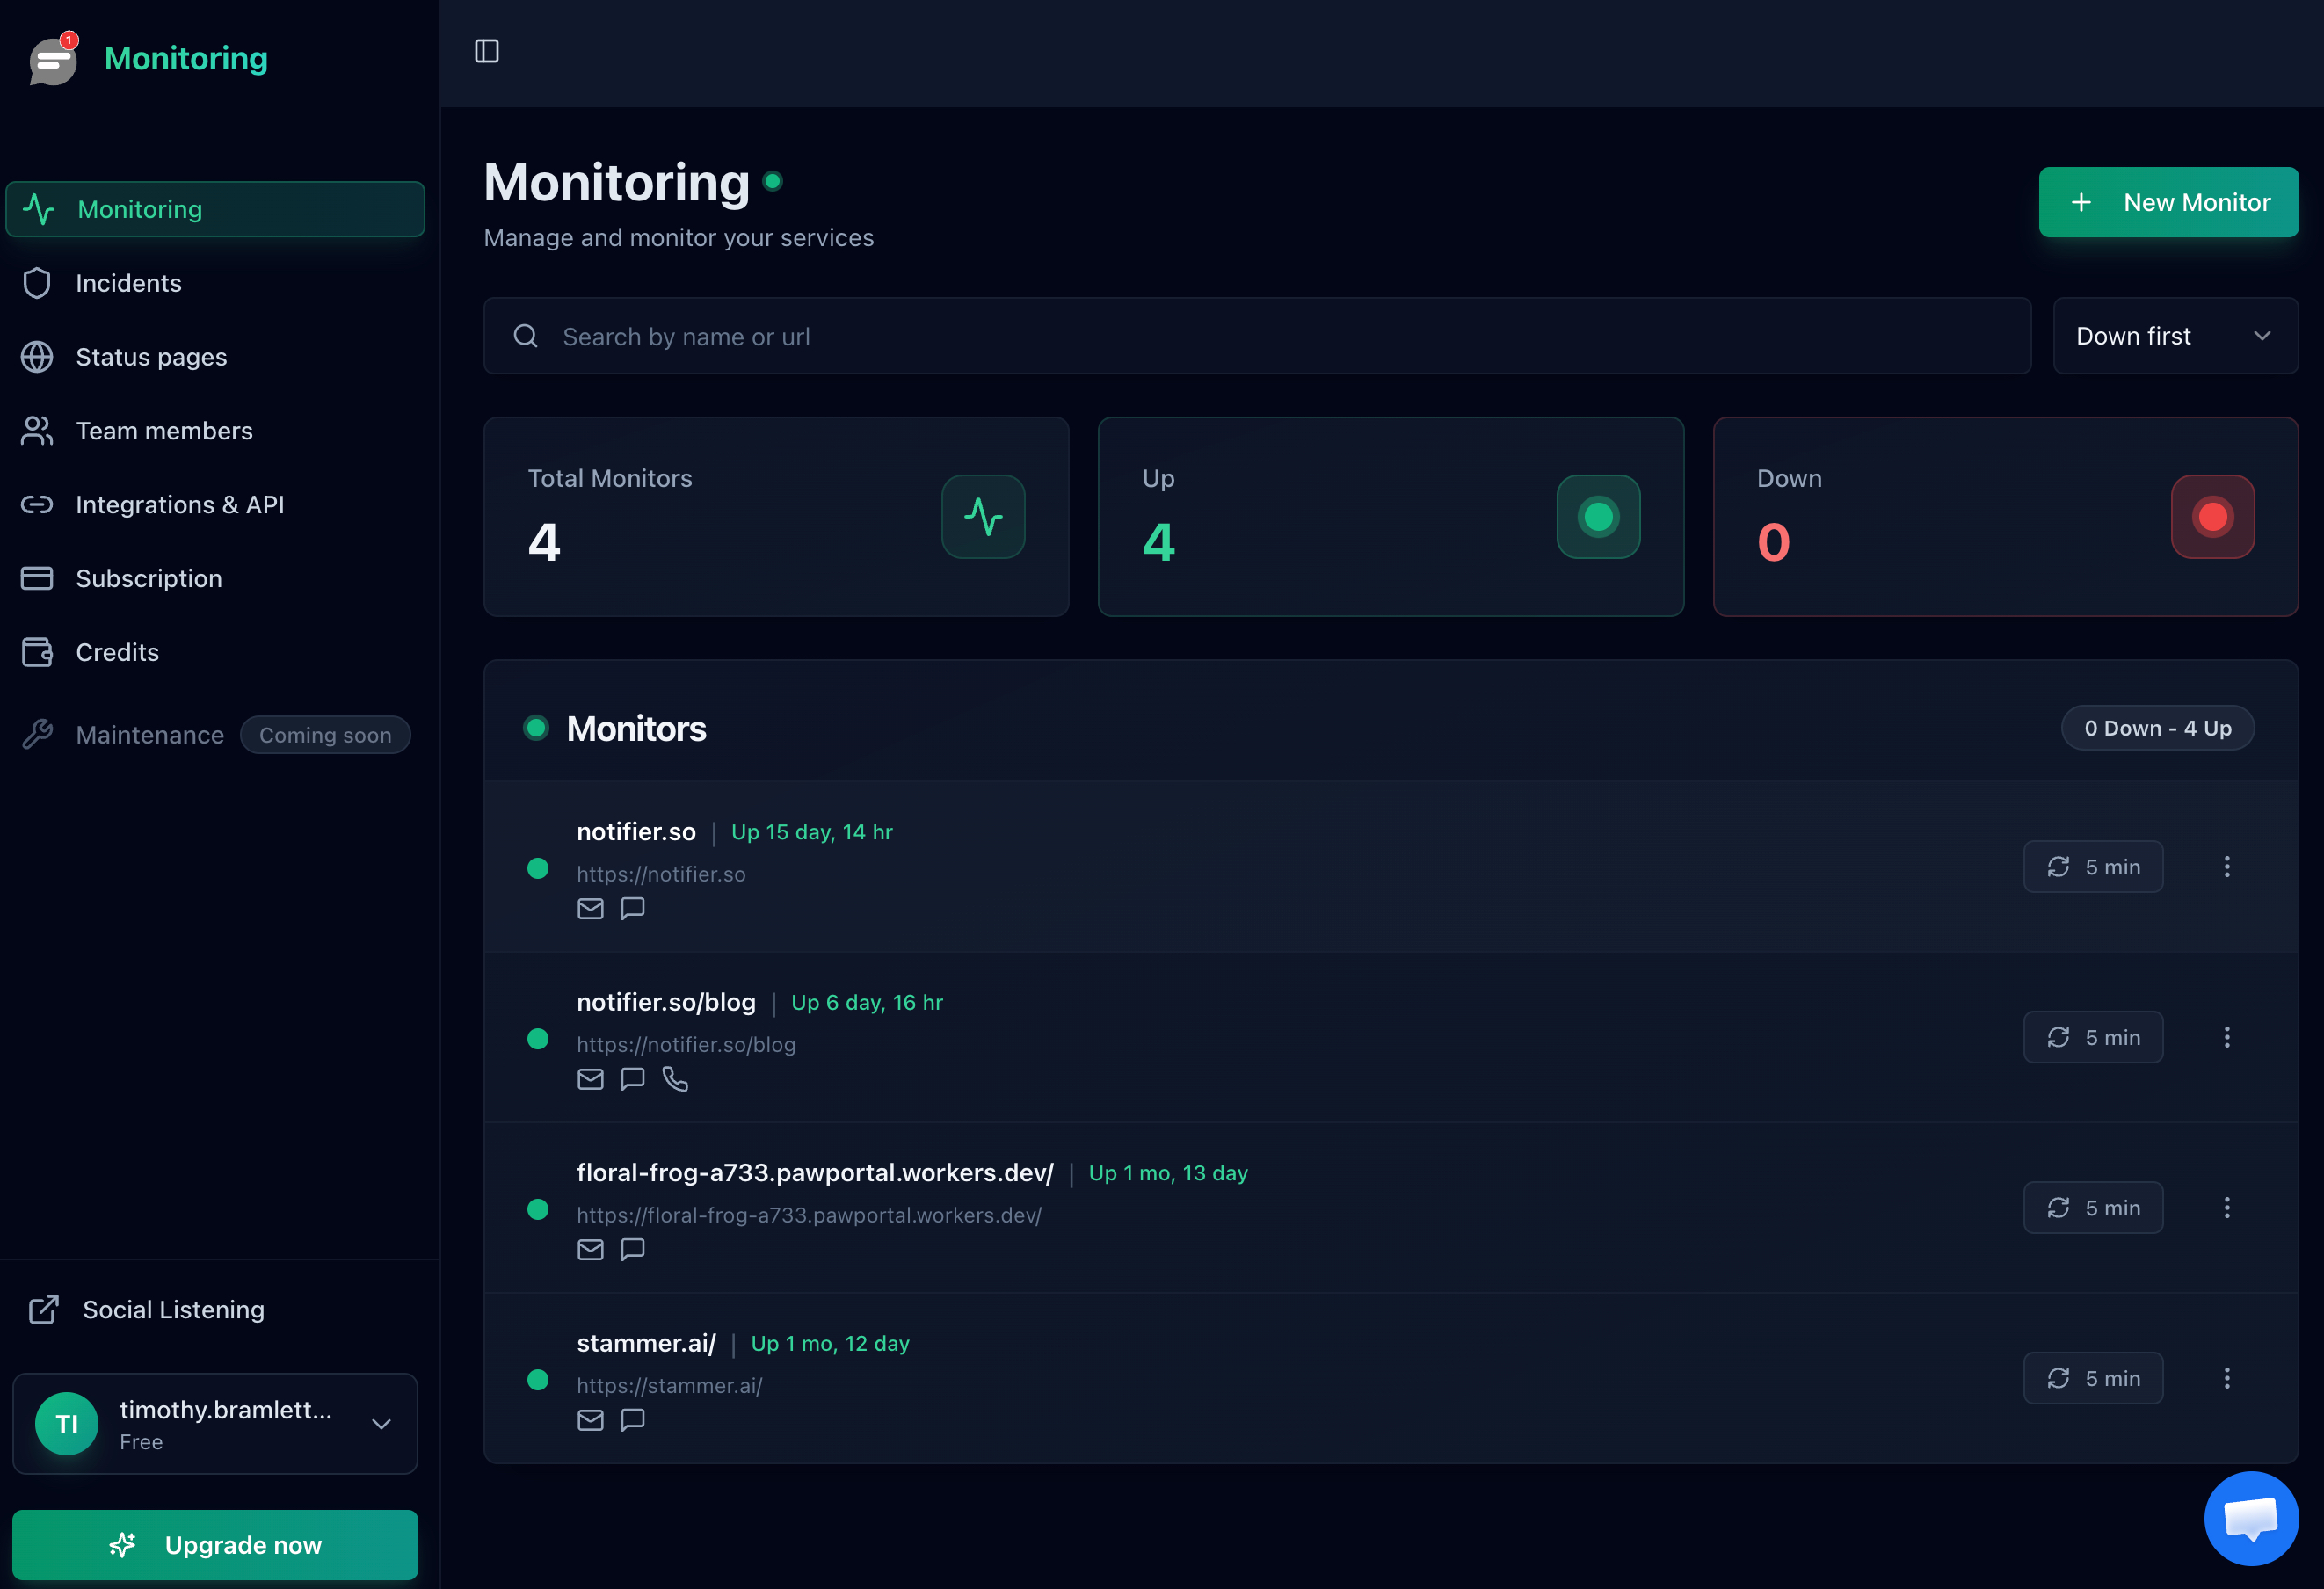
Step 3: Create Your Status Page
Navigate to the Status Pages section in your Notifier dashboard and click "Create Status Page." Give it a name (usually your company or product name), select which monitors to display, and click create.
Your status page is now live. It automatically reflects the real-time status of each monitor you selected. When a monitor detects an outage, the status page updates immediately. When the service recovers, the status page shows it as operational again. No manual updates needed for uptime and downtime events.
Step 4: Review Your Live Status Page
Here's what a live Notifier status page looks like. Each service component shows its current status, and users can scroll down to see incident history and uptime percentages.
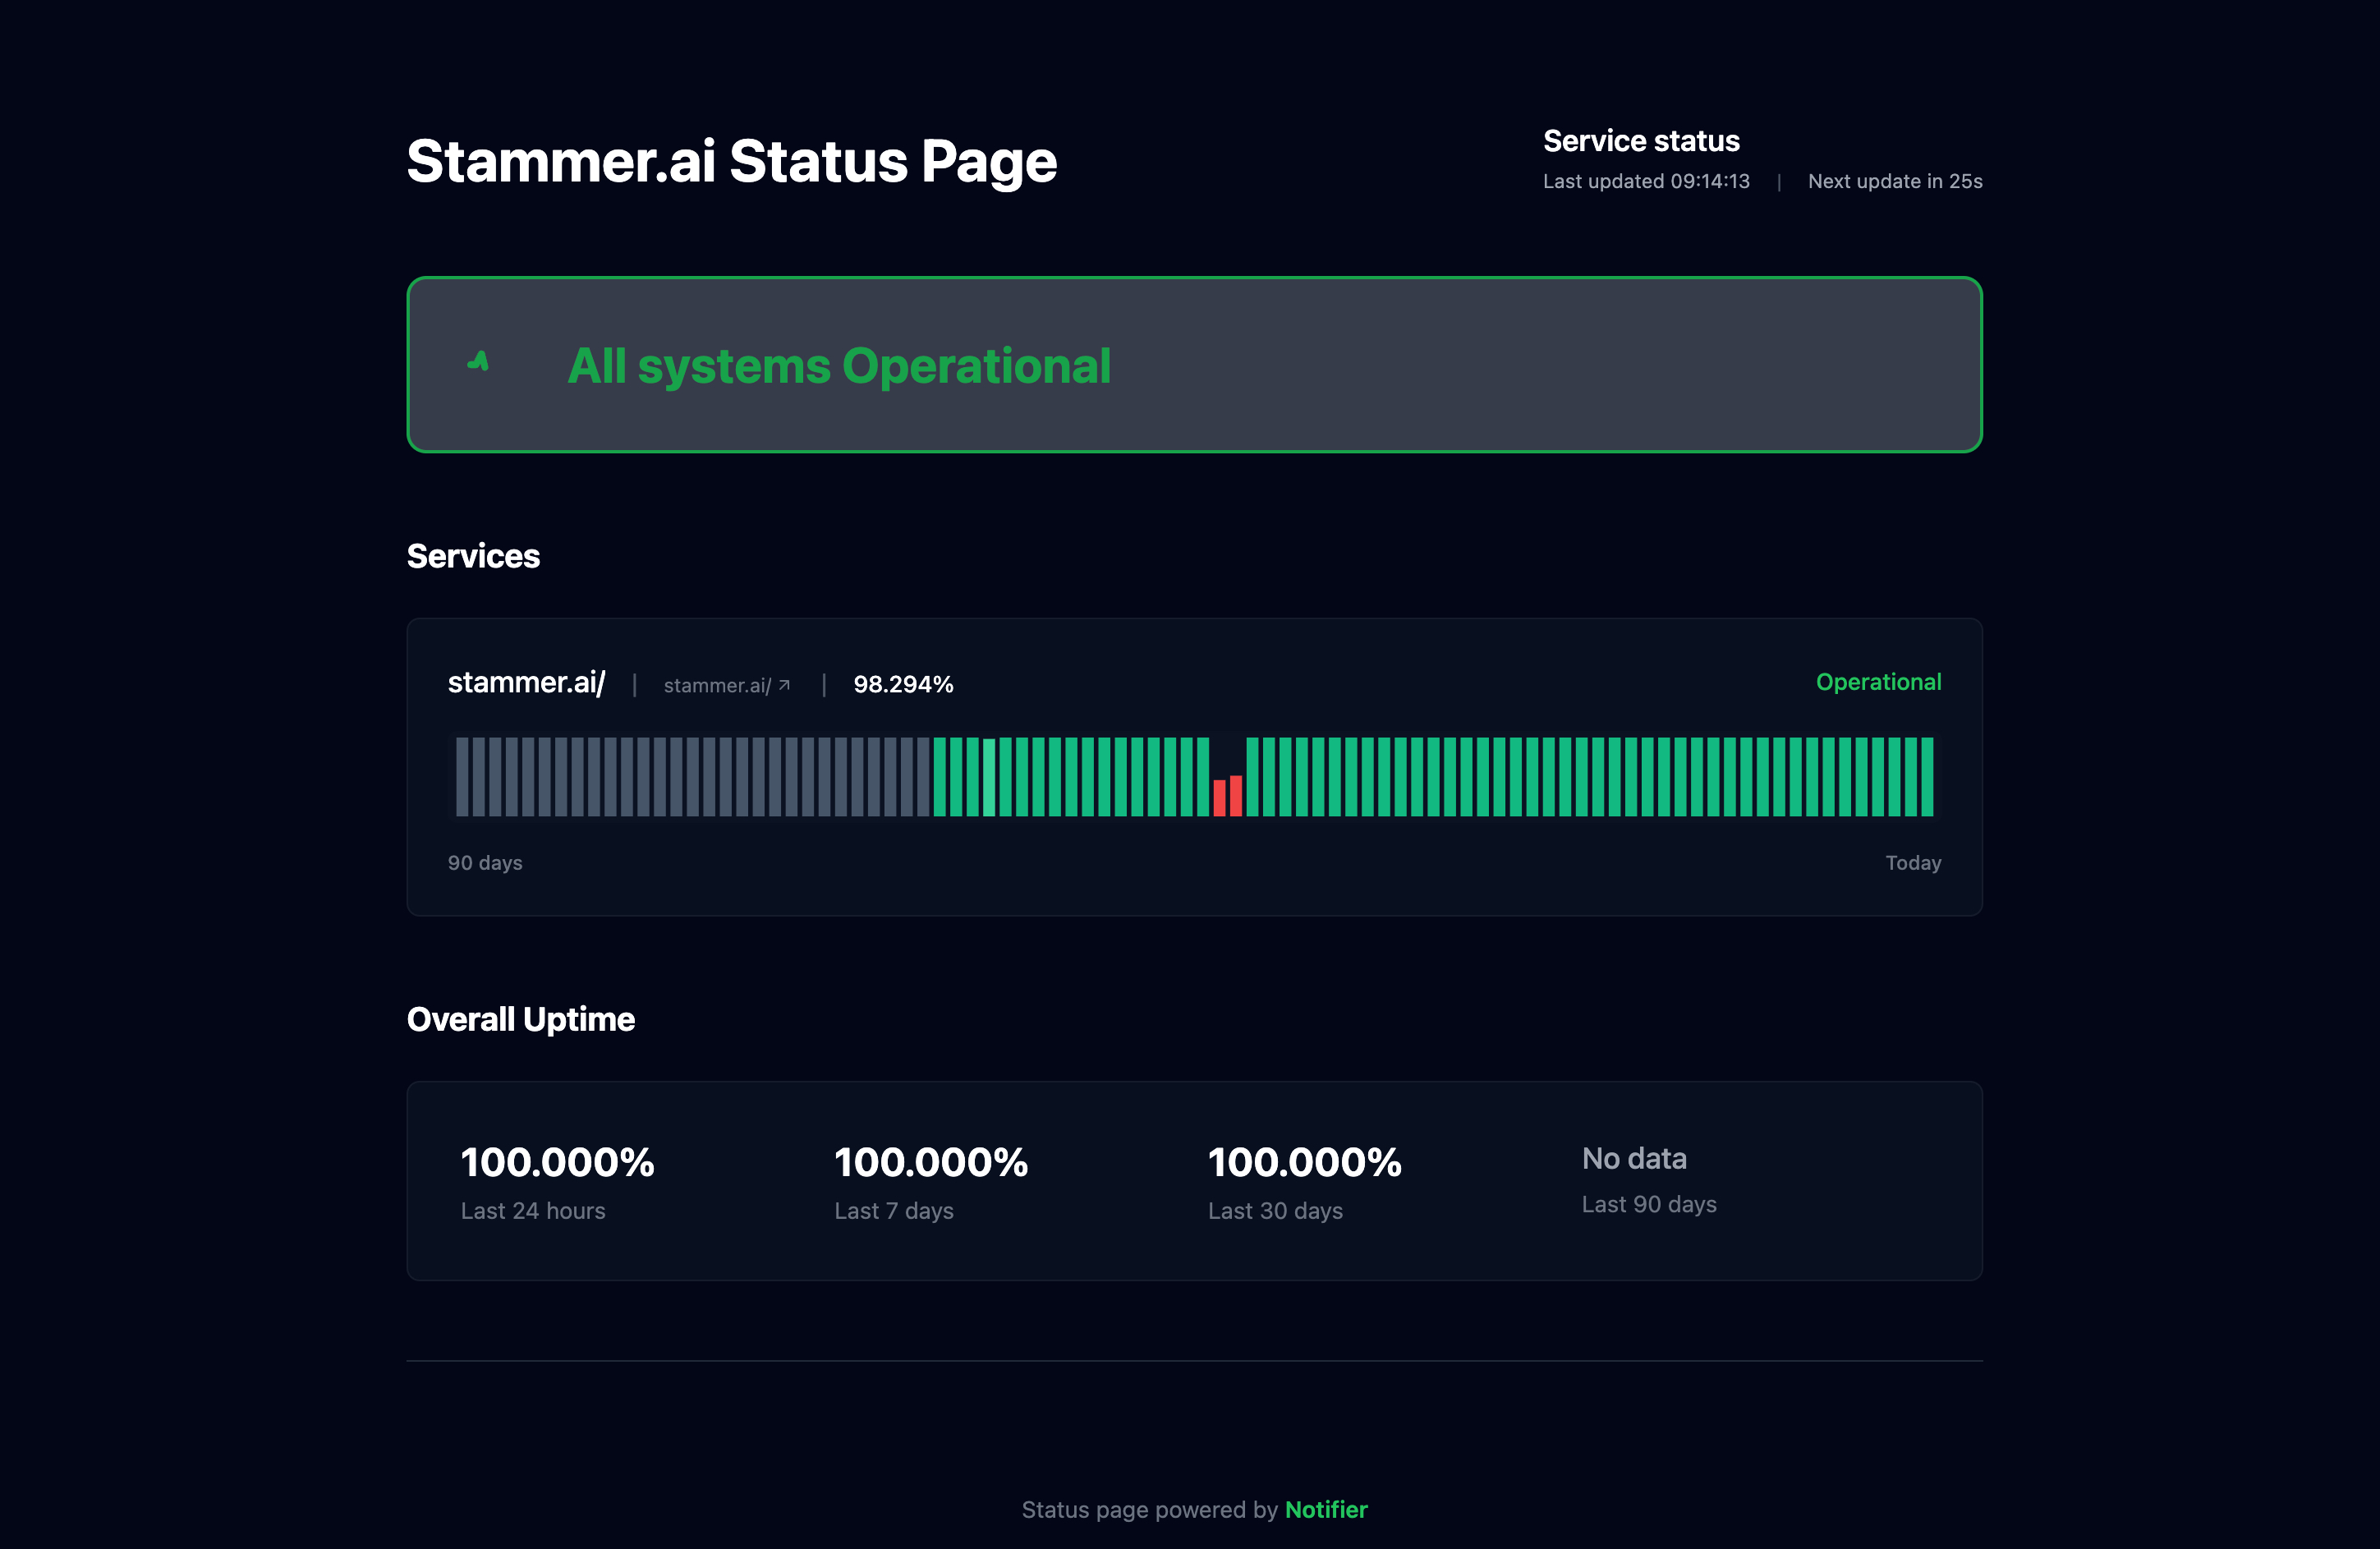
Tip: Share your status page link
Add a link to your status page in your website footer, help center, and support ticket auto-replies. The more visible it is, the more support tickets it prevents. Many teams also add it to their email signatures and Slack workspace bookmarks.
Custom Domain Setup for Professional Branding
A status page at status.yourcompany.com looks far more professional than a generic URL on the provider's domain. It reinforces your brand and gives users confidence that this is an official communication channel.
How to Set Up a Custom Domain on Notifier
Custom domain status pages are available on Notifier's Solo plan ($4/month) and above. Here's how to set it up:
- 1. Choose your subdomain. The convention is
status.yourcompany.com, butuptime.yourcompany.comworks too. - 2. Log in to your DNS provider (Cloudflare, Route 53, Namecheap, or wherever you manage DNS).
- 3. Add a CNAME record pointing your chosen subdomain to the Notifier status page URL provided in your dashboard.
- 4. Enter the custom domain in your Notifier status page settings.
- 5. Wait for DNS propagation (usually a few minutes, occasionally up to 24 hours).
Example DNS record:
Type: CNAME
Name: status
Value: your-page-id.notifier.so
TTL: 300
Once the DNS record propagates, your status page will be accessible at your custom domain with automatic SSL. Notifier handles the certificate provisioning for you.
Best Practices for Incident Communication
A status page is only as useful as the updates you post on it. Here are the communication practices that separate helpful status pages from useless ones.
Post the First Update Quickly
Aim to acknowledge the issue on your status page within 5 minutes of detection. You don't need to know the root cause yet. Just confirm that you're aware of the problem and investigating. Even a short message is better than silence.
Example initial update:
Investigating: API Response Times Elevated
We are aware of increased response times affecting our API. Our team is investigating the root cause. We will provide an update within 15 minutes.
Posted: March 16, 2026 at 14:05 UTC
Update Every 15 to 30 Minutes
During an active incident, post updates at regular intervals even if nothing has changed. Users checking your status page want to know two things: that you're still working on it, and when they can expect the next update. Silence breeds anxiety.
Example follow-up update:
Update: Identified Root Cause
We have identified the cause of the elevated API response times as a database connection pool issue. Our engineering team is deploying a fix. We expect full resolution within 30 minutes. All other services remain operational.
Posted: March 16, 2026 at 14:20 UTC
Use Clear, Non-Technical Language
Your status page audience includes non-technical users, executives, and customers who just want to know if things work. Avoid jargon. Instead of "The Kubernetes pod OOMKilled due to memory leak in the connection pooler," write "Our database connection layer experienced a resource issue that caused slow responses."
Post a Resolution Summary
When the incident is over, post a final update that confirms the resolution, states the total duration, and briefly explains what happened and what you're doing to prevent it from recurring.
Resolved: API Response Times Back to Normal
The API performance issue has been fully resolved. Total duration was 45 minutes (14:00 to 14:45 UTC). The root cause was a database connection pool configuration that was overwhelmed by a traffic spike. We have increased the pool size and added automatic scaling. We will publish a full postmortem within 48 hours.
Posted: March 16, 2026 at 14:47 UTC
Incident Communication Template
Copy and adapt these templates for your own incidents:
INVESTIGATING
We are aware of [brief description of issue] affecting [service name].
Our team is investigating. Next update in 15 minutes.

IDENTIFIED
We have identified the cause: [brief, non-technical explanation].
Our team is working on a fix. Expected resolution: [time estimate].

MONITORING
A fix has been deployed. We are monitoring to confirm the issue
is fully resolved. [Service] should be operating normally.

RESOLVED
This incident has been resolved. Duration: [X minutes/hours].
Cause: [brief explanation]. We are [preventive action].
A full postmortem will be published within [timeframe].
For more on setting up alerts that notify you the moment an incident begins, see our guide on website downtime alerts. Pair that with SSL certificate monitoring to catch certificate expiration issues before they cause outages.
Status Page Examples: What Makes Them Effective
Let's look at what separates a good status page from a mediocre one.
What Good Status Pages Have in Common
- Component-level detail: They break services into meaningful components instead of showing a single "everything is fine" indicator. If your API is down but your website is up, users can see exactly what's affected.
- Uptime percentage display: They show historical uptime (90-day or 30-day) for each component. This gives users confidence that outages are rare and well-handled.
- Detailed incident timeline: Each incident has a clear timeline with timestamped updates from investigating to resolved. Users can see the entire story without guessing.
- Subscriber option: Users can subscribe to get updates via email instead of constantly refreshing the page.
-
Custom domain: The status page lives at
status.company.com, reinforcing trust that it's an official communication channel.
What Bad Status Pages Get Wrong
- Permanent "All Systems Operational": A status page that never shows any incidents is suspicious. Users don't trust it because every service has occasional issues. If your status page has been green for 6 months straight with zero incidents, users will assume it's not actually monitored.
- Vague updates: "We're looking into this" repeated every hour with no additional detail. Users want to know what's broken, what you're doing about it, and when it will be fixed.
- Delayed acknowledgment: If Twitter knows about your outage before your status page does, the status page isn't serving its purpose. Automated monitoring integration fixes this.
A monitoring dashboard like Notifier's feeds real data into your status page automatically, so it always reflects reality.
Frequently Asked Questions
What is a status page?
A status page is a public web page that shows the real-time operational status of your website, API, or service. It displays which components are working normally, which are experiencing issues, and provides a history of past incidents and planned maintenance windows.
Do I need a status page for my website?
If you have users or customers who depend on your website or service, yes. A status page reduces support tickets during outages by 30% to 50%, builds trust through transparency, and gives your team a single place to communicate during incidents instead of fielding individual questions. Even small SaaS products and e-commerce stores benefit from having one.
What should I include on my status page?
Include individual service components (website, API, database, payment processing), current status indicators (operational, degraded, outage), incident history with timestamps and resolution details, planned maintenance schedules, and a way for users to subscribe to updates via email or SMS.
Can I use a custom domain for my status page?
Yes. Most hosted status page tools support custom domains like status.yourcompany.com. With Notifier, custom domain status pages are available on all paid plans starting at $4/month. You add a CNAME record pointing your subdomain to the status page provider, and SSL is handled automatically.
What's the difference between hosted and self-hosted status pages?
Hosted status pages (like Notifier, Statuspage, Instatus) run on the provider's infrastructure. You set them up in minutes and the provider handles uptime and maintenance. Self-hosted options (Cachet, Upptime, Cstate) run on your own servers. You get full control and customization, but you're responsible for keeping the status page itself online, which is especially challenging during outages.
How often should I update my status page during an incident?
Post the first update within 5 minutes of detecting the issue. Then update every 15 to 30 minutes until the issue is resolved. Each update should include what you know, what you're doing about it, and when you expect the next update. Even if nothing has changed, say so. Silence during an outage is worse than repetition.
Are there free status page tools?
Yes. Notifier offers 5 free status pages on its free plan, which also includes 10 monitors with email, SMS, and phone call alerts. Self-hosted options like Upptime and Cstate are completely free but require your own server or a GitHub account. Atlassian Statuspage and Instatus also have limited free tiers.
How do status pages reduce support tickets?
When users encounter an issue, their first instinct is to contact support. A status page gives them an immediate answer without waiting for a response. Companies that publish status pages during outages consistently report 30% to 50% fewer support tickets because users can self-serve the information they need: Is the service down? Is it being worked on? When will it be back?